
Composting at home turns food scraps and yard waste into rich material for soil. This guide gives clear, practical steps for home composting for beginners, with tips you can apply right away.
Home Composting for Beginners: Why Compost?
Composting reduces household waste and improves garden soil naturally. It lowers landfill contributions and returns nutrients to plants without chemical fertilizers.
How to Start Home Composting for Beginners
Getting started is simple: choose a location, select a container, and add the right mix of materials. You do not need special equipment to begin.
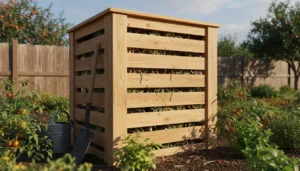
Choosing a Compost Bin
Options include tumblers, stationary bins, and simple compost piles. Choose based on space, budget, and how often you want to turn the materials.
- Tumbler: Easier to turn, good for small yards and faster composting.
- Stationary bin: Low cost and low maintenance, suitable for larger volumes.
- Open pile: Best for large gardens with space and less concern about appearance.
What to Compost
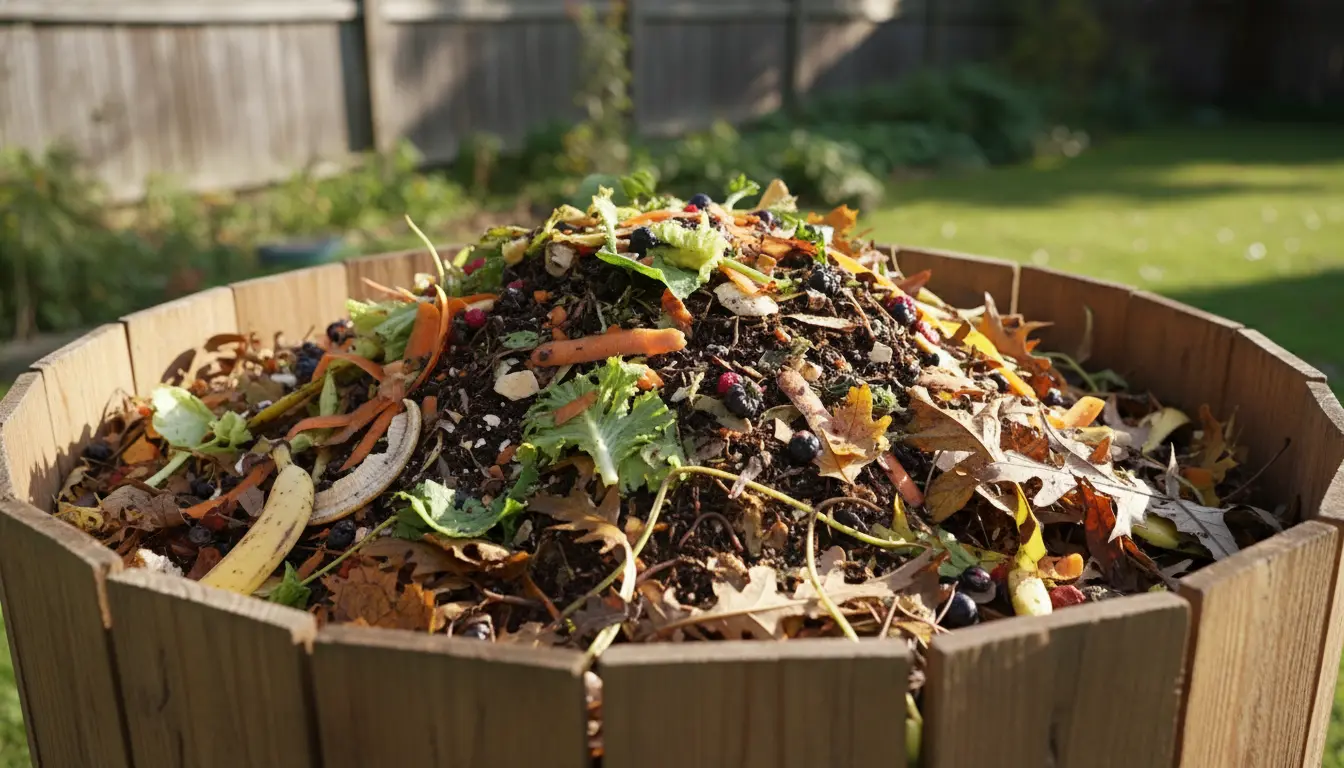
Balance green and brown materials to keep decomposition active. Greens provide nitrogen and browns provide carbon.
- Greens: Fruit and vegetable scraps, coffee grounds, fresh grass clippings.
- Browns: Dry leaves, shredded paper, cardboard, straw.
- Avoid: Meat, dairy, oils, diseased plants, and pet waste to prevent pests and odors.
Managing Your Compost: Tips for Home Composting for Beginners
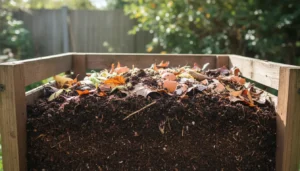
Proper management speeds decomposition and reduces problems. Focus on turning, moisture, and particle size.
Turning and Aeration
Turn the pile every 1–2 weeks to introduce oxygen. Aeration helps microbes break down materials faster and reduces smells.
Moisture and Texture
Compost should feel like a wrung-out sponge. Add water if it’s dry and add more browns if it’s soggy. Small pieces decompose faster, so chop or shred larger items.
Temperature Monitoring
Active piles heat up as microbes work. Internal temperatures of 120–160°F (50–70°C) are common for hot composting but are not required for backyard composting.
Home composting can reduce household waste by up to 30 percent. Finished compost improves soil structure and can hold more water than unamended soil.
Simple Home Composting for Beginners Schedule
Create a predictable routine to maintain your compost. A simple weekly schedule keeps the process consistent and manageable.
- Daily: Add kitchen scraps to a countertop pail or outdoor bin.
- Weekly: Turn the pile and check moisture.
- Monthly: Add bulky browns and chop larger materials.
- Every 3–6 months: Harvest finished compost for use in pots and garden beds.
Troubleshooting Common Problems
If the pile smells, it is usually too wet or has too many greens. Add browns and turn more frequently.
Pests often mean meat or dairy was added or the bin isn’t secure. Remove offensive items and use a closed bin or wire mesh to deter animals.
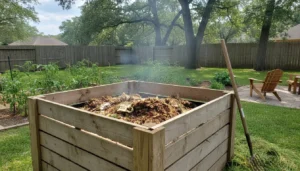
Real-World Example: Small Backyard Compost Case Study
Maria, a homeowner with a small backyard, started home composting for beginners using a 60-gallon tumbler. She collected kitchen scraps in a small pail and added dry leaves each week.
After three months of weekly turning and occasional watering, her compost was dark and crumbly. She mixed it into two raised beds and noticed improved soil moisture and healthier vegetable growth the following season.
Using Finished Compost
Apply finished compost as a top dressing, mix it into potting mixes, or blend into garden beds. Use about 1–3 inches on top of beds or 10–20 percent by volume in potting soil.
Small Tips for Success
- Keep a small countertop bin to collect scraps and reduce trips outside.
- Shred cardboard and paper to speed decomposition.
- Mix in garden soil to introduce beneficial microbes.
- Record what you add to learn what works and what creates problems.
Home composting for beginners is low cost and low effort once you set a routine. Start small, adjust as you learn, and use finished compost to improve your soil and reduce waste.