
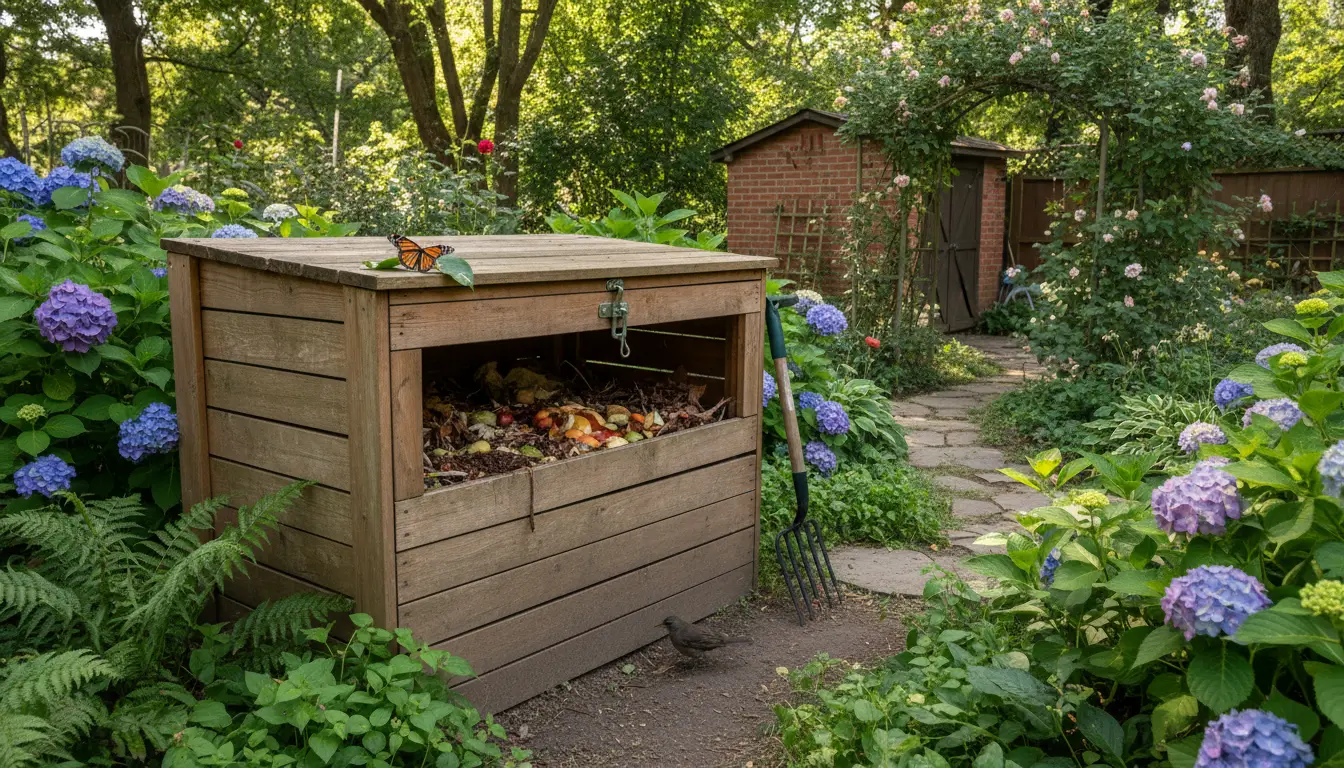
Why Home Composting Matters
Home composting turns kitchen scraps and yard waste into valuable soil material. It reduces landfill waste and feeds plants with natural nutrients.
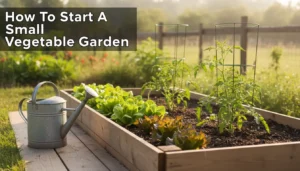
Composting is achievable for small patios, balconies, or backyard gardens. This guide gives clear steps and practical tips to get started quickly.
Getting Started with Home Composting
Choose a method that fits your space: a simple bin, a tumbler, or a worm composting setup. Each method has different space, effort, and speed requirements.
Decide whether you want hot composting for faster results or cold composting for low effort. Hot composting needs more turning and a larger mix, while cold composting is lower maintenance.
Essential items for home composting
- Compost bin or container with ventilation and drainage.
- A balance of brown materials (dry leaves, paper) and green materials (food scraps, grass clippings).
- Optional: pitchfork or aerator for turning, kitchen scrap catcher, thermometer for hot piles.
Step-by-Step: How to Build a Compost Pile
Follow these steps to build a stable compost pile that breaks down effectively. Keep each step simple and repeatable.
1. Pick a location
Choose a partly shaded spot with good drainage. Place the bin or pile directly on soil so organisms can access it.
2. Layer materials
Start with a base layer of coarse brown material to help airflow. Add alternating layers of greens and browns about 2-4 inches thick.
Examples of greens: fruit and vegetable scraps, coffee grounds, fresh grass clippings. Examples of browns: dry leaves, shredded paper, cardboard.
3. Maintain moisture and airflow
Your pile should feel like a wrung-out sponge: moist but not soggy. Water dry piles lightly and turn or aerate every 1-2 weeks for faster breakdown.
Turning mixes materials, adds oxygen, and helps control odors. Use a pitchfork or compost aerator for this task.
4. Monitor temperature for hot composting
Hot piles reach 130–160°F (55–70°C) and break down quickly, killing many weed seeds and pathogens. Use a thermometer to check temperatures if you aim for hot composting.
If the pile cools, add fresh green material and turn to revive the process.
Troubleshooting Common Home Composting Problems
Compost issues are common and usually easy to fix with small adjustments. Check these symptoms and solutions.
- Bad smell: Usually from too much green material or poor airflow. Add more browns and turn the pile.
- Slow decomposition: May need more moisture, nitrogen, or smaller particle sizes. Chop materials and add greens.
- Fruit flies or pests: Bury food scraps under a layer of browns or use a closed bin. Avoid meat, dairy, and oily foods in open piles.
How to Know When Compost Is Ready
Finished compost looks dark, crumbly, and earthy. Most of the original materials are unrecognizable and it no longer heats up when turned.
Screen out large bits and return them to the pile for further breakdown. Use finished compost as a soil amendment or top dressing.
Using Finished Compost in Your Garden
Apply compost to potting mixes, garden beds, and around trees. It improves soil structure, water retention, and nutrient supply.
Typical uses include mixing 10–30% compost into garden soil, top-dressing lawns in thin layers, or blending with potting soil for containers.
Small Case Study: A Neighborhood Kitchen
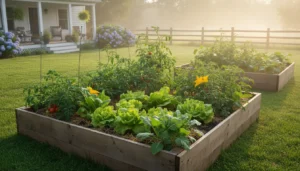
Maria, a homeowner with a small yard, started a 3-bin hot compost system. She saved time by chopping scraps and alternating layers of greens and browns.
Within four months she produced rich compost for her vegetable beds. Her tomatoes grew more vigorously, and she reduced weekly trash by nearly 25%.
Practical Tips and Examples
- Chop kitchen scraps into small pieces to speed decomposition.
- Collect coffee grounds and egg shells for added nutrients; rinse fishy scraps before composting or avoid them in open bins.
- Keep a small covered kitchen pail for scraps to prevent odors and flies in the house.
- Worm composting is ideal for apartment dwellers and produces a liquid fertilizer called worm tea.
Safety and Local Rules
Check local regulations for composting in urban areas; some neighborhoods restrict outdoor piles. Use enclosed bins if pests are a concern.
Keep compost at least a few feet from buildings and avoid attracting wildlife by not adding meat or dairy. Wear gloves when handling active piles.
Final Checklist to Start Home Composting
- Choose bin type: tumbler, bin, or worm system.
- Gather brown and green materials and a small turning tool.
- Set a schedule to add scraps and turn the pile regularly.
- Monitor moisture and adjust as needed.
Home composting is a low-cost way to manage waste and improve garden soil. Start small, learn from your pile, and adjust methods to fit your space and goals.