
Start Home Composting for Beginners: A Practical Overview
Home composting for beginners is an easy way to reduce kitchen waste and improve garden soil. This guide gives clear, step-by-step instructions and practical tips that work for apartments and backyards.
Why Choose Home Composting for Beginners
Composting reduces landfill waste and produces nutrient-rich soil for plants. It saves money on fertilizers and helps retain moisture in garden beds.

Composting also supports soil health by returning organic matter and beneficial microbes to the earth.
Basic Principles of Home Composting for Beginners
Compost is produced when microbes break down organic materials. Balance, moisture, and air are the three main factors to manage.
- Balance: Mix carbon-rich “browns” and nitrogen-rich “greens”.
- Moisture: Keep the pile damp but not waterlogged.
- Air: Turn or aerate to supply oxygen to microbes.
What to Compost
- Greens: Vegetable scraps, coffee grounds, fresh grass clippings.
- Browns: Dry leaves, shredded paper, straw, cardboard (small pieces).
- Small amounts of garden trimmings and spent flowers.
What Not to Compost
- No meat, bones, dairy, or oily foods — these attract pests.
- Avoid diseased plants or invasive weeds with seeds.
- Do not compost pet feces from carnivores.
Methods Suitable for Home Composting for Beginners
Choose a method that matches your space, time, and goals. Each method suits different lifestyles.
Cold Pile Composting
Cold composting is low effort. Add materials as they become available and wait for months to a year for finished compost.
Best for: Busy people or those with large outdoor spaces.
Hot Composting
Hot composting requires building larger piles, regular turning, and a balance of browns and greens. It produces usable compost faster, often in a few weeks to months.
Best for: Home gardeners who want quick results and can manage turning and monitoring.
Vermicomposting (Worm Bins)
Vermicomposting uses red worms to break down kitchen scraps in a contained bin. It works well indoors or on balconies.
Best for: Apartment dwellers and small-space gardeners.
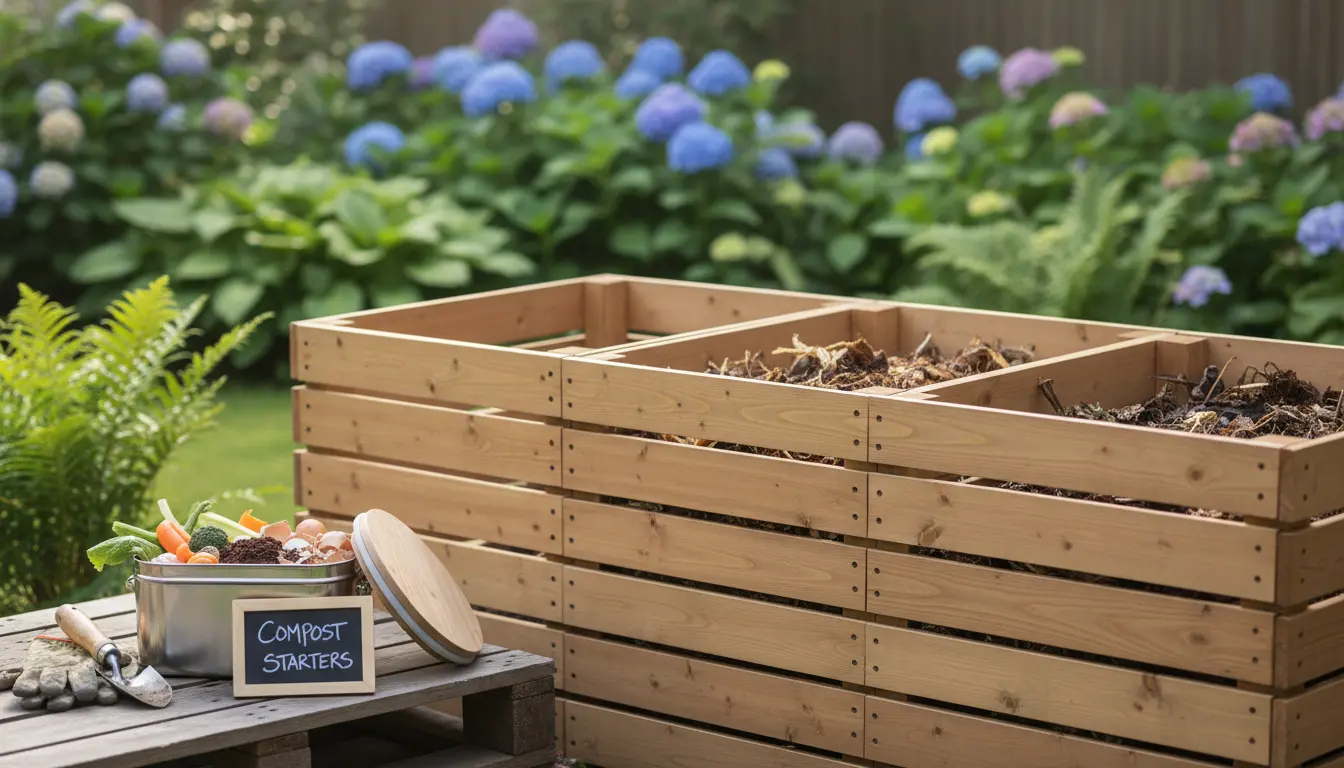
Tools and Materials for Home Composting for Beginners
- Compost bin or simple pile area (plastic bin, tumblers, or wooden crate).
- Pitchfork or compost aerator for turning.
- Shredder or scissors to chop large items.
- Kitchen caddy for collecting scraps.
Step-by-Step Setup for Home Composting for Beginners
Follow these steps to start: choose a method, collect materials, and maintain the pile.
- Select a dry, shaded spot with good drainage or pick a suitable bin for indoors.
- Create a 6–12 inch base of coarse browns for drainage and airflow.
- Alternate layers of greens and browns; aim for roughly 3 parts browns to 1 part greens by volume.
- Moisten each layer so it’s as damp as a wrung-out sponge.
- Turn the pile every 1–2 weeks for hot composting; for cold composting, turn less often.
Troubleshooting Common Problems
Even beginners run into issues. Address problems quickly with simple fixes.
- Smelly compost: Add more browns and turn the pile to introduce oxygen.
- Pests: Use a closed bin, bury food scraps, and avoid meat/dairy.
- Slow decomposition: Chop materials smaller and maintain moisture and balance.
How Long Until Compost Is Ready
Time depends on method and conditions. Hot composting can yield usable compost in 1–3 months. Cold piles may take 6–12 months.
Finished compost is dark, crumbly, and smells earthy. If you can still identify original materials, it needs more time.
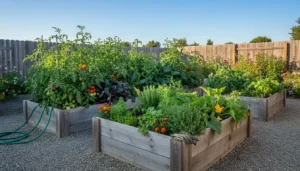
Using Your Finished Compost
Incorporate compost into garden beds, use as a top dressing for lawns, or mix with potting soil for container plants.
Use about 1–3 inches of compost around trees and in vegetable beds to improve structure and fertility.
Small Case Study: Apartment Vermicompost Success
Maria, a renter in a city apartment, started vermicomposting in a 20-liter worm bin on her balcony. She collected kitchen scraps for six months and harvested 40 liters of worm castings.
The castings were mixed into potted herbs and tomatoes, resulting in stronger plants and a 30% reduction in purchased potting mix. Nuisance odors were avoided by maintaining bedding moisture and burying food scraps.
Quick Checklist for Home Composting for Beginners
- Choose a method: cold pile, hot pile, or vermicompost.
- Gather tools: bin, aerator, kitchen caddy.
- Balance greens and browns and maintain moisture.
- Monitor for pests, odors, and moisture issues.
- Harvest and use finished compost in soil and containers.
Final Tips for Success
Start small and be consistent. Small, regular additions and attention to balance will prevent most problems.
Join local composting groups or forums to share materials and advice. Composting is practical, cost-effective, and good for the planet.