
Home Composting Basics
Home composting turns kitchen scraps and yard waste into nutrient-rich soil. It reduces landfill waste and improves garden health. This guide covers practical steps you can follow today.
Why Try Home Composting
Composting reduces household waste and lowers methane emissions from landfills. It creates a free soil amendment that helps plants retain water and nutrients. Home composting is low cost and adaptable to small spaces.
What to Compost: Greens and Browns
Successful home composting balances nitrogen-rich “greens” with carbon-rich “browns.” The right mix speeds decomposition and prevents odors.
- Greens (high nitrogen): fruit and vegetable scraps, coffee grounds, tea bags, fresh grass clippings.
- Browns (high carbon): dry leaves, straw, shredded paper, cardboard, sawdust from untreated wood.
Aim for about 2–3 parts browns to 1 part greens by volume. If the pile is too wet or smelly, add more browns. If decomposition is slow, add more greens and moisture.
What Not to Compost
Avoid meat, dairy, oily foods, diseased plants, and pet waste from carnivores. These items attract pests or introduce pathogens. Small amounts of citrus or onion are okay if mixed well.
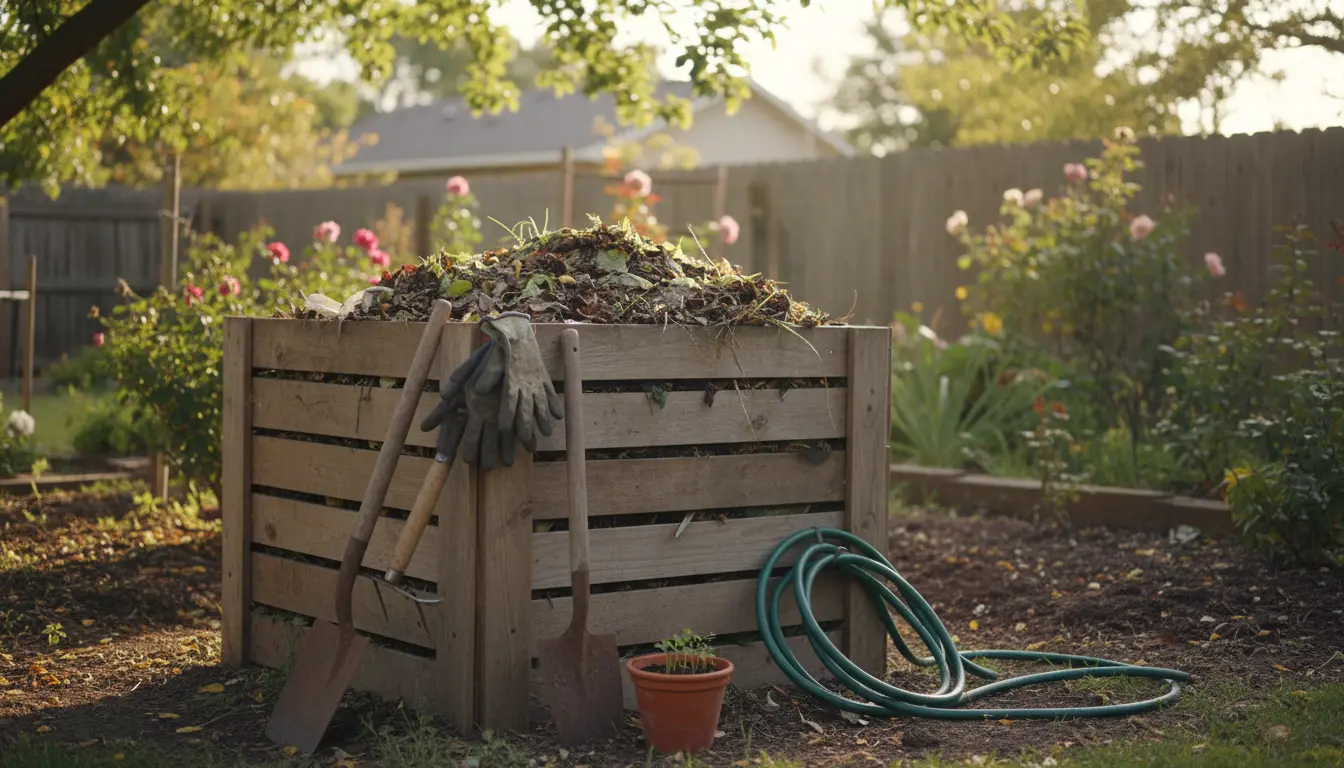
Choosing a Bin for Home Composting
You can compost in an open pile, a tumbler, or a stationary bin. Choose based on space, budget, and how hands-on you want to be.
- Open pile: Cheapest, works for yards with space but can attract pests.
- Tumbler: Easier to turn and faster breakdown; good for small yards or patios.
- Stationary bin: Simple container with ventilation; good balance of control and effort.
Location and Setup
Place your bin on bare soil for drainage and access to beneficial organisms. Keep it partly shaded to maintain moisture and temperature. Ensure good airflow around the bin.
How to Start Home Composting: Step-by-Step
Follow these steps to build and maintain a healthy compost pile.
- Start with a base layer of coarse browns like straw or small branches to help airflow.
- Add alternating layers of greens and browns. Aim for small pieces to increase surface area.
- Keep the pile moist like a wrung-out sponge. Water if it becomes dry; add more browns if too wet.
- Turn or mix the pile every 1–2 weeks to introduce oxygen and speed up decomposition.
- Harvest finished compost after 2–6 months, depending on conditions and bin type.
Maintaining the Right Conditions
Temperature, moisture, and oxygen determine how fast compost breaks down. A healthy pile is warm in the center, slightly damp, and well-aerated. Turning the pile and managing the greens-to-browns ratio keeps these factors balanced.
Troubleshooting Home Composting Problems
Problems are common when learning. Here are simple fixes for typical issues.
- Bad smells: Usually from excess moisture or too many greens. Add dry browns and turn the pile.
- Pests: Avoid meat and dairy. Cover food scraps with browns and use a closed bin if rodents are a problem.
- Slow decomposition: Chop materials smaller, add more greens, and ensure adequate moisture and turning.
- Pile overheating: If extremely hot, mix or spread it out to cool. High temperatures are okay but can kill beneficial organisms if excessive.
Composting can reduce household waste by up to 30 percent and the finished compost can improve soil water retention by 20 percent or more.
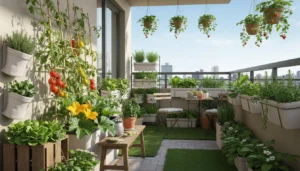
Real-World Example: Small Apartment Composting
Case study: A two-person apartment used a 10-gallon sealed compost bin and community garden drop-off. They collected vegetable scraps and coffee grounds, stored them in the indoor bin, and emptied it weekly into a shared municipal composter.
After six months they reduced their trash by nearly one bag per week and used finished compost from the community garden to grow herbs on their balcony. The project required minimal space and no special equipment.
Tips for Small-Space Composters
- Use a small sealed indoor bin with charcoal filters to control odors.
- Freeze scraps between drop-offs to avoid smells and pests.
- Join a community composting program or look for local pick-up services.
Final Tips for Successful Home Composting
Start small and adjust as you learn. Keep materials chopped and balanced, monitor moisture, and turn regularly. Composting is forgiving once you understand the basics.
Track what you add and note any issues. Over time you’ll develop a rhythm that fits your household and garden needs.
With basic attention to greens, browns, moisture, and aeration, home composting becomes an easy and rewarding habit.