
Why Home Composting for Beginners Matters
Home composting turns kitchen scraps and yard waste into rich soil that improves gardens and reduces landfill waste. For beginners, it is a low-cost, high-impact way to close the loop on organic materials.
This guide gives step-by-step, practical instructions to start and maintain a compost bin at home.
Choose the Right Compost System
Selecting an appropriate system makes composting easier and reduces common problems. Options vary by space, budget, and patience.
- Compost bin: A simple enclosed bin works for small yards and keeps pests out.
- Tumbler: Faster mixing and easier turning; good for people who want quicker results.
- Cold pile: A low-maintenance pile for large gardens; slower to produce finished compost.
- Vermicompost (worm bin): Uses worms to compost kitchen scraps indoors or outdoors for nutrient-rich castings.
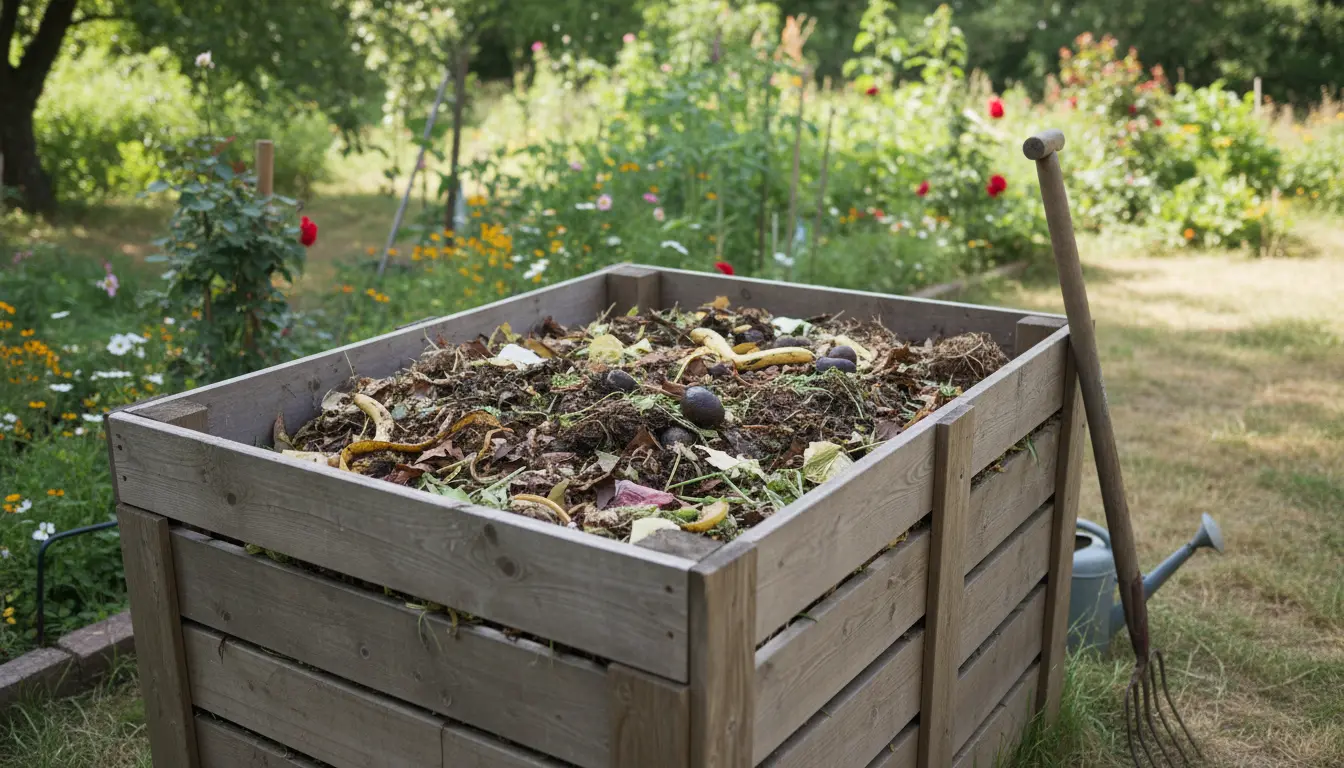
Set Up Your Bin
Placement matters: pick a level, well-drained spot with some shade. This keeps moisture balanced and microbes active.
Follow these basic setup steps:
- Place your bin or start a pile on soil, not concrete, so organisms can move in.
- Start with a 4–6 inch layer of coarse brown material like twigs for airflow.
- Add alternating layers of green and brown materials to balance moisture and carbon.
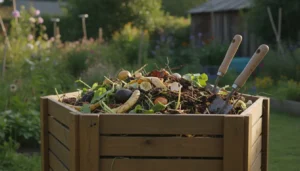
What to Add: Greens and Browns
Successful home composting uses the right balance of nitrogen-rich “greens” and carbon-rich “browns.” Aim for roughly a 1:2 ratio (greens to browns) by volume.
- Greens (nitrogen): fruit and vegetable scraps, coffee grounds, fresh grass clippings.
- Browns (carbon): dry leaves, shredded paper, straw, cardboard.
Small steps: chop larger materials and keep layers thin to speed decomposition.
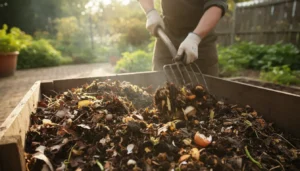
Maintain Your Compost Bin
Maintenance is straightforward: monitor moisture, aerate regularly, and add the right materials.
- Moisture: Compost should feel like a wrung-out sponge. Add water if dry, add browns if too wet.
- Aeration: Turn the pile every 1–2 weeks with a pitchfork or by rotating a tumbler to supply oxygen.
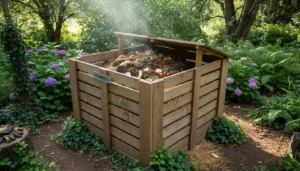
- Temperature: Active piles heat up to 120–160°F (49–71°C). Cold piles still work but take longer.
Common Troubleshooting
Problems are usually easy to fix once you identify the cause. Smell, pests, and slow decomposition are the top issues.
- Bad smell: Add more browns and turn the pile to introduce air.
- Pests: Avoid meat, dairy, and oily foods. Use a closed bin or bury food scraps under browns.
- Slow decomposition: Chop materials smaller, increase surface area, and ensure adequate moisture and aeration.
Timing and Harvesting Compost
Compost time ranges from two months to a year depending on method and care. Hot, well-aerated composting finishes faster.
Signs compost is ready: dark brown color, crumbly texture, and an earthy smell. Sift or screen if you want finer material for potting mixes.
Using Finished Compost
Apply compost to flower beds, vegetable gardens, or lawn edges. Mix into soil or use as a top dressing to improve structure and nutrient content.
- Vegetable beds: Work 1–3 inches into the topsoil before planting.
- Containers: Mix one part compost to two parts potting soil for potted plants.
- Lawn: Spread a thin layer to reduce reliance on synthetic fertilizers.
Simple Example: Weekly Routine
To keep things manageable, follow this weekly routine:
- Collect kitchen scraps in a small container with a lid.
- Add scraps to bin and cover with a handful of browns each time.
- Turn the pile every 1–2 weeks and check moisture monthly.
Small Case Study: A Family Starts Composting
Case: The Hernandezes, a family of four in a suburban yard, started a 50-gallon compost bin. They used a mix of kitchen scraps and yard waste and turned the bin weekly.
Results after six months: their compost was ready for spring planting. They cut grocery waste by 40% and improved their vegetable bed yields without buying commercial fertilizer.
Key takeaways: consistent turning, balanced greens and browns, and patient monitoring delivered measurable benefits.
Quick Tips for Home Composting for Beginners
- Keep a lid on your kitchen scrap container to reduce odors and fruit flies.
- Shred or chop materials to speed decomposition.
- Save coffee grounds and crushed eggshells for nutrient boosts.
- Keep meat, dairy, and oily foods out to prevent pests.
- Use finished compost regularly to see plant and soil improvements fast.
Final Notes on Home Composting for Beginners
Home composting is a practical, low-cost way to recycle organic waste and enrich your soil. Start small, follow simple rules, and learn by doing.
With basic setup and routine maintenance, almost anyone can turn household scraps into a valuable resource for the garden.