
Composting at home turns kitchen and yard waste into valuable soil amendment. This guide shows practical steps, common mistakes, and simple tips you can use this week.
Why Home Composting Matters
Home composting reduces landfill waste and improves soil structure for gardens and houseplants. It also saves money on soil amendments and cuts methane emissions from organic waste in landfills.
Basic Principles of Home Composting

Composting relies on a balance of materials, moisture, and airflow to let microbes break down organic matter. You do not need special skills—just a basic understanding of what to add and how to manage the pile.
Carbon and Nitrogen Balance
Successful home composting depends on a mix of carbon rich (brown) and nitrogen rich (green) materials. Aim for about a 25–30:1 carbon to nitrogen ratio for active decomposition.
- Carbon (brown): dried leaves, straw, shredded paper, cardboard
- Nitrogen (green): vegetable scraps, coffee grounds, fresh grass clippings
Moisture and Air
The pile should be as damp as a wrung-out sponge. Too dry and microbes slow down; too wet and the pile becomes anaerobic and smelly. Turning or aerating the pile every 1–2 weeks helps maintain oxygen levels.
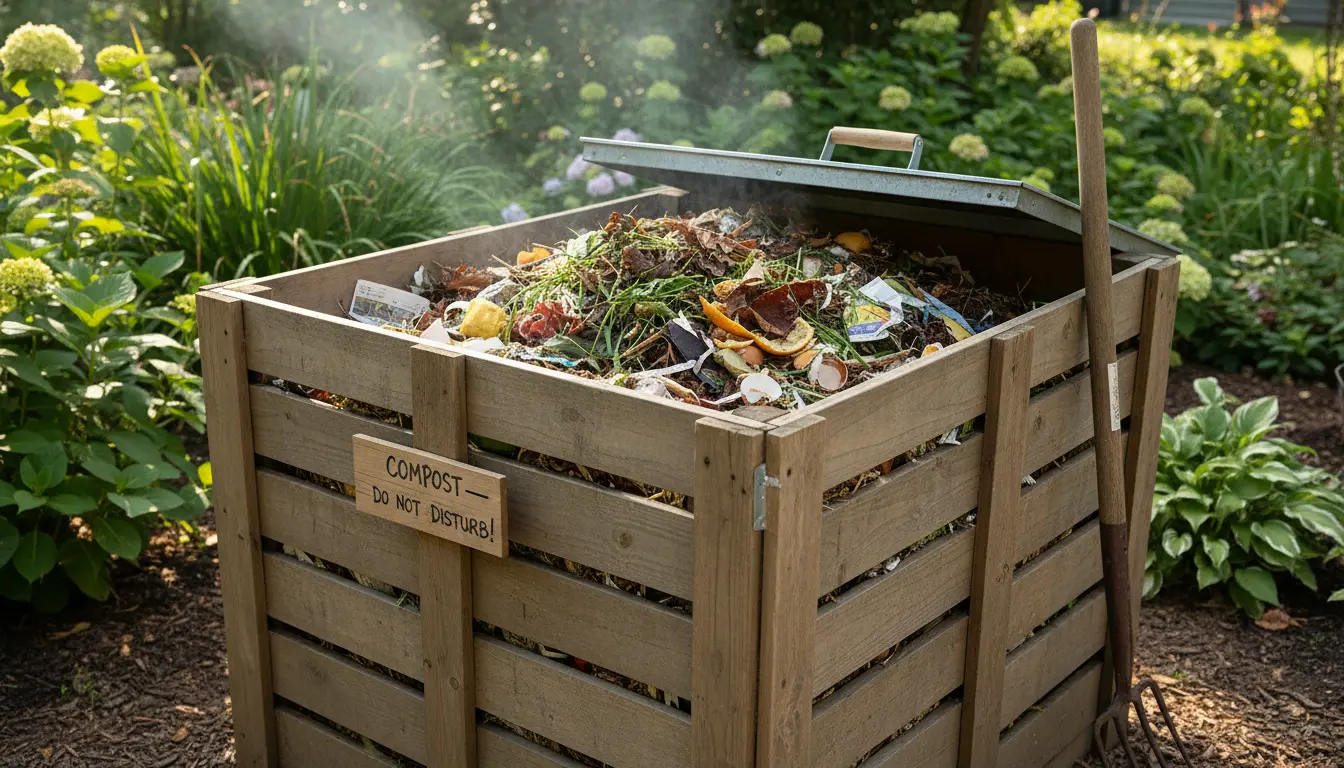
How to Start a Home Compost Pile
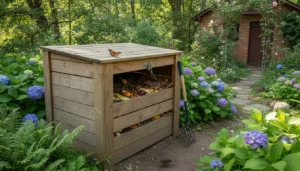
Choose a location that is convenient and drains well. You can use a simple heap, a bin, or a tumbler depending on space and preference.
Step-by-Step Setup
- Pick a container: open pile, wooden bin, plastic bin, or tumbler.
- Create a base layer of coarse browns to encourage airflow.
- Add greens and browns in alternating layers, chopping large items first.
- Moisten each layer lightly as you build the pile.
- Turn the pile or rotate the tumbler every 1–2 weeks.
Materials to Use and Avoid
Knowing what to include and what to avoid prevents pests and odors. Most kitchen scraps are safe, but some items require care or exclusion.
Good Items for Home Composting
- Fruit and vegetable scraps
- Eggshells (crushed)
- Coffee grounds and tea bags (remove staples)
- Yard trimmings, leaves, and grass clippings (in moderation)
- Shredded paper and cardboard (non-glossy)
Items to Avoid
- Meat, dairy, and oily foods (attract pests)
- Diseased plants or invasive weeds that might survive
- Pet waste from carnivores (health risk)
- Colored glossy paper or heavily treated wood
Troubleshooting Common Problems
Small adjustments usually fix common compost issues. Match symptoms to quick solutions for best results.
- Smelly pile: Add more browns and turn the pile to increase airflow.
- Pile not heating: Add more greens, chop materials finer, and ensure adequate moisture.
- Pests: Bury food scraps deeper, use a closed bin, or add a layer of browns on top.
How Long Does Home Composting Take?
Time varies by method, materials, and management. Active hot composting can yield finished compost in 2–3 months, while passive systems may take 6–12 months.
Small Real-World Case Study
Case Study: A three-person household started a 200-liter tumbler in spring. They added kitchen scraps and chopped yard trimmings, turning the tumbler twice weekly. In four months they produced about 100 liters of dark crumbly compost.
Results: The family cut weekly trash by 40% and used the compost to improve vegetable beds, which increased tomato yields the following season.
Practical Tips for Success
- Chop or shred materials to speed decomposition.
- Keep a small countertop bin with a lid for daily scraps.
- Store mature compost in a dry place and cure for a few weeks before use.
- Use finished compost as a soil amendment, mulch, or potting mix ingredient.
Composting one ton of organic waste can prevent roughly 0.5 to 1 ton of CO2 equivalent emissions compared with landfilling. Small home efforts add up when many households compost.
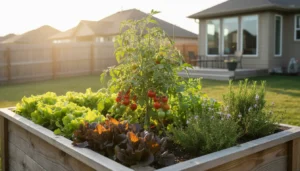
Using Finished Compost
Finished compost improves soil texture, water retention, and nutrient content. Mix it into garden beds, top-dress lawns, or blend into potting mixes for houseplants.
Final Checklist for Home Composting
- Balance browns and greens
- Maintain moisture like a wrung-out sponge
- Turn or aerate regularly
- Avoid problem foods and diseased plants
- Start small and scale up as you learn
Home composting is a low-cost, practical way to reduce waste and build healthier soil. Start with a small bin or pile this week and adjust as you see results.