
Composting at home turns kitchen scraps and yard waste into rich soil you can use for houseplants, containers, or garden beds. This guide explains simple, practical steps so beginners can start home composting without overcomplicating the process.
What Is Home Composting and Why Start
Home composting is the controlled decomposition of organic matter, like vegetable peels and leaves, into a nutrient-rich material called compost. It reduces household waste, improves soil structure, and lowers the need for store-bought fertilizers.
Basic Principles of Home Composting
Successful home composting relies on balance, aeration, moisture, and time. Keep these four elements in mind as you choose a method and maintain your bin.
Balance of Carbon and Nitrogen
Compost needs a mix of carbon-rich “browns” and nitrogen-rich “greens.” A good starting ratio is about 25–30 parts carbon to 1 part nitrogen by weight, but simple practice-focused rules work well for beginners.
- Greens: vegetable scraps, coffee grounds, fresh grass clippings.
- Browns: shredded paper, dry leaves, straw, cardboard.
Aeration and Moisture
Turn or aerate the pile every 1–2 weeks to supply oxygen. Keep the pile moist like a wrung-out sponge; too dry slows decomposition and too wet causes odor.
Simple Home Composting Methods
Choose a method that fits your space, time, and local climate. Each method can produce good compost with basic attention.
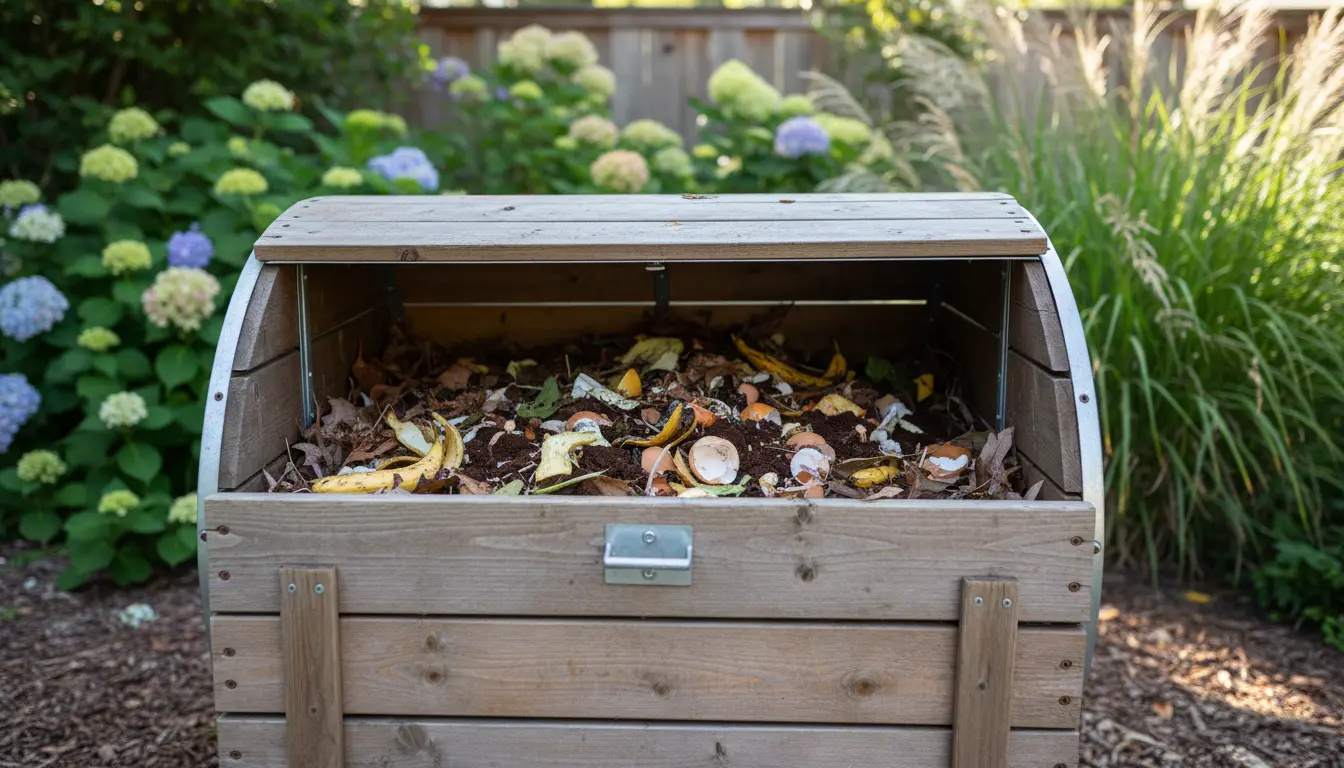
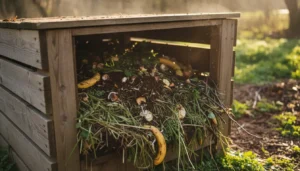
Open Pile
Good for yards with space. Pile browns and greens, keep it moist, and turn occasionally. This method is cheap and flexible.
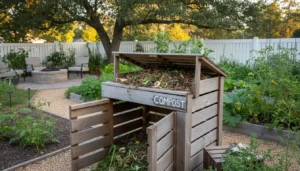
Compost Bin or Tumbler
Plastic or wooden bins and tumblers keep pests out and look tidy. Tumblers make turning easier and speed up decomposition slightly.
Vermicomposting (Worm Bin)
Use red worms in a small indoor bin to convert kitchen scraps into worm castings. This is compact and ideal for apartment dwellers.
Step-by-Step Home Composting Guide
Follow these steps to start a reliable home compost system.
- Pick a method: pile, bin, tumbler, or worm bin based on space and needs.
- Choose a location: partial shade near a water source is ideal.
- Collect materials: separate greens and browns in your kitchen for easy access.
- Build the pile: start with a layer of coarse browns for drainage, then alternate greens and browns.
- Maintain moisture and turn: aim to turn every 1–2 weeks and keep moist like a sponge.
- Harvest: after 2–6 months (depending on method), finished compost will be dark and crumbly.
Home Composting Tips for Beginners
- Chop or shred larger items to speed decomposition.
- Avoid meat, dairy, and oily foods that attract pests.
- Add garden soil or finished compost occasionally to introduce microbes.
- Use a kitchen caddy with a tight lid to collect scraps and reduce odor.
- If the pile smells, add more browns and turn it to introduce air.
Common Home Composting Problems and Fixes
Knowing common issues helps you react quickly and keep composting productive.
Bad Odors
Cause: too much wet green material or lack of oxygen. Fix: add dry browns and turn the pile.
Pests
Cause: food scraps like meat or dairy. Fix: remove offending items, use a closed bin, and bury fresh scraps under browns.
Slow Decomposition
Cause: pile too dry, too cold, or materials too large. Fix: moisten, insulate the pile, and chop materials smaller.
Households that compost can reduce their garbage by up to 30 percent. Compost also returns nutrients to soil and can cut fertilizer costs for gardeners.
Real-World Example: Small Urban Compost Case Study
Case: A two-person apartment in Austin started a worm bin under their kitchen counter. After six months they produced about 15 liters of worm castings.
Results: They reduced their kitchen waste by 40 percent and used the castings to grow herbs that replaced purchased herbs, saving roughly $120 per year. Maintenance took about 10 minutes per week.
How to Use Finished Home Compost
Finished compost is dark, crumbly, and smells earthy. Use it to top-dress lawns, mix into potting soil, or amend garden beds.
- Seedlings and pots: mix 1 part compost to 3 parts potting mix.
- Vegetable beds: spread 2–3 inches and work into the topsoil before planting.
- Lawns: spread a thin layer to boost organic matter over time.
Final Practical Checklist for Home Composting
- Choose a compost method that suits your space.
- Balance greens and browns; keep the mix moist and aerated.
- Turn regularly and watch for common problems.
- Harvest when dark and crumbly, then put compost to use in your garden or pots.
Starting home composting is a low-cost step with real benefits for waste reduction and soil health. Begin small, learn as you go, and adjust your routine to what works best for your home and climate.