
Start Home Composting Today: A Practical Guide
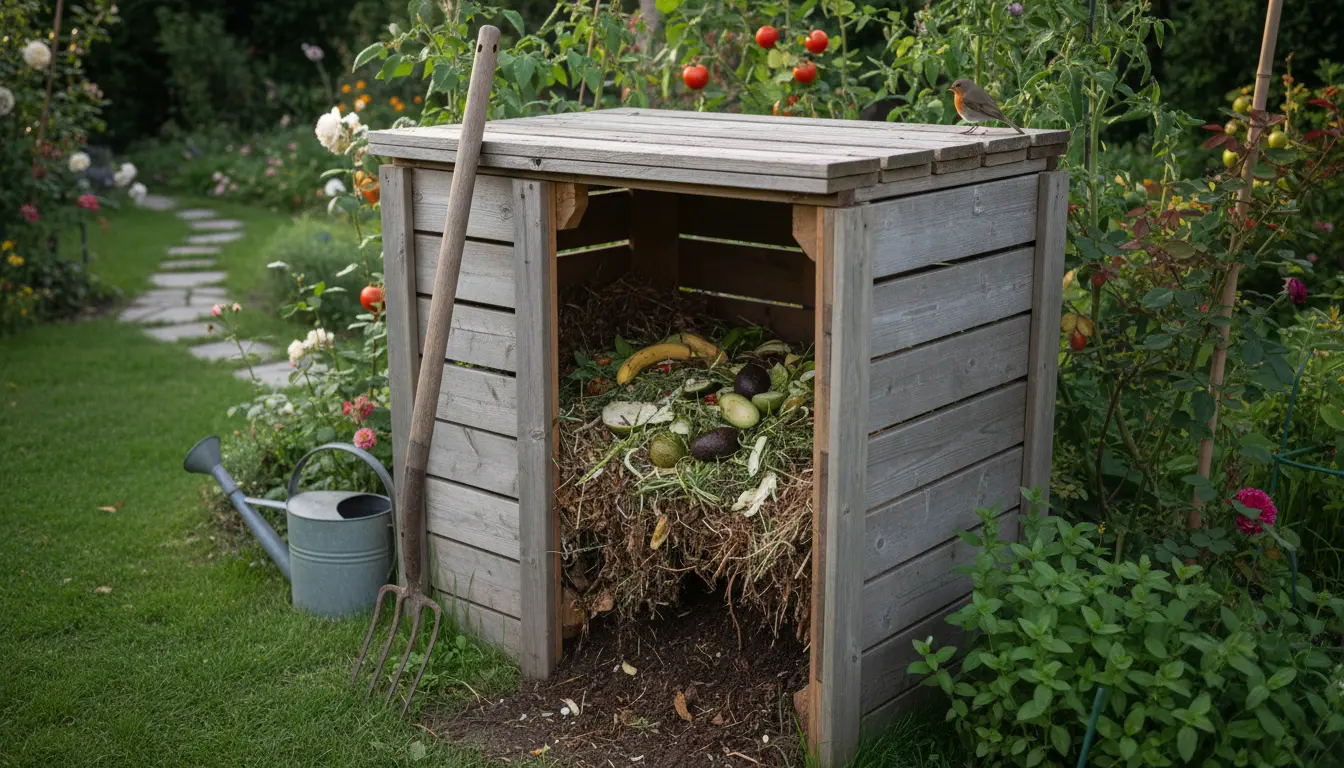
Home composting turns kitchen scraps and yard waste into a useful soil amendment. This guide explains clear steps you can follow to set up, maintain, and use a compost bin with minimal effort.
Home Composting Basics
Composting is a controlled natural process where microorganisms break down organic matter. Understanding the basic elements—greens, browns, moisture, and air—will help you avoid common problems.
What to compost
Use a mix of nitrogen-rich “greens” and carbon-rich “browns” for balanced decomposition. Greens provide protein and moisture, while browns provide structure and carbon.
- Greens: fruit and vegetable scraps, coffee grounds, fresh grass clippings
- Browns: dry leaves, shredded paper, cardboard, small wood chips
- Avoid: meat, dairy, oils, diseased plants, pet waste
Choosing the right bin for home composting
Select a bin based on space, budget, and how quickly you want compost. Options include simple tumblers, enclosed plastic bins, and simple open piles.
- Tumbler bins speed up mixing and reduce pests.
- Stationary plastic bins are low-maintenance and affordable.
- Open piles work for large yards but need more space and turning.
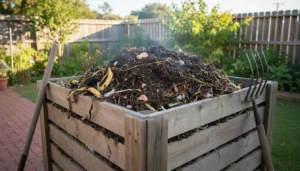
How to Set Up Your Compost Bin
Placement and preparation matter. Choose a level, well-drained spot with partial shade to balance moisture and temperature.
Initial setup steps
- Place the bin on soil to allow worms and microbes to enter.
- Start with a layer of coarse browns (twigs or straw) for airflow.
- Add alternating layers of greens and browns about 2–4 inches thick.
- Moisten lightly so the pile feels like a wrung-out sponge.
Maintain Your Compost
Regular maintenance keeps the pile active. Focus on turning, moisture, and particle size to speed decomposition and avoid odors.
Turning and aeration
Turn the pile every 1–2 weeks to introduce oxygen and prevent anaerobic conditions. Use a pitchfork or rotate a tumbler to mix materials thoroughly.
Moisture management
The ideal moisture level is like a wrung-out sponge: damp but not dripping. Add water in dry periods and add more browns if the pile becomes too wet or smells bad.
Common Problems and Troubleshooting
Even simple systems can run into issues. Troubleshooting is usually a matter of adjusting the mix or airflow.
- Bad smell: add more browns and turn the pile to add air.
- Pest problems: avoid meat, dairy, and large food pieces; use a closed bin or bury scraps.
- Slow decomposition: chop materials smaller, increase greens, and maintain moisture and warmth.
When Is Compost Ready?
Compost is ready when it is dark, crumbly, and smells earthy. The time frame varies from 2 months to a year depending on conditions and the method used.
How to use finished compost
Blend finished compost into garden beds, use as a top dressing for lawns, or mix into potting mixes to improve soil structure and fertility.
Small Real-World Example
Case study: A household of four started a 60-liter tumbler with weekly additions of kitchen scraps and yard trimmings. Within six months they produced about 90 liters of finished compost.
Results: Their weekly trash volume dropped by 30 percent, and their vegetable beds showed improved growth and moisture retention after one season.
Simple Tips to Succeed with Home Composting
- Chop larger items to speed breakdown.
- Keep a small countertop bin with a lid for daily collection of scraps.
- Balance greens and browns; a 2:1 brown-to-green volume often works well.
- Monitor temperature occasionally to ensure the pile is active.
Final Checklist for Home Composting
- Choose a bin and location
- Layer browns and greens
- Maintain moisture and aeration
- Turn regularly and monitor progress
- Use finished compost to enrich soil
Home composting is a manageable, low-cost way to reduce waste and improve garden soil. With the right balance and routine, most households can produce useful compost with minimal time investment.