
Why Home Composting for Beginners Matters
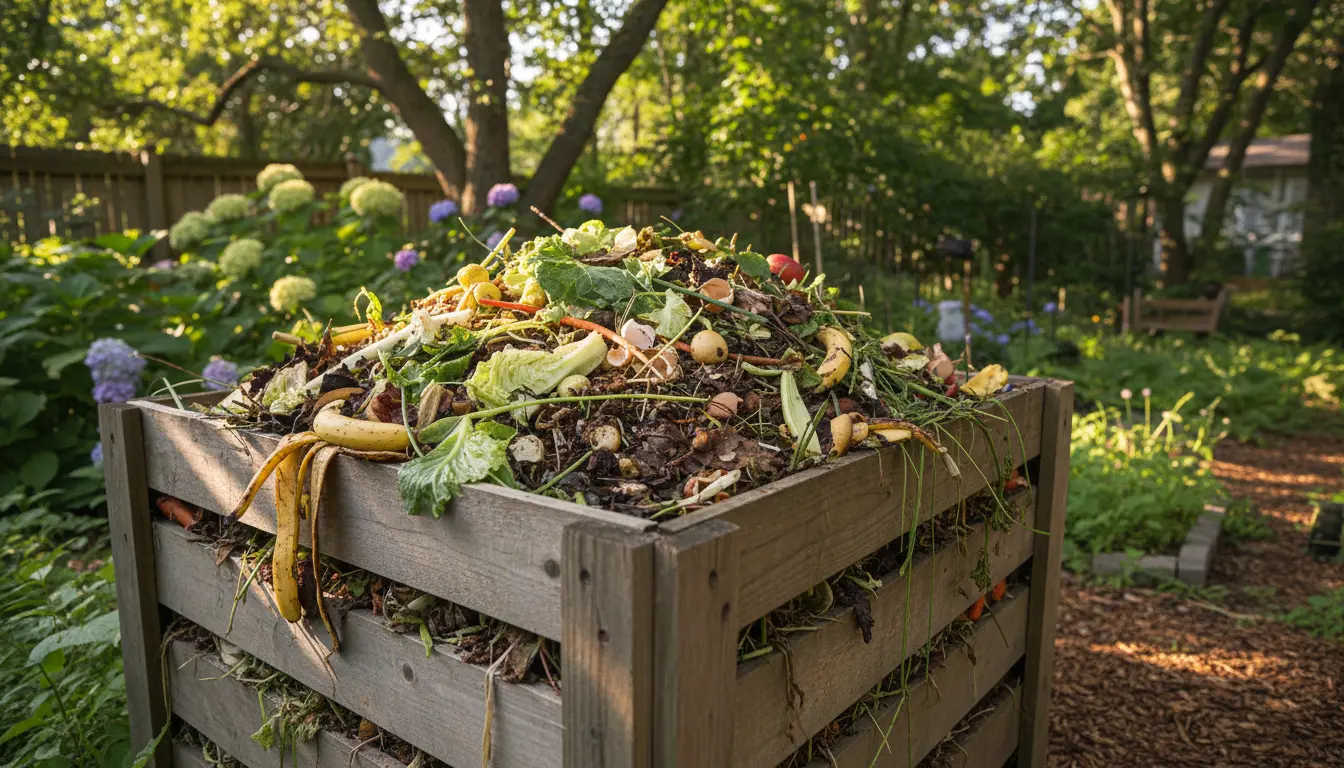
Home composting for beginners turns kitchen and yard waste into nutrient-rich soil. It reduces landfill trash and gives you free soil amendment for houseplants and gardens.
This guide gives practical, step-by-step instructions so you can start composting with minimal fuss.
Choose a Method for Home Composting for Beginners
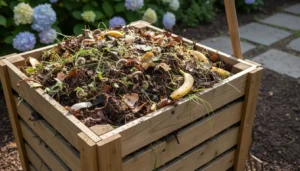
Pick a compost method that fits your space and lifestyle. Common options include a simple bin, a tumbler, or a worm (vermicompost) setup. Each method has small differences in maintenance and speed.
- Compost bin: Good for yards and low maintenance.
- Tumbler: Faster turning, less effort for aeration.
- Vermicompost: Great indoors or on balconies, uses worms for fast breakdown.
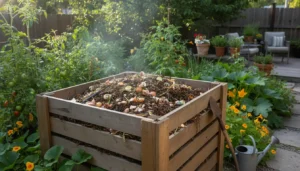
Where to Place Your Compost
Location affects performance. Place a bin on bare soil if possible so worms and microbes can enter easily. Choose a spot with partial shade to avoid drying out in summer.
For balcony or indoor systems, use a sealed vermicompost or small bokashi bucket to control odors and pests.
Materials: Greens and Browns in Home Composting for Beginners
Understanding greens and browns is key to quick, odor-free compost. Greens are nitrogen-rich items; browns supply carbon.
- Greens: vegetable scraps, fruit peels, coffee grounds, grass clippings.
- Browns: dry leaves, shredded newspaper, cardboard, straw.
A common target ratio is roughly 1 part greens to 3 parts browns by volume. Adjust based on smell and moisture.
What Not to Compost
Avoid meat, dairy, oily foods, diseased plants, and pet waste in basic home bins. These items attract pests and can cause odors unless you use a specialist system.
Step-by-Step Setup for Home Composting for Beginners
Follow these steps for a reliable start:
- Choose your bin or container and place it on soil or a stable surface.
- Start with a 4–6 inch layer of coarse browns like twigs to improve airflow.
- Add alternating layers of greens and browns. Keep pieces small by chopping or shredding.
- Maintain moisture like a wrung-out sponge. Add water if dry, or more browns if too wet.
- Turn or aerate every 1–2 weeks for faster breakdown.
Managing Temperature and Time
Hot compost piles reach 130–160°F when balanced and actively breaking down. You don’t need high temperatures to compost, but heat speeds the process and kills some weed seeds.
Cold composting can take 6–12 months, while more active hot composting can produce usable compost in 2–3 months.
Composting can cut household waste by up to 30 percent. Finished compost improves soil structure, water retention, and plant health while returning nutrients to the soil.
Troubleshooting: Common Problems in Home Composting for Beginners
Problems are usually simple to fix. Use small checks to diagnose the issue before changing your routine.
- Smelly pile: Add more browns and aerate. Smells mean too much moisture or too many greens.
- Pile too dry: Add water and more greens. Mix thoroughly to rehydrate inner material.
- Slow breakdown: Chop materials smaller, add nitrogen (greens), and turn more often.
- Pests: Avoid meat/dairy, use an enclosed bin, and bury fresh scraps under browns.
Testing Compost Readiness
Finished compost is dark, crumbly, and smells earthy. If you can still identify many scraps, let it age longer. A simple test is to place a small amount in a pot; if plants grow well, the compost is ready.
Using Finished Compost
Apply finished compost as a top dressing, mix it into potting soil, or use it to improve garden beds. Use a thin layer in established beds and a larger mix for new planting soil.
Examples of uses:
- Mix 20–30% compost into garden soil when planting vegetables.
- Top-dress lawns with a thin layer to improve soil health over time.
- Blend into potting mixes for houseplants to boost nutrients and structure.
Small Real-World Case Study
Case study: The Ramirez family started home composting for beginners in a small suburban backyard using a $60 tumbler. They followed a 1:3 greens-to-browns rule and turned the tumbler twice weekly.
Within four months they produced usable compost, reduced kitchen waste by about 35 percent, and reported healthier vegetable yields the next season. Their main adjustments were shredding cardboard and increasing turning during rainy weeks.
Practical Tips to Keep Going
Start small and build the habit. Use a kitchen scrap container with a tight lid to collect greens, and empty it into your outdoor bin twice a week.
Keep simple tools handy: a garden fork for turning, a chop or shred tool for larger items, and a watering can to maintain moisture.
Final Checklist for Home Composting for Beginners
- Choose the right bin for your space.
- Balance greens and browns and keep the pile moist.
- Turn or aerate regularly to speed decomposition.
- Monitor for smells, pests, or dryness and adjust accordingly.
- Use finished compost in the garden and enjoy lower waste and healthier soil.
With simple steps and a little attention, home composting for beginners can become an easy, rewarding routine that benefits your garden and the planet.