
Composting at home turns kitchen scraps and yard trimmings into a useful soil amendment. This guide explains the practical steps for successful home composting and common fixes for problems you may meet.
What Is Home Composting?
Home composting is the controlled decomposition of organic materials by microbes, worms, and other organisms. The end result is humus-rich compost that improves soil structure and plant health.
Why choose home composting?
It reduces household waste, lowers landfill methane, and creates a free soil conditioner. Home composting also speeds nutrient recycling back into your garden.
How to Start Home Composting
Starting is easier than many expect. Follow clear steps: pick a method, collect materials, balance the mix, and maintain the pile.
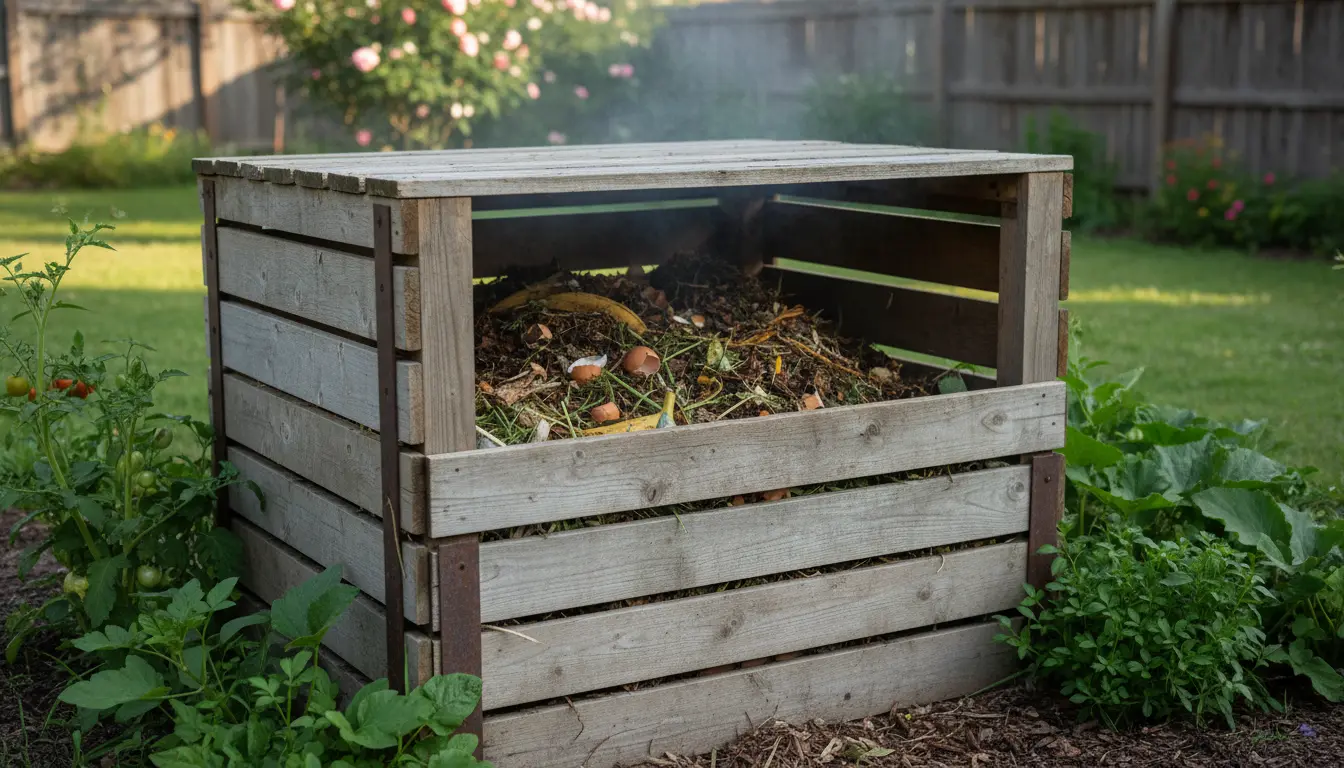
Step 1: Choose a compost method
Select a method that fits your space and lifestyle. Common options are a simple heap, a closed bin, a tumbler, or an indoor worm bin (vermicompost).
- Backyard bin: Good for yards and lower maintenance.
- Tumbler: Faster mixing, less manual turning.
- Vermicompost: Ideal for apartments and kitchens; produces nutrient-rich castings.
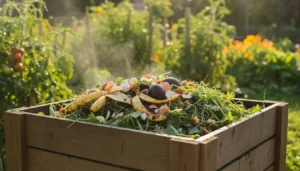
Step 2: Collect and prepare materials
Compost needs a balance of carbon-rich and nitrogen-rich inputs. Chop larger items to speed decomposition.
- Greens (nitrogen): vegetable scraps, coffee grounds, fresh grass clippings.
- Browns (carbon): dried leaves, shredded paper, straw, cardboard.
- Small amounts of garden soil or finished compost help introduce microbes.
Step 3: Balance and build the pile
A common ratio is roughly 3 parts browns to 1 part greens by volume. Layer materials and keep the pile moist like a wrung-out sponge.
Air is important. Provide ventilation with a bin that allows airflow or turn the pile every 1–2 weeks.
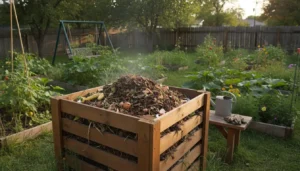
Maintenance Tips for Home Composting
Regular, simple care keeps your compost active. Monitor moisture, aeration, and temperature to maintain microbial activity.
- Moisture: Add water or browns to adjust wetness.
- Aeration: Turn or stir the pile to prevent compacting.
- Temperature: Hot piles (120–160°F) decompose faster; small piles may stay cooler but still work.
Tools and supplies
You only need a few items: a bin or container, a pitchfork or turning tool, and a kitchen caddy for scraps. Optional: thermometer and a compost aerator.
Adding crushed eggshells improves calcium in compost, helping prevent blossom end rot in tomatoes when used in the garden.
What to Compost and What to Avoid
Most plant-based kitchen waste is safe. Some items slow decomposition or attract pests and should be avoided.
Compostable items
- Fruit and vegetable scraps
- Coffee grounds and tea bags (paper or non-plastic)
- Yard trimmings, leaves, grass clippings
- Shredded paper, cardboard, and natural fibers
Items to avoid
- Meat, dairy, and oily foods (attract pests)
- Diseased plants and invasive weeds
- Pet waste from carnivores
- Large woody branches without chipping
Troubleshooting Common Problems in Home Composting
Problems are usually easy to fix. Below are typical issues and practical solutions.
Bad odors
Cause: Too wet or too much green material. Fix: Add dry browns, turn the pile, and improve drainage.
Slow decomposition
Cause: Pile is too dry or too compacted. Fix: Moisten, chop materials, and increase aeration by turning.
Pests or rodents
Cause: Food scraps like meat or insufficient covering. Fix: Avoid prohibited items, bury food in the middle, or use a closed bin or tumbler.
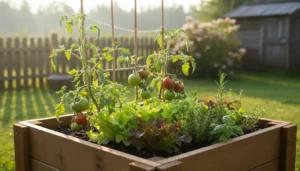
Using Your Finished Compost
Finished compost is dark, crumbly, and smells earthy. Use it to improve garden soil, potting mixes, or as a mulch topdressing.
- Mix into garden beds at 1–3 inches depth before planting.
- Use a 1:3 ratio of compost to soil in potting mixes for seedlings.
- Add as mulch around shrubs and trees to retain moisture.
Small Real-World Case Study
Case: A suburban homeowner converted a 3×3 foot corner into a compost corner using a wooden bin. They layered leaves and kitchen scraps, turned weekly, and kept the pile covered in winter.
Result: After six months they had 30 liters of usable compost, which reduced their grocery bag of food waste by half. Garden beds showed improved soil texture and increased tomato yields that season.
Next Steps for Successful Home Composting
Start small and keep routines simple. Track what works in your climate and adjust the green-to-brown ratio as needed. With basic care, home composting becomes a low-effort way to build healthier soil and reduce waste.
If you want a quick starter checklist: collect a bin, gather a mix of greens and browns, maintain moisture, and turn the pile every 1–2 weeks. Small changes lead to steady results.