
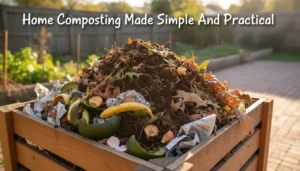
Home composting for beginners is an easy way to reduce kitchen waste and improve garden soil. This guide gives clear, practical steps to start composting at home with minimal tools and time.
What is home composting for beginners
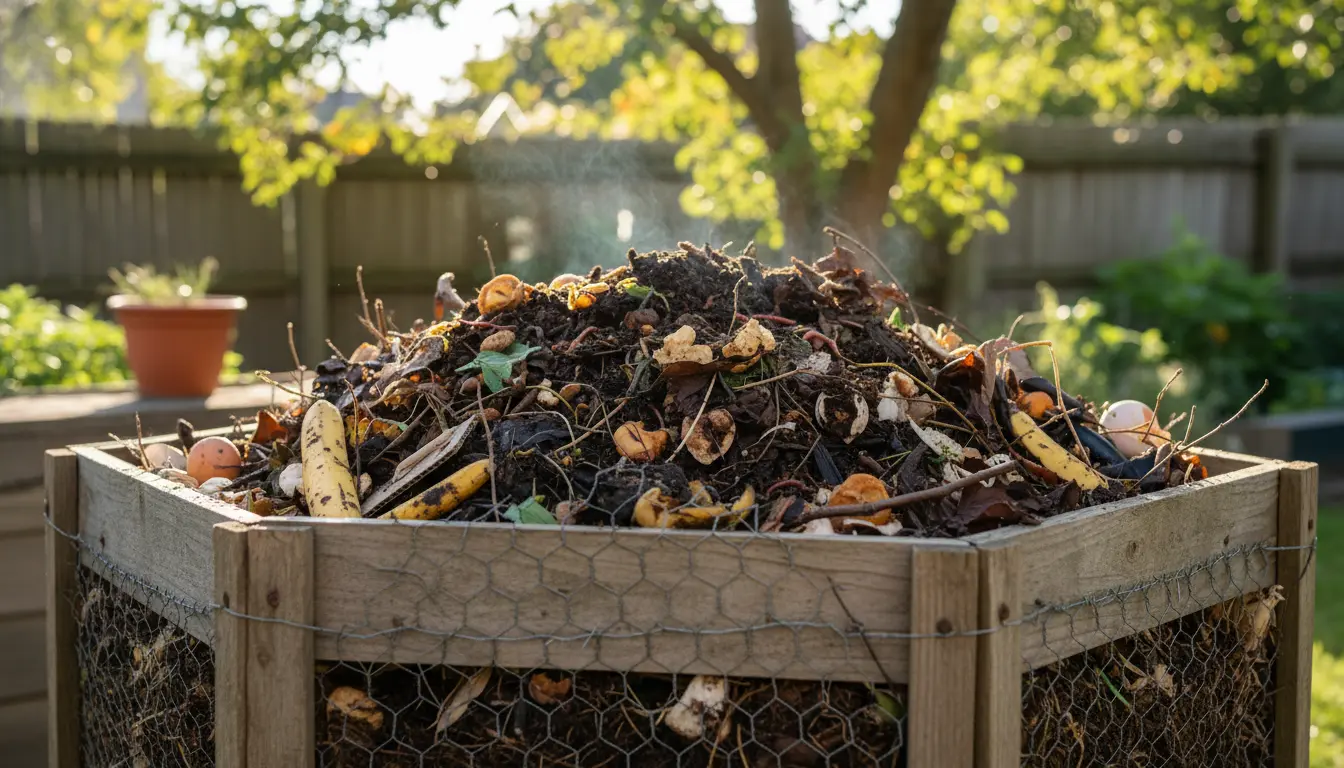
Home composting is the natural breakdown of organic materials into nutrient-rich soil amendment. Beginners can use simple containers or piles and follow basic rules to avoid odors and pests.
Compost reduces landfill waste and returns nutrients to the soil, improving plant health and water retention.
Benefits of home composting for beginners
- Reduces household waste and trash costs.
- Creates free, nutrient-dense compost for plants.
- Improves soil structure and moisture retention.
- Supports sustainability and lowers carbon footprint.
Getting started: tools and space for home composting
Choose a simple setup that fits your living situation. Small apartment gardeners can use a worm bin; homeowners often prefer a tumbling bin or a backyard pile.
Basic tools needed:
- A bin or designated pile area
- A pitchfork or garden fork for turning
- A kitchen caddy or compostable bags for scraps
Bin options for home composting for beginners
Select a bin based on space and capacity. Each option has pros and cons:
- Bokashi or indoor systems: Good for small apartments; can handle cooked food.
- Worm (vermicompost) bins: Efficient and compact; great for vegetable scraps.
- Tumbling bins: Faster decomposition and easy turning.
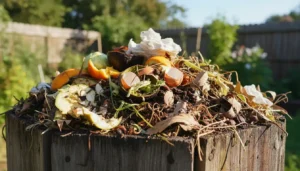
- Open backyard pile: Low cost and large capacity; requires more space and management.
What to compost: easy lists for beginners
Good materials fall into two categories: greens and browns. Aim for a balanced mix to speed decomposition.
- Greens (nitrogen): Vegetable scraps, fruit peels, coffee grounds, grass clippings.
- Browns (carbon): Dry leaves, shredded paper, cardboard, straw, small branches.
Items to avoid: meat, dairy, oily foods, diseased plants, and pet waste. These can attract pests or slow the process.
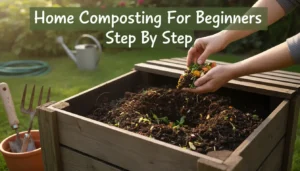
Step-by-step composting process
Follow these steps for steady progress and a healthy compost pile.
- Choose a container and location with some shade and good drainage.
- Start with a layer of coarse browns to aid airflow.
- Add alternating layers of greens and browns; keep them moist like a wrung-out sponge.
- Turn or mix the pile every 1–2 weeks to aerate and speed decomposition.
- Monitor temperature: active compost heats up. When it cools, turning helps restart activity.
Moisture and aeration tips
Too dry slows decomposition; too wet causes odors. Aim for damp but not dripping. If soggy, add more browns and mix in coarse material for airflow.
Turning prevents compacting and introduces oxygen, which keeps microbes active and reduces smell.
Compost can reach temperatures of 130 to 160°F (55 to 70°C) in an active pile, which helps kill weed seeds and pathogens. Even small backyard piles often reach warm temperatures during active decomposition.
Troubleshooting common problems in home composting for beginners
Problems are usually easy to fix. Identify the symptom, then adjust the mix, moisture, or turning frequency.
- Bad odor: Add dry browns, increase turning, and reduce wet food inputs.
- Flies or pests: Bury food scraps deeper, use a closed bin, or add a layer of finished compost or soil.
- Slow breakdown: Chop materials smaller, add greens for nitrogen, and check moisture.
When is compost ready to use?
Finished compost is dark, crumbly, and smells earthy. It takes 2–12 months depending on method and management.
Use finished compost as a soil top dressing, mix into potting soil, or add to garden beds to improve fertility.
Simple uses for finished compost
- Mix 1 part compost with 3 parts garden soil for planting beds.
- Top-dress lawn or vegetable beds with a thin layer of compost.
- Blend compost into potting mixes for containers.
Real-world example: small apartment case study
Case study: Anna lives in a two-bedroom apartment and started a worm bin with a 10-liter plastic container. She collected kitchen scraps in a small counter caddy and added shredded paper as bedding.
In six months Anna diverted about 120 pounds of food scraps from the trash and produced roughly 10 liters of rich worm castings. She uses the castings to feed potted herbs and has seen healthier leaves and faster growth.
Key actions Anna took: consistent feeding schedule, avoiding oily foods, and harvesting castings every three months.
Quick checklist to begin home composting for beginners
- Choose a bin type that fits your space.
- Collect greens and browns separately at first.
- Keep the pile moist and turn regularly.
- Watch for odors and pests; adjust as needed.
- Harvest finished compost and use it in the garden.
Home composting for beginners is a low-cost, high-impact habit. Start small, follow the simple rules above, and adjust based on your space and materials. With regular attention you can turn household waste into a valuable resource for your plants.