
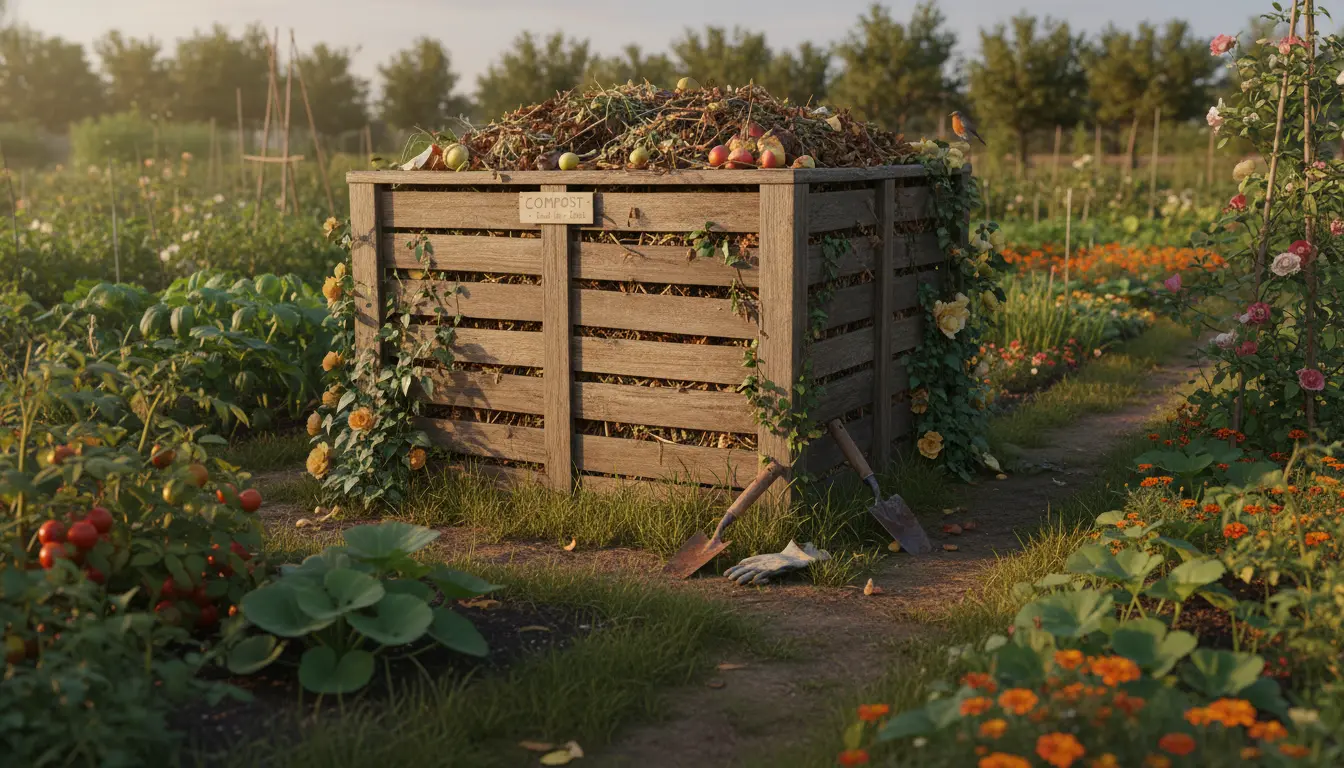
Why Home Composting Matters
Home composting turns kitchen and yard waste into useful soil amendment. It reduces household garbage and feeds gardens with nutrients.
Starting composting at home is low cost and simple. This guide gives step-by-step instructions to begin and maintain a healthy compost system.
How to Start Home Composting
Begin by choosing a method that fits your space and lifestyle. Common options are a backyard compost pile, a covered bin, or a worm (vermicompost) setup.
Decide on the location first. Pick a level, well-drained spot with partial shade. Good placement speeds breakdown and reduces odor.
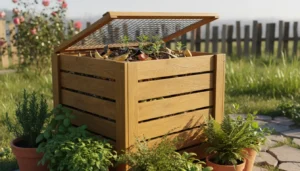
Choose a Compost Bin or System
Select a container based on available space and effort you want to invest. Open piles are fine for yards, while a closed bin works for small spaces and pest control.
- Open pile: Cheapest and easiest for large yards.
- Plastic or wooden bin: Cleaner and faster for small yards.
- Compost tumbler: Fast turning, low manual labor.
- Vermicompost bin: Uses worms; ideal for indoor or small-space composting.
What to Compost: Browns and Greens
Compost needs carbon-rich “browns” and nitrogen-rich “greens.” Balance them for efficient breakdown.
- Greens (nitrogen): Vegetable scraps, fruit peels, coffee grounds, fresh grass clippings.
- Browns (carbon): Dry leaves, paper, cardboard, straw, small wood chips.
A practical ratio is about 2–3 parts browns to 1 part greens by volume. Adjust based on smell and moisture.
Step-by-Step Home Composting Process
Follow these basic steps to build and maintain a compost heap. Each step helps maintain balance and speed up decomposition.
1. Build a Base
Start with a 4–6 inch layer of coarse material like small branches or straw. This improves air flow and drainage at the bottom.
2. Add Materials in Layers
Alternate layers of greens and browns. Aim for mixed particle sizes to increase surface area and help microbes work faster.
- Add food scraps in the center to discourage pests.
- Chop or shred large pieces to accelerate breakdown.
3. Maintain Moisture and Air
Compost should be as damp as a wrung-out sponge. Too dry and decomposition slows; too wet and it becomes anaerobic and smelly.
Turn or aerate the pile every 1–2 weeks to introduce oxygen. Use a pitchfork or compost aerator for bins.
4. Troubleshoot Common Problems
Smell often means too much green or lacking air. Add browns and turn the pile.
Slow decomposition can mean pile is too dry or too cold. Add water and insulate with a cover or larger pile mass.
Microbes and worms are the main workers in compost. A healthy compost pile can reach temperatures of 120 to 160°F, which helps kill weed seeds and pathogens.
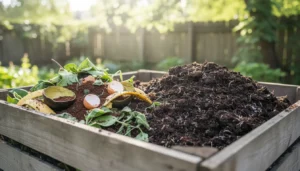
How to Use Finished Compost
Finished compost looks dark, crumbly, and smells earthy. It typically takes 2–12 months depending on method and materials.
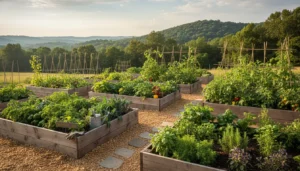
- Mix into garden beds at a rate of 1–3 inches for general soil improvement.
- Top-dress lawns with a thin layer to add nutrients and improve soil structure.
- Use as potting mix ingredient, blending one part compost to two parts potting soil.
Small Real-World Example
Case Study: Laura, a small apartment gardener, started a 20-liter vermicompost bin under her sink. She added only vegetable scraps and coffee grounds and fed the worms weekly.
After four months she harvested about 15 liters of worm castings and reduced her kitchen waste by roughly 40 percent. Her container herbs grew noticeably fuller after mixing the castings into potting soil.
Tips for Home Composting Success
- Keep a small counter bowl with a lid for collecting scraps to avoid trips to the bin.
- Freeze meat or dairy scraps until you can add them to an outdoor compost (or avoid them if you have pests).
- Chop or shred materials when possible to speed decomposition.
- Record the mix and results for a few months to learn what works in your climate and system.
When to Choose Vermicomposting
Vermicomposting is ideal for limited space and quick results. Worm bins are low odor when managed properly, and they produce high-quality fertilizer.
However, worm bins need stable indoor temperatures and careful feeding to avoid overload.
Final Checklist to Start Home Composting
- Choose a bin or pile location with partial shade.
- Gather brown and green materials before you begin.
- Start with a 4–6 inch base layer for airflow.
- Maintain moisture and turn the pile every 1–2 weeks.
- Harvest finished compost when it is dark and crumbly.
Home composting is a practical way to reduce waste and improve soil. With simple steps and regular attention, anyone can create nutrient-rich compost for gardens and houseplants.