
Why Grow Microgreens at Home
Microgreens are young vegetable greens harvested at the seedling stage. They pack flavor and nutrients into a small space and grow quickly.
Growing microgreens at home is cost-effective and needs minimal equipment. This guide gives clear, practical steps so you can start a successful crop in days.
What You Need to Grow Microgreens at Home

Start with a few basic supplies. You can reuse many items to keep costs low and reduce waste.
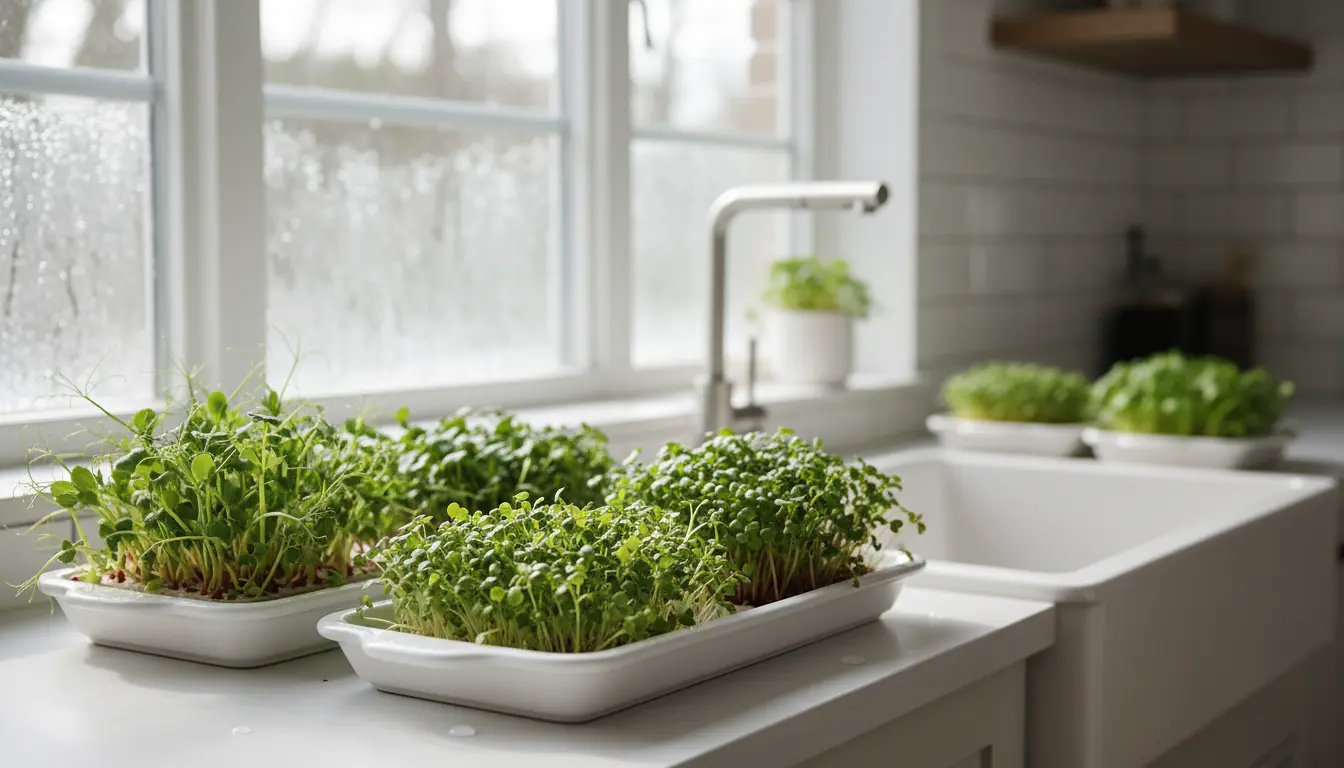
- Shallow trays with drainage (or seed trays)
- Seeds labeled for microgreens (e.g., radish, sunflower, pea, basil)
- Growing medium: coconut coir, seed-starting mix, or a thin layer of potting soil
- Water mister or spray bottle
- Natural light near a window or a simple LED grow light
- Kitchen scale (optional) and scissors for harvest
Choosing Seeds and Varieties
Choose seeds sold specifically for microgreens to avoid treated seeds. Popular easy varieties include radish, broccoli, sunflower, pea, and basil.
Mix varieties for flavor and color, but start with one or two types to learn timing and care.
Step-by-Step: How to Grow Microgreens at Home

Follow these steps for a reliable, small-batch harvest. Each step is brief so you can repeat it as you learn.
1. Prepare Trays and Medium
Fill trays with 1–1.5 inches of growing medium. Level the surface but do not compact it; roots need air.
Moisten the medium before sowing so it feels like a damp sponge, not dripping wet.
2. Sow Seeds

Scatter seeds evenly across the tray. For dense microgreens, sow seeds close but not overlapping heavily. For larger seeds like sunflower, sow slightly spaced.
Lightly press seeds into the medium to ensure contact, then cover with a thin dusting of medium for tiny seeds or leave large seeds uncovered.
3. Cover and Germinate
Cover the tray with another tray or a humidity dome to keep seeds moist and dark during germination. Check daily and mist if the surface feels dry.
Germination usually takes 2–7 days depending on species and temperature.
4. Provide Light and Air
Once sprouts show green, remove the cover and place trays under bright, indirect light. A sunny south-facing windowsill or a 12–16 hour LED grow light works well.
Rotate trays daily for even growth and ensure good air circulation to reduce mold risk.
5. Watering Routine
Water with a spray bottle or bottom-water by adding water under the tray so the medium wicks moisture up. Avoid overwatering, which causes mold.
Light, frequent misting keeps leaves fresh. Adjust frequency based on room temperature and humidity.
6. Harvesting Microgreens
Microgreens are typically ready 7–21 days after sowing, when true leaves appear and stems are 1–3 inches tall. Use scissors to cut above the soil line.
Harvest in the morning for best flavor and store in the fridge wrapped in a paper towel inside a breathable container.
Troubleshooting Common Problems
Mold and damping-off are the most frequent issues for beginners. Good airflow and not overwatering usually fix these problems.
- Mold: Reduce humidity, increase airflow, thin crowded seedlings.
- Leggy growth: Provide more light or move closer to a grow light.
- Slow germination: Check seed viability and keep medium warm (65–75°F / 18–24°C).
Storage and Uses for Microgreens
After harvest, store microgreens in the fridge for up to a week. Rinse gently only before eating.
Use microgreens to top salads, sandwiches, soups, and smoothies. They add strong flavor and a nutrient boost in small amounts.
Small Case Study: Apartment Microgreens for Extra Income
Case: Anna, a one-bedroom apartment dweller, used two 10×20 trays to grow sunflower and radish microgreens. She harvested every 10 days, producing four harvests per tray each month.
Outcome: Selling 16 clamshells a month at $4 each yielded $64 monthly revenue with seed and utility costs under $10. After minor startup costs, this became a small, steady extra income stream.
Microgreens can contain up to 40 times higher nutrient concentrations than mature leaves, depending on the crop. A small tray delivers a dense nutrient boost to meals.
Tips to Scale and Save Money
To scale up, use stackable shelving with LED lights to maximize vertical space. Reuse and clean trays between crops to reduce costs.
Buy seeds in bulk for frequent growers, and experiment with blends that sell well at local markets or to friends and neighbors.
Quick Checklist: Grow Microgreens at Home
- Set up trays and medium
- Sow seeds evenly and keep moist
- Germinate under a cover for 2–7 days
- Provide light and air once green
- Harvest at 1–3 inches tall and store properly
Growing microgreens at home is fast and forgiving. With a little practice, you can produce fresh, flavorful greens on a weekly schedule and even turn a hobby into a small local business.