
Why Composting at Home Matters
Composting at home turns kitchen scraps and yard waste into rich soil that helps plants grow. It reduces landfill waste and lowers household greenhouse gas emissions.
Home composting also saves money on fertilizer and improves soil structure, water retention, and nutrient content for your garden.
Getting Started with Composting at Home

Start by picking a composting method that fits your space and lifestyle. Different systems require different levels of effort and time.
Choose a Composting Method
- Cold bin: Low effort, add materials over time, slow breakdown.
- Hot compost: Faster decomposition, needs regular turning and a mix of materials.
- Tumbler: Enclosed drum that you rotate to aerate; tidy and reasonably quick.
- Vermicomposting: Uses worms for indoor or small-space composting, ideal for kitchen waste.
What to Put in Your Compost
Balance is key. Aim for a mix of carbon-rich “browns” and nitrogen-rich “greens” to keep microbes active.
- Greens: vegetable peels, fruit scraps, coffee grounds, fresh grass clippings.
- Browns: dried leaves, straw, cardboard, shredded paper.
- Avoid: meat, dairy, oils, pet waste, diseased plants, glossy paper.
Step-by-Step Composting at Home
Follow a few basic steps to set up and maintain a healthy compost pile or bin. These steps apply to most systems with small adjustments.
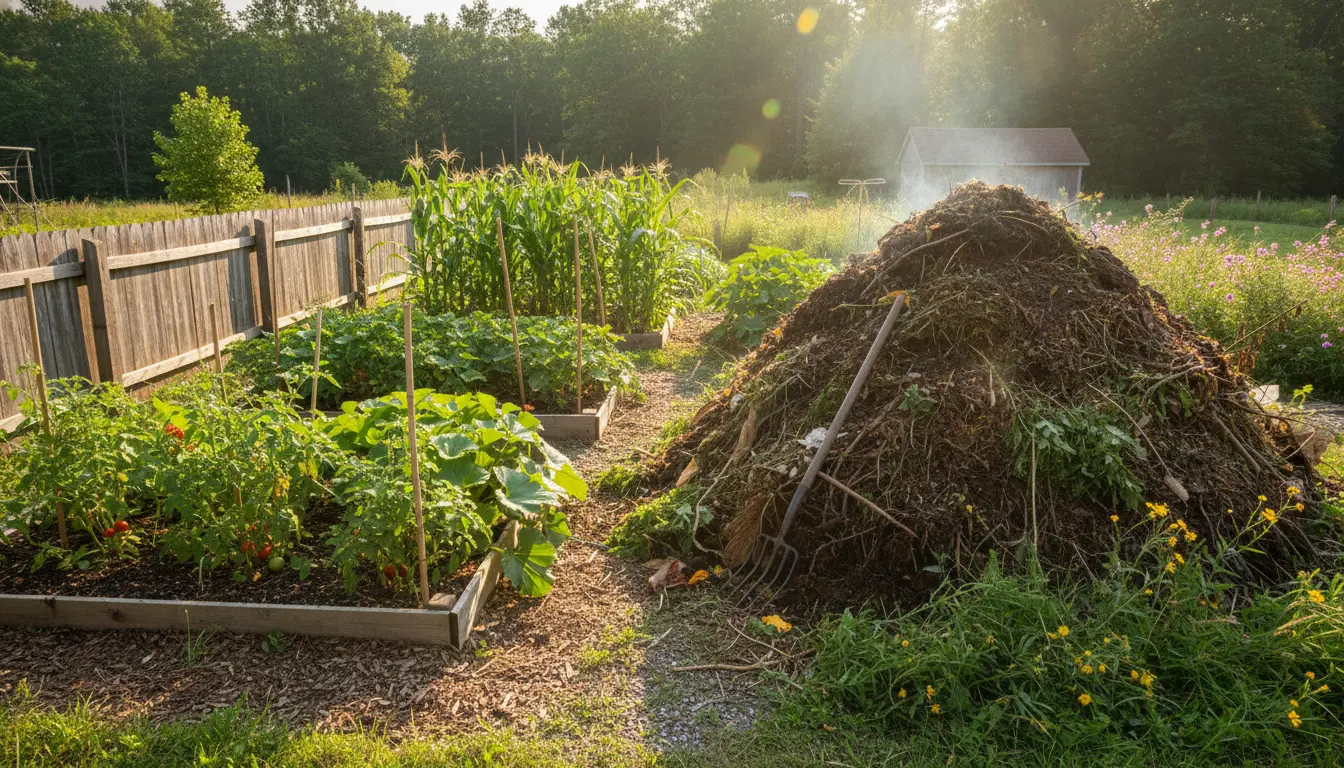
1. Pick a Location
Choose a partial-shade spot with good drainage and easy access to your kitchen. A level area helps maintain moisture balance.
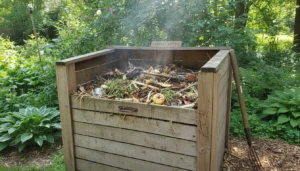
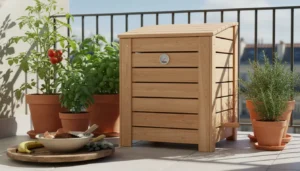
2. Set Up the Container
Use a simple bin, tumbler, or a homemade pallet enclosure. Ensure some airflow to support aerobic decomposition.
3. Layer Materials
Start with coarse browns for drainage, then alternate greens and browns in 4–6 inch layers. This helps air move through the pile.
4. Manage Moisture and Air
The pile should feel like a damp sponge: moist but not dripping. Turn the pile every 1–2 weeks for hot systems. Tumblers can be rotated every few days.
5. Monitor Temperature and Time
Hot piles reach 130–150°F (55–65°C) and finish in weeks. Cold piles can take months to a year. Use a compost thermometer if you want to track progress.
Troubleshooting Common Problems in Composting at Home
Problems are usually due to moisture, aeration, or the wrong mix of materials. Small fixes get the pile back on track.
- Bad smell: Add more browns, turn the pile, check for meat or dairy.
- Pests: Cover food scraps with browns or soil; secure the bin and avoid attracting animals with meat or fats.
- Slow decomposition: Chop materials smaller, add some greens, and increase turning.
- Too wet: Mix in dry browns and improve drainage; leave the lid off in rainy weather.
Composting at home can reduce household waste by up to 30 percent and helps cut methane emissions from landfills. Finished compost also increases soil carbon and supports beneficial microbes.
Small Real-World Example
Case study: A townhouse family of four started a 3-bin hot compost system. They added most kitchen scraps and half their yard trimmings.
After six months of regular turning and mixing, they produced about 200 liters of compost usable in vegetable beds. Tomato yields increased by 15 percent, and they reported saving roughly $80 a season on soil amendments.
Using Finished Compost from Composting at Home
Finished compost is dark, crumbly, and earthy-smelling. Use it to top-dress lawns, mix into garden beds, or pot up houseplants.
Apply a 1–3 inch layer to garden beds in spring or work compost into planting holes at planting time for best results.
Tips to Make Composting at Home Easier
- Keep a sealed kitchen caddy for scraps to reduce trips outside and avoid odors.
- Chop or shred materials to speed decomposition.
- Keep a simple log or calendar to track turning and additions for hot composting.
- If space is limited, try vermicomposting indoors with a small worm bin.
Composting at home is a low-cost, practical way to recycle nutrients and improve garden health. Start small, learn by doing, and adjust your system over time.