
Why composting at home matters
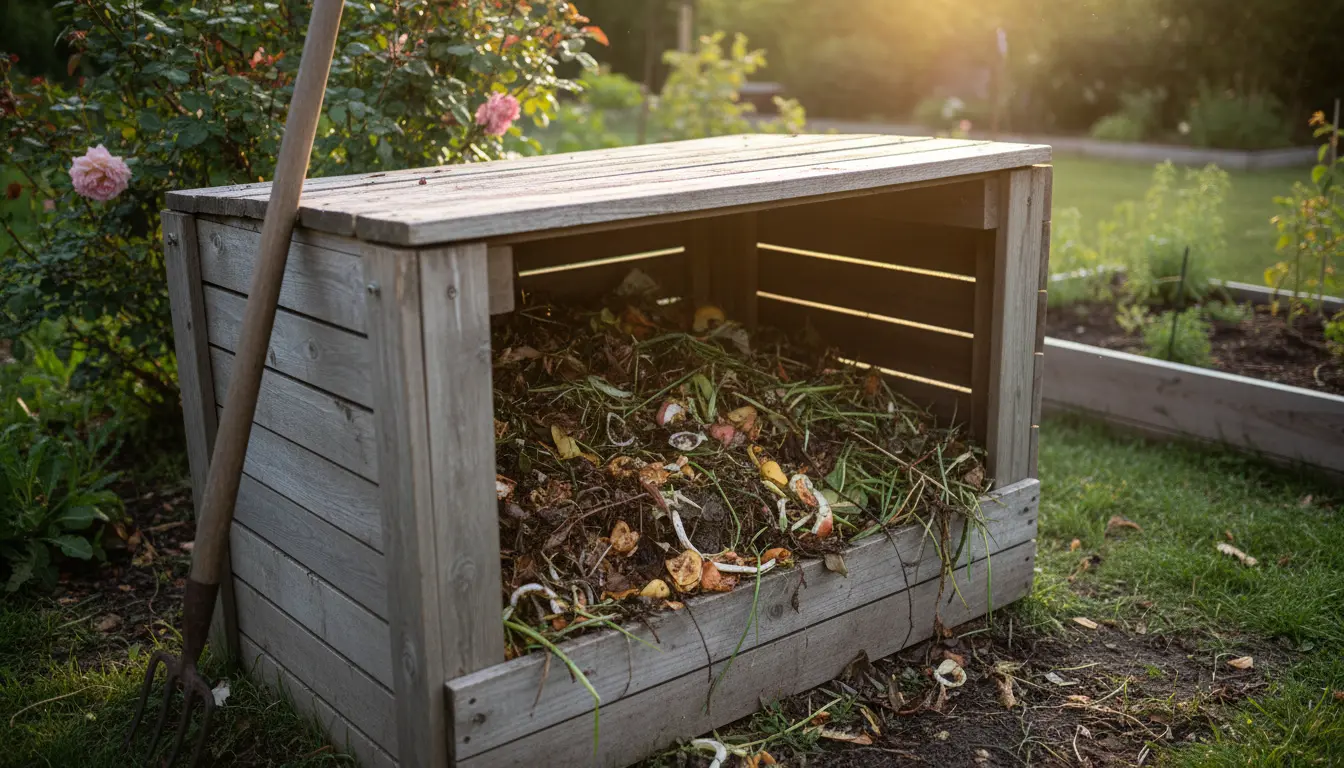
Composting at home turns kitchen scraps and yard waste into valuable soil material. It reduces landfill waste and improves garden soil structure and fertility.
For many households, home composting is an easy step toward lower waste and healthier plants. You can start with minimal space and effort.
Types of composting at home
There are several practical ways to compost at home depending on space and preference. Choose the method that matches your lifestyle and available area.
Cold composting
Cold composting is simple and low-maintenance. Add kitchen scraps and yard waste to a pile or bin and let nature break them down over many months.
This method requires little turning and works well for occasional gardeners or busy households.
Hot composting
Hot composting produces finished compost faster by keeping materials warm and moist. It needs a good mix of greens and browns, regular turning, and attention to moisture.
Expect usable compost in a few weeks to a few months with consistent effort.
Vermicomposting
Vermicomposting uses worms to convert food waste into nutrient-rich castings. It works well indoors or in small spaces with a worm bin.

This method is tidy and efficient, but needs proper care of the worm colony and food inputs.
What to compost at home
Knowing what can go into your compost is key to success. Aim for a balance between green (nitrogen-rich) and brown (carbon-rich) materials.
- Green items: fruit and vegetable scraps, coffee grounds, fresh grass clippings.
- Brown items: dry leaves, shredded paper, cardboard, straw.
- Not recommended: meat, dairy, oils, diseased plants, pet waste from carnivores.
Example ratios: a common guideline is roughly 2 to 3 parts brown to 1 part green by volume. Adjust as needed for smell and moisture control.
How to start composting at home
Follow these practical steps to set up a basic home compost system. You can scale each step to match your space and needs.
- Choose a container: a simple bin, tumbler, or outdoor pile will work. For small spaces, use a worm bin or sealed countertop collector.
- Pick a location: a shaded, well-drained spot keeps the pile from drying out or getting waterlogged.
- Layer materials: start with coarse browns for airflow, then add alternating layers of greens and browns.
- Maintain moisture and aeration: keep the pile as damp as a wrung-out sponge and turn weekly for faster breakdown.
- Monitor temperature: for hot composting aim for 50–65°C (120–150°F). Use a compost thermometer if desired.
Troubleshooting common problems with composting at home
Problems are often fixable by adjusting moisture, airflow, or ingredient balance. Here are common issues and quick solutions.
- Bad odors: add more brown materials and mix to increase airflow.
- Slow decomposition: chop materials smaller, increase surface area, and turn more often.
- Flies or pests: cover food scraps with browns and use a closed bin or tumbler. Avoid meat and dairy.
- Too wet: add dry browns and aerate the pile. Ensure proper drainage in the bin.
Composting diverts about 30% of household waste from landfills, and finished compost can improve soil water retention by up to 50% in sandy soils.
How to tell when compost is ready
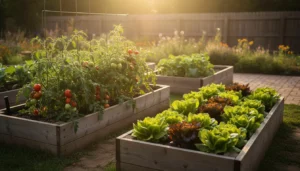
Finished compost is dark, crumbly, and has an earthy smell. It should be free of recognizable food pieces and feel like loose soil.
When ready, use compost as a top dressing, mix into potting mixes, or work into garden beds to improve structure and nutrients.
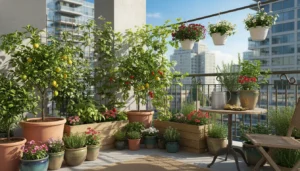
Small real-world example: A city balcony composting case
Maria lives in a two-bedroom apartment and started vermicomposting in a 20-liter worm bin. She collected vegetable peels and coffee grounds in a small countertop pail and emptied it into the bin twice a week.
Within three months, Maria produced enough worm castings to top-dress her balcony herb pots. She reports less kitchen waste and healthier basil and mint growth.
Practical tips for busy households
Make composting at home easy by building small routines. Keep a small sealed container for scraps and empty it regularly into your bin.
- Freeze scraps if you collect them for several days to reduce odors and pests.
- Shred cardboard and paper ahead of time to speed decomposition.
- Use a compost thermometer or simple touch test to check progress.
Final checklist before you start composting at home
Use this quick checklist to confirm you have the basics in place. Starting small is better than waiting for the perfect setup.
- Container or space chosen
- Plan for regular additions and occasional turning
- Balance of greens and browns
- Expectation of time—cold vs hot composting
Composting at home is a practical, low-cost habit that benefits your garden and the environment. With basic care and small adjustments, most households can produce healthy compost and reduce waste.