
Why home composting matters
Home composting turns kitchen and yard waste into a useful soil amendment. It reduces landfill waste and improves garden soil without expensive products.
This guide explains simple steps, tools, and common fixes so you can start composting at home with confidence.
What is home composting and how it works
Home composting is the controlled decomposition of organic material by microbes, worms, and insects. Over weeks to months those materials become humus — rich, crumbly compost you can add to soil.
Successful composting needs a balance of carbon and nitrogen, oxygen, moisture, and the right particle size. Managing these factors helps materials break down quickly and without bad odors.
What you can and cannot compost
Knowing what to add prevents problems. Separate items into two lists: carbon rich (brown) and nitrogen rich (green).
- Greens (nitrogen): vegetable scraps, fruit peels, coffee grounds, fresh grass clippings, tea bags.
- Browns (carbon): dry leaves, shredded paper, cardboard, straw, small wood chips.
- Avoid: meat, dairy, cooked oils, diseased plants, pet waste, and large branches.
Tools and bins for home composting
You don’t need fancy gear to compost. Choose a method that fits your space and commitment level.
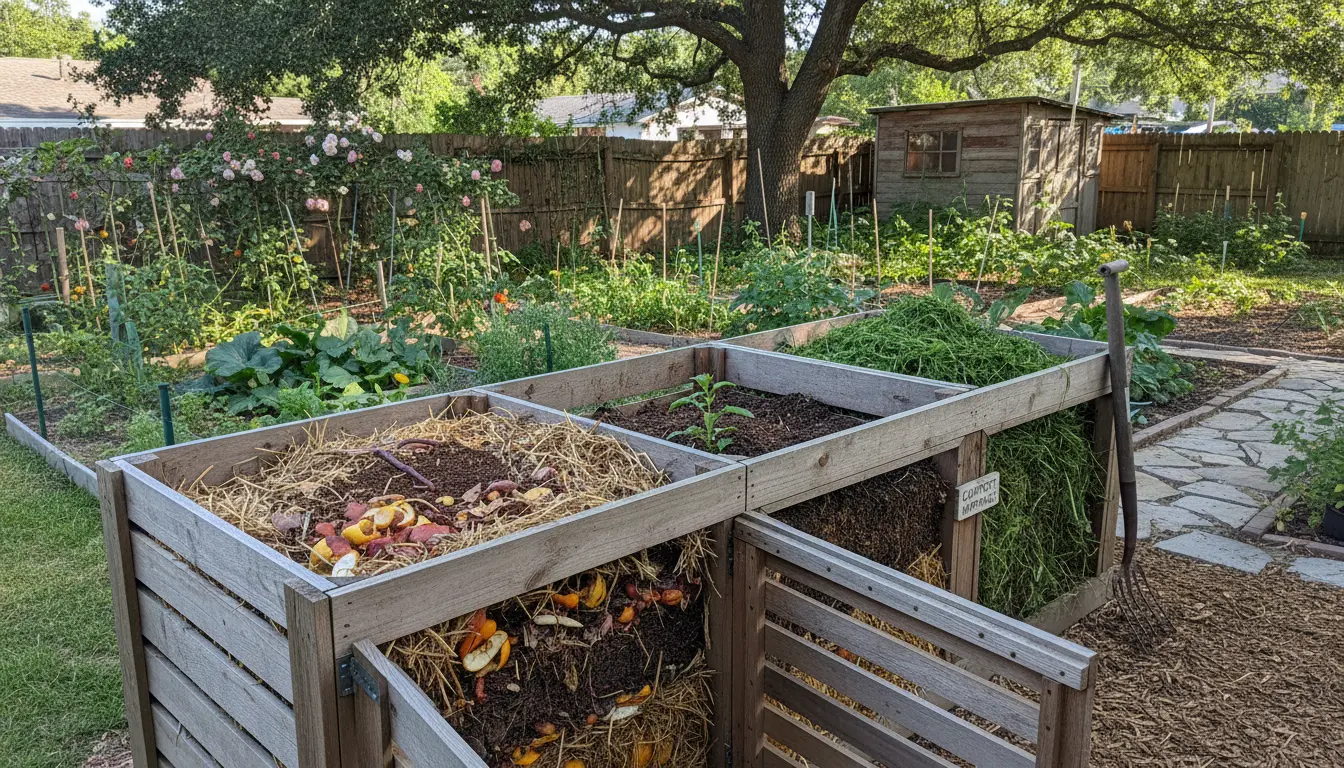
- Open pile: good for large yards but needs space and occasional turning.
- Plastic or metal tumbler: speeds up turning and reduces pests, ideal for small yards.
- Compost bin or worm bin (vermicomposting): excellent for patios and apartments; worms process food scraps efficiently.
Basic tools: garden fork or pitchfork, a bin or tumbler, a small shovel, and a kitchen collection container for scraps.
Step-by-step home composting process
Follow these practical steps to start a balanced compost pile.
- Choose a location: partial shade, well-drained area, and convenient for adding scraps.
- Build a base layer: coarse twigs or straw to aid drainage and airflow.
- Add materials in layers: alternate browns and greens, aiming for roughly 3:1 carbon to nitrogen by volume.
- Maintain moisture: compost should feel like a wrung-out sponge — damp but not soggy.
- Turn or aerate: every 1–2 weeks for faster decomposition; less often for slow, low-maintenance piles.
- Monitor temperature: a hot pile reaches 130–150°F (55–65°C) and breaks down materials faster; smaller piles may remain cooler and take longer.
Quick tips for balancing the pile
- Too wet or smelly? Add dry browns and turn to increase airflow.
- Too dry? Add water and fresh greens to rehydrate microbes.
- Large items slow decomposition: chop or shred them first.
Composting can reduce household waste by up to 30 percent and returns nutrients to soil, improving plant health and water retention.
Troubleshooting common home composting problems
Simple fixes prevent frustration. Most issues stem from moisture, aeration, or material mix problems.
- Foul odor: Add dry browns and turn the pile to add oxygen. Reduce added food scraps until balance returns.
- Pests: Avoid adding meat, dairy, or oily foods. Use closed bins or bury food scraps under a layer of browns.
- Slow breakdown: Increase surface area by shredding materials, add nitrogen-rich greens, and turn more often.
- Too dry: Sprinkle water and mix to distribute moisture evenly.
When is compost ready and how to use it
Finished compost is dark brown, crumbly, and smells earthy. It can take 2–12 months depending on method and management.
Use finished compost as a soil amendment, top dressing for lawns, or mix into potting soil. Apply a thin layer around plants or blend 25–50% compost into garden beds.
Small case study: Maria’s apartment composting
Maria lives in a two-bedroom apartment and started composting with a small worm bin. She used a sealed indoor container for kitchen scraps and transferred them to the vermicompost weekly.
After six months she produced enough compost to feed several potted herbs and reduced her kitchen waste by nearly half. Her key moves: consistent layer management, avoiding citrus overload, and keeping the bin in a cool spot.
Simple plan to get started with home composting
Follow this 4-step starter plan to begin today.
- Gather a small bin and a kitchen container for scraps.
- Collect only fruit and vegetable scraps, coffee grounds, and dry leaves for the first month.
- Layer browns and greens and keep the pile moist; turn once per week.
- Observe and adjust: fix smells, add browns if wet, or greens if slow.
Home composting is a low-cost, high-impact way to reduce waste and improve soil. Start small, monitor conditions, and adapt as you learn.