
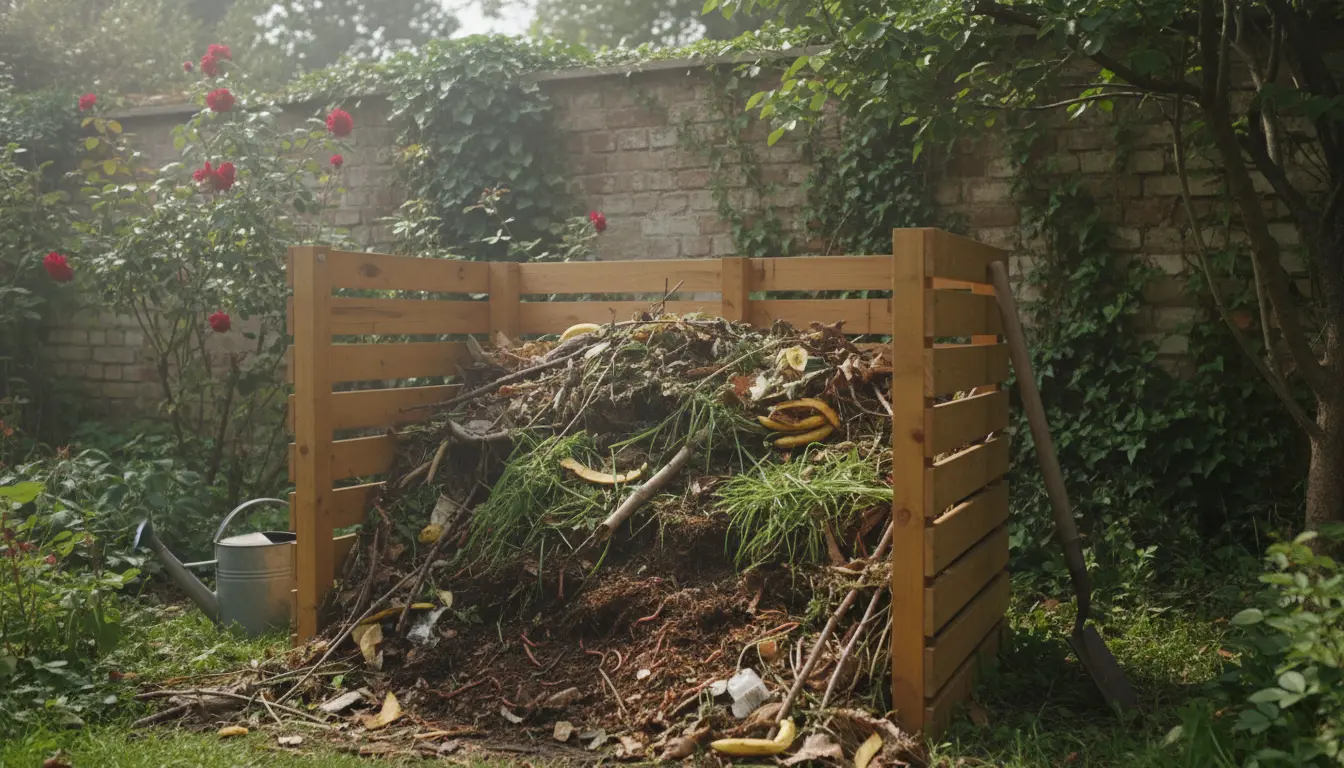
Why start composting at home?
Composting at home turns kitchen scraps and yard waste into valuable soil amendment. It reduces landfill trash, lowers household methane emissions, and improves garden soil structure.
Home composting is low cost and adaptable to small spaces. Whether you have a backyard or a balcony, there is a method that fits your living situation.
Types of home composting you can choose
Choose a method that matches your space, time, and output needs. Each method uses the same basic biological process but differs in setup and maintenance.
Traditional backyard pile or bin
This is ideal for homeowners with yard space. Use a simple wire bin or a wooden enclosure to contain material and speed decomposition.
Tumbler composter
Tumblers are sealed containers that you rotate to mix the pile. They are cleaner and faster but cost more up front.
Bokashi for apartments
Bokashi is an anaerobic fermentation system that handles cooked food and meat. It works indoors and needs a secondary composting step in soil or a bin.
Vermicomposting
Worm bins use red wigglers to break down food waste quickly. They are compact and great for small spaces but require temperature control and occasional maintenance.
How to start composting at home: step-by-step
Follow these practical steps to create a balanced compost system that produces rich humus.
1. Pick your method and location
Select a bin or method from the section above. Place outdoor bins on bare soil to allow drainage and access to beneficial organisms. Keep indoor systems in a stable, shaded spot away from extreme heat.
2. Build the right mix: Browns and greens
Compost needs a balance of carbon-rich ‘browns’ and nitrogen-rich ‘greens’. Aim for a ratio around 25–30 parts carbon to 1 part nitrogen by weight, which roughly means 2–3 parts browns to 1 part greens by volume.
- Greens: vegetable scraps, coffee grounds, fresh grass clippings.
- Browns: dry leaves, straw, shredded paper, cardboard.
3. Layer and maintain
Start with a layer of coarse browns for airflow. Alternate greens and browns, keeping layers thin to promote even decomposition. Keep the pile moist like a wrung-out sponge.
Turn or mix the pile every 1–2 weeks for aerobic composting. Tumblers reduce the need for manual turning.
4. Monitor temperature and moisture
Active hot composting reaches 130–160°F (55–71°C) and breaks down material rapidly. If your pile is cool, add greens or water. If it smells bad, add more browns and increase turning.
5. Know when it’s ready
Finished compost looks dark, crumbly, and smells earthy. Most systems take 2–6 months depending on conditions and method.
Troubleshooting common problems with home composting
Problems are usually simple to fix once you know the cause. Use this quick checklist to diagnose issues.
- Smelly compost: Too wet or too many greens. Add browns and turn.
- Pile not heating: Not enough greens, too small, or compacted. Add greens, increase size, and turn.
- Fruit flies in indoor bins: Keep lid sealed, use Bokashi or add a layer of dry material after adding food waste.
- Slow breakdown: Materials are too large. Shred or chop items before adding.
Practical tips to speed results and reduce pests
Simple habits improve compost quality and speed. Regular maintenance also keeps pests away.
- Chop or shred yard waste and kitchen scraps before composting.
- Mix in garden soil or finished compost to introduce microbes.
- Cover fresh food scraps with a layer of browns to deter flies.
- Use a thermometer for hot composting to monitor progress.
Composting diverts up to 30% of household waste from landfills on average. Adding finished compost to soil can increase water retention by up to 20%.
Case study: Small urban household cuts waste and feeds a balcony garden
A two-person apartment household in Portland began vermicomposting in a 20-liter bin. They collected fruit and vegetable scraps, coffee grounds, and small amounts of paper.
Within three months they produced a steady supply of worm castings. They used the castings to top-dress pots and mix into potting soil for tomatoes and herbs. Food waste was reduced by 40% and plant growth improved noticeably.
Using finished compost: practical applications
Finished compost is versatile and easy to use. Apply it in these ways to get immediate benefits.
- Soil amendment: Mix 1–3 inches into garden beds before planting.
- Mulch: Spread 1–2 inches around established plants to retain moisture.
- Potting mix: Blend 10–30% finished compost into container soil.
- Lawn top-dressing: Apply a thin layer to improve turf health over time.
Final checklist for successful home composting
- Choose a method that fits your space and time.
- Maintain a balance of browns and greens.
- Keep the pile moist and aerated.
- Monitor for pests and adjust as needed.
- Use finished compost to enrich soil and reduce fertilizer needs.
Start small and refine your routine. Composting at home is a practical, low-cost way to reduce waste, save money on soil amendments, and support healthier plants.