
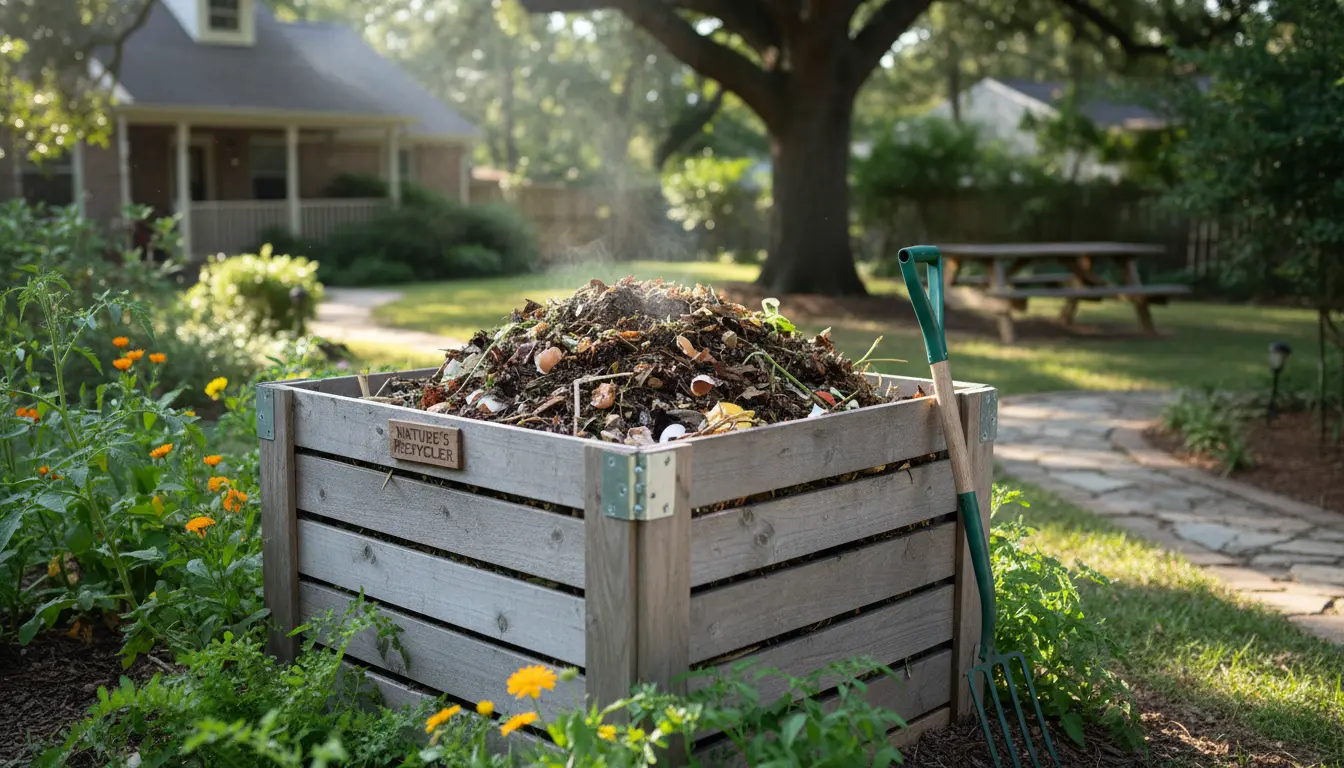
Composting at home turns kitchen and yard waste into a valuable soil amendment. This guide explains simple methods, maintenance steps, and common problems so you can start composting with confidence.
Home Composting Basics
Home composting is the natural breakdown of organic matter by microbes, worms, and other organisms. The final product is dark, crumbly compost rich in nutrients for plants.
Why Home Composting Matters
Composting reduces household waste, lowers methane emissions from landfills, and improves soil structure. It also cuts the need for chemical fertilizers and saves money over time.
Choosing a Home Composting Method
Select a method that fits your space and schedule. Common options include a simple compost pile, a bin, or a tumbler.
Options Explained
- Compost Pile: Best for larger yards and low cost. It needs turning and more hands-on management.
- Compost Bin: A contained system that looks neater and reduces pests. Good for moderate output.
- Tumbler: Easy to turn and faster to finish compost. More expensive but convenient for small spaces.
What to Compost
Balance green and brown materials. Greens add nitrogen and moisture, while browns provide carbon and structure.
Examples of Greens and Browns
- Greens: vegetable scraps, fruit peels, coffee grounds, fresh grass clippings.
- Browns: dried leaves, straw, shredded paper, cardboard, woody prunings.
A good rule is roughly 2 to 3 parts browns for 1 part greens by volume for most backyard piles.
How to Build and Maintain a Home Compost
Start with a base of coarse browns to allow airflow. Add materials in layers and keep the pile moist like a wrung-out sponge.
Step-by-Step Process
- Layer: Alternate thin layers of greens and browns to avoid compaction.
- Turn: Every 1–2 weeks for faster decomposition; less often for low-maintenance piles.
- Moisture: Add water if the pile is dry; cover if it becomes overly wet from rain.
- Size: Aim for a minimum of about 1 cubic meter (3x3x3 ft) for heat retention, smaller for worm composting.
Troubleshooting Home Composting Problems
Common issues include bad odors, pests, and slow decomposition. Most problems have simple fixes.
Quick Fixes
- Bad smells: Add more browns, turn the pile, and ensure proper aeration.
- Pests: Bury food scraps deeper, use a closed bin, or add a layer of browns after adding greens.
- Slow breakdown: Chop materials smaller, increase moisture slightly, and turn the pile to add oxygen.
Properly managed compost piles can reach temperatures of 130 to 160°F (55 to 70°C) which kills many weed seeds and pathogens.
Small Real-World Example
Case Study: A two-person household started a 200-liter tumbler in spring. They collected kitchen scraps and mixed them with shredded leaves weekly. Within four months they produced rich compost used to top up potted tomatoes.
The results: kitchen waste to landfill dropped by about 60%, and the tomato plants showed improved growth and fewer fertilizers needed. The family found the tumbler easy to turn and low maintenance.
Practical Tips for Success in Home Composting
Consistency and balance are the keys. Small routine actions make composting effective without becoming a chore.
- Keep a small countertop bin to collect scraps and empty it into the outdoor system daily.
- Chop or shred larger materials to speed decomposition.
- Use finished compost as mulch or soil amendment to boost plant health.
- Consider a worm bin (vermicompost) for indoor or small-space composting.
Final Checklist for Home Composting
Before you start, ensure you have: a chosen composting method, a place for the system, a balance of materials, and a basic maintenance routine. Start small and scale as you learn what works.
Home composting is practical, low-cost, and delivers measurable benefits to your garden and the environment. Follow the steps above and adjust for your space and schedule to achieve consistent results.