
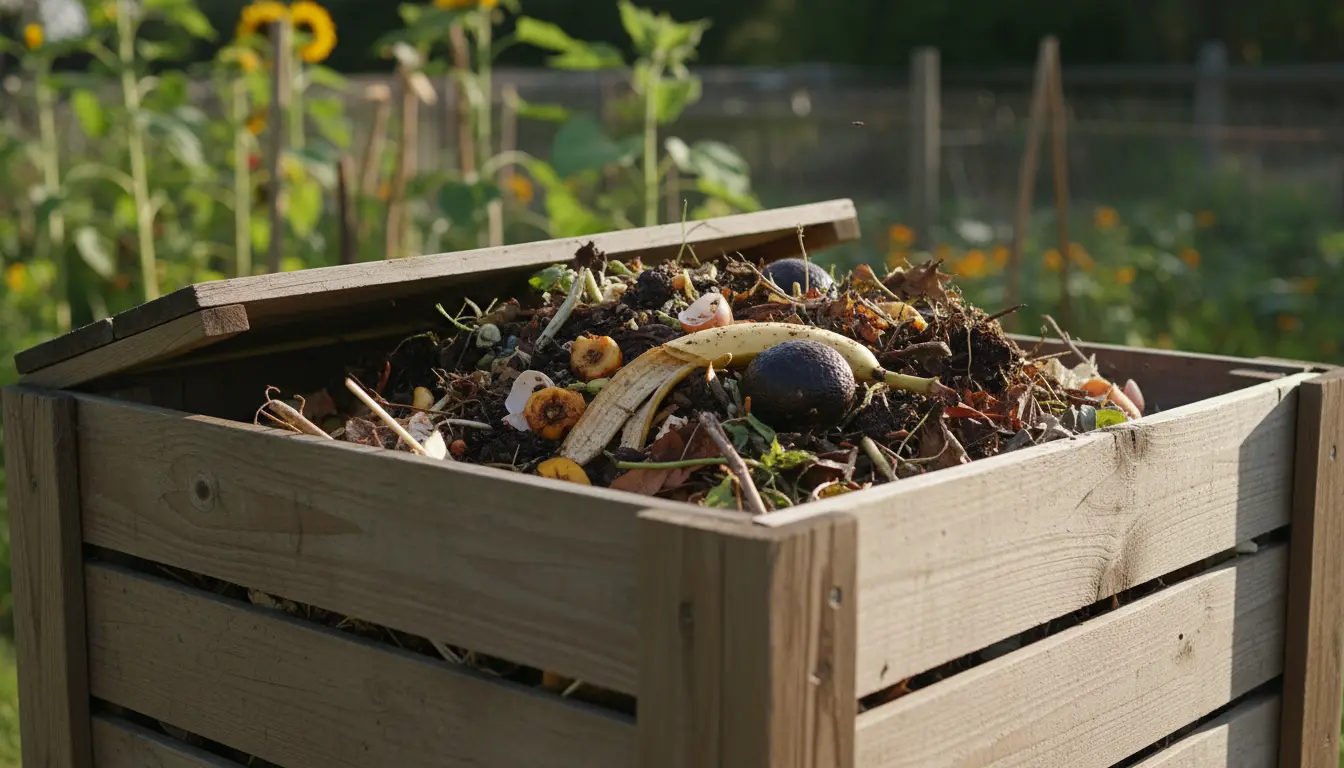
Why home composting matters
Home composting turns kitchen and yard waste into a useful soil amendment. It reduces landfill waste, cuts greenhouse gas emissions, and improves garden soil structure.
Starting home composting requires basic tools and a simple routine. This guide explains clear steps so you can compost effectively whether you have a backyard or a small balcony.
Choose the right system for home composting
Selecting a compost system depends on space, effort, and aesthetic preferences. Common options include a backyard bin, tumbler, compost pile, or a worm (vermicompost) bin for small spaces.
- Backyard bin: Low cost, low maintenance, good for yard waste.
- Compost tumbler: Faster results, easier turning, good for small to medium households.
- Vermicompost bin: Ideal for apartments, processes kitchen scraps quickly using worms.
- Open pile: Cheapest, can handle large volumes if you have space.
Basic inputs: Greens and browns for home composting
Home composting works best when you balance nitrogen-rich “greens” with carbon-rich “browns.” Aim for roughly a 2:1 to 3:1 ratio of browns to greens by volume for stable decomposition.
- Greens: Vegetable scraps, fruit peels, coffee grounds, fresh grass clippings.
- Browns: Dry leaves, shredded paper, straw, wood chips, cardboard.
Chop or shred larger pieces to speed up breakdown. Layering greens and browns helps manage moisture and odor.
Simple layering method
Start with a coarse brown base to improve airflow. Add a layer of greens, then cover with browns. Repeat while keeping the pile moist like a wrung-out sponge.
Step-by-step setup for first-time home composting
- Pick a location: Shaded, level ground near a water source if possible.
- Assemble your bin: Follow the tumbler or bin instructions, or create a simple enclosure with pallets.
- Add base materials: Start with 4–6 inches of browns for drainage and airflow.
- Begin adding scraps: Add kitchen and yard waste, maintaining the browns-to-greens balance.
- Turn regularly: Aerate the pile every 1–2 weeks for faster decomposition.
- Harvest finished compost: When it is dark, crumbly, and earthy-smelling, it is ready to use.
Moisture, temperature, and aeration
Monitor three key factors to keep home composting on track: moisture, temperature, and airflow. Ideal moisture is like a wrung-out sponge. Too wet leads to odors; too dry slows decomposition.
Temperature indicates activity. A hot pile (120–160°F or 50–70°C) decomposes fast. Cold piles still work but take longer. Turning the pile introduces oxygen and prevents anaerobic conditions.
Troubleshooting common problems
- Bad smell: Add browns and turn the pile to add air.
- Pests: Avoid meat, dairy, and oily foods; use a closed bin or bury scraps.
- Slow decomposition: Chop materials finer and increase greens; maintain moisture and aerate.
Using finished compost
Finished home compost can be used as mulch, topdressing, or mixed into potting soil. Apply a 1–3 inch layer around garden plants or mix 10–30% compost into garden beds to improve soil fertility.
Compost is not a complete fertilizer; consider combining it with targeted amendments based on a soil test.
Small-scale vermicomposting for apartments
Vermicomposting uses worms to transform kitchen scraps into rich castings. A simple plastic bin with ventilation and bedding (shredded paper) will house red wigglers effectively.
- Feed small amounts regularly to avoid odors.
- Keep the bin moist and out of extreme temperatures.
- Harvest castings every 3–6 months for potted plants and houseplants.
Composting one ton of food waste can reduce greenhouse gas emissions by about one ton of CO2-equivalent compared with landfilling the same waste.
Real-world example: A family compost case study
Case study: A family of four in a suburban home switched to backyard composting using a tumbler. They collected kitchen scraps and yard clippings for one year.
Results: They reduced weekly trash by 40%, produced approximately 100 liters of compost in 9 months, and used it to topdress their vegetable beds. Their tomatoes produced larger fruit, and the soil retained moisture better during dry weeks.
Quick checklist to start home composting today
- Choose a bin type: tumbler, bin, pile, or worm box.
- Gather browns: leaves, shredded paper, straw.
- Collect greens: kitchen scraps, fresh clippings.
- Location: shaded, level, accessible.
- Routine: add scraps, cover with browns, turn every 1–2 weeks.
Final tips for successful home composting
Start small and learn as you go. Keep a simple log of what you add and when you turn the pile—it helps identify patterns that lead to success.
Composting is a practical habit with measurable environmental and gardening benefits. With basic care, home composting becomes an easy part of household routine.