
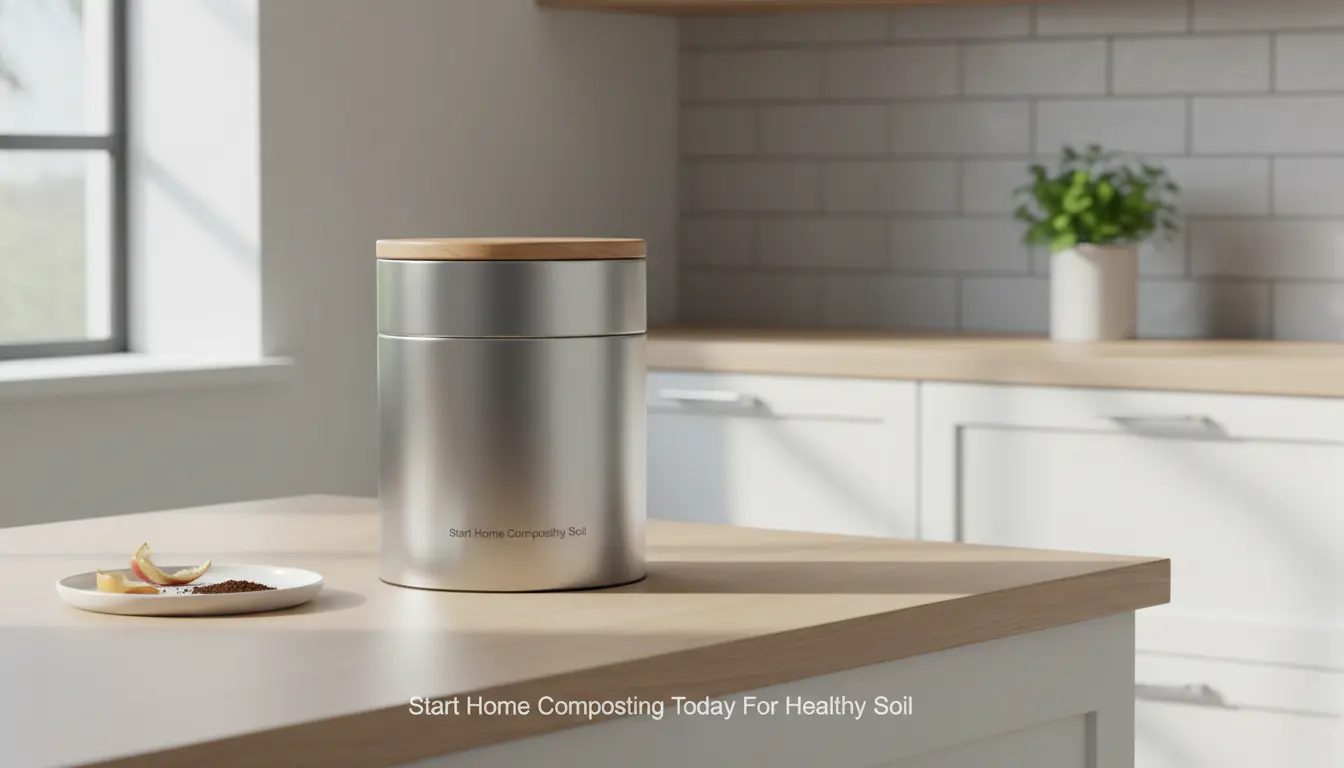
Composting at home reduces waste and creates nutrient-rich soil for gardens and potted plants. This guide explains how to start a home composting system with practical steps, simple equipment options, and troubleshooting tips.
Why Start Home Composting
Home composting turns kitchen scraps and yard waste into useful compost instead of sending them to landfill. Compost improves soil structure, increases water retention, and reduces the need for synthetic fertilizers.
It also lowers household waste volume and can save money on gardening inputs.
Choose the Right Composting Method
Selecting a composting method depends on space, time, and the amount of organic waste you produce. Choose a system that fits your lifestyle.
Common methods for home composting
- Cold pile or simple heap: Low maintenance, good for yards, takes longer to finish.
- Compost bin or tumbler: More contained, speeds up decomposition, easier to turn.
- Bokashi or anaerobic pre-composting: Works indoors and for food scraps including meat and dairy when finished properly.
- Vermicomposting (worms): Ideal for apartments and small volumes; produces fast, high-quality compost.
What Materials to Compost
Good compost needs a balance of carbon-rich “browns” and nitrogen-rich “greens.” Aim for a mix that supports microbial activity.
Examples of browns and greens
- Greens: vegetable scraps, fruit peels, coffee grounds, fresh grass clippings.
- Browns: dry leaves, shredded paper, cardboard, straw, wood chips.
Recommended ratio is roughly 2–3 parts browns to 1 part greens by volume. Adjust based on moisture and smell.
Step-by-Step Setup to Start a Home Composting System
- Pick a location: A shaded, level spot near water access is best outdoors; a cool, ventilated area works for indoor systems.
- Choose a container: Use a commercial bin, DIY wooden bin, or tumbler. For small spaces, get a worm bin or Bokashi bucket.
- Start the base: Lay a few inches of coarse brown material (twigs or straw) for airflow.
- Add materials: Alternate layers of greens and browns. Chop or shred larger items to speed decomposition.
- Maintain moisture: Compost should feel like a wrung-out sponge. Add water or dry browns to adjust.
- Turn or aerate: Every 1–4 weeks for active systems. Tumble or use a pitchfork to mix and introduce oxygen.
- Harvest finished compost: Depending on method, compost can be ready in 2 months to a year. Finished compost is dark, crumbly, and earthy-smelling.
Troubleshooting Common Issues
Most problems are easy to fix with small adjustments. Use the following checks if compost is not breaking down well.
- Bad smell: Add more browns, improve aeration, and reduce wet kitchen scraps until odor dissipates.
- Too dry: Add water and fresh greens; cover bin to retain moisture.
- Too wet or soggy: Mix in dry browns and turn the pile to introduce air.
- Pests: Avoid putting meat, bones, oily foods, or large amounts of fruit in open piles. Use enclosed bins or Bokashi for those scraps.
Practical Tips to Speed Composting
Small actions can shorten composting time and improve quality. These are easy to implement.
- Chop scraps into small pieces before adding them.
- Keep the pile insulated with a cover or straw in cooler months.
- Maintain a consistent carbon to nitrogen balance and moisture level.
- Use a compost thermometer for large systems; ideal range for hot composting is 130–150°F (55–65°C).
Real-World Example: Small Urban Compost Case Study
Case: An apartment household of two started vermicomposting in a 25-liter worm bin. They processed about 3 liters of food scraps per week.
After three months, they produced approximately 10 liters of worm castings. They used one liter of castings per month to top-dress balcony planters, reducing purchased fertilizer costs by an estimated $50 in the first season.
Key lessons: Consistent feeding, avoiding citrus and onion overload, and keeping the bin slightly moist led to success.
Compost can reduce household waste by up to 30 percent and helps sequester carbon in soil. Even small systems like a worm bin can make a measurable impact.
Using Finished Compost
Apply finished compost as a soil amendment, potting mix ingredient, or mulch top layer. Mix compost into soil at a rate of 10–20 percent by volume for planting beds.
For potted plants, use no more than 20–30 percent compost to avoid excessive nutrient levels that can harm seedlings.
Summary Checklist to Start a Home Composting System
- Decide method: bin, tumbler, worm bin, or Bokashi.
- Gather materials: browns, greens, a container, and a water source.
- Layer and maintain moisture, aeration, and carbon to nitrogen balance.
- Troubleshoot odors, pests, and moisture quickly.
- Harvest and use finished compost in your garden or containers.
Starting a home composting system requires a small time investment but delivers long-term benefits for your garden and the environment. Choose a method that fits your space, follow the basic balance rules, and adjust based on what your system tells you.