
Start Home Composting Today: What You Need to Know
Home composting turns kitchen scraps and yard waste into a valuable soil amendment. It reduces landfill waste and feeds your garden with nutrients. This guide gives practical steps so you can begin with confidence.
Basics of Home Composting
Composting is the controlled decomposition of organic matter by microorganisms. Home composting balances carbon-rich and nitrogen-rich materials to speed breakdown. A well-managed heap heats up, reduces odors, and produces rich compost.
Why Home Composting Matters
Composting lowers household waste volume and improves soil health. It also cuts methane emissions from landfills. Small steps at home add up to measurable environmental benefits.
What You Can Compost
Knowing what goes in the bin avoids pests and bad smells. Separate acceptable items from excluded ones before you start.
Good Materials for Home Composting
- Green (nitrogen-rich): vegetable scraps, fruit peels, coffee grounds, fresh grass clippings.
- Brown (carbon-rich): dry leaves, shredded paper, cardboard, straw, small wood chips.
- Other: eggshells (crushed), tea bags (no synthetic mesh), hair, plant trimmings.
Materials to Avoid
- Meat, fish, bones, and oily food (attract pests).
- Diseased plant material and invasive weeds with seeds.
- Dairy products and pet waste from meat-eating animals.
- Large wood logs that take too long to break down.
Setting Up a Simple Bin for Home Composting
You can start with a basic bin or a simple pile. Choose a dry, shady spot with good drainage. The container type affects maintenance but not the final compost quality.
Bin Options
- Open pile: Easiest, needs more space and occasional turning.
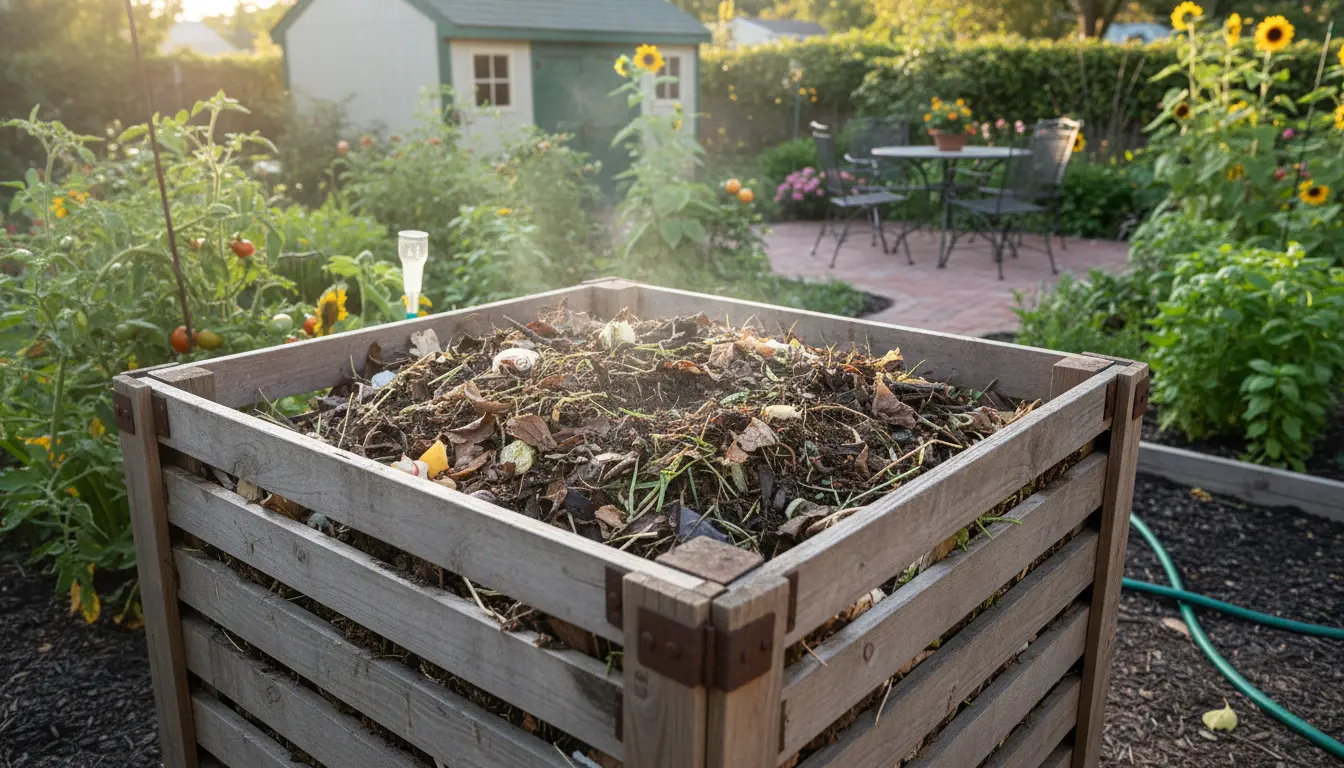
- Plastic or wooden bin: Neat appearance and pest control.
- Tumbler: Faster mixing, good for small yards and limited effort.
Layering and Ratios
Start by adding a 4-6 inch layer of browns as a base. Alternate greens and browns in roughly a 1:2 volume ratio (greens to browns). This helps maintain air and moisture balance.
Maintaining Your Compost
Careful monitoring ensures steady decomposition. Routine checks avoid common problems like bad odor or slow breakdown.
Key Maintenance Steps
- Turn the pile every 1–2 weeks to add oxygen.
- Keep moisture like a wrung-out sponge; add water or dry browns as needed.
- Monitor temperature: a hot pile (130–160°F) means active breakdown, but cool compost still works slower.
Troubleshooting
- Smelly compost: Add more browns and turn to aerate.
- Pests: Bury food scraps in the center and use a closed bin.
- Slow decomposition: Chop materials smaller and improve green-to-brown ratio.
How to Know When Compost Is Ready
Mature compost is dark, crumbly, and earthy-smelling. Most home systems produce usable compost in 3–12 months depending on management. Sift out large pieces to return to the bin.
Using Home Composting Results
Use finished compost as a soil amendment, mulch, or potting mix component. Apply a 1–3 inch layer to garden beds or mix into planting soil to improve structure and moisture retention.
Practical Application Tips
- Vegetable beds: Mix 2–4 inches compost into top 6–8 inches of soil before planting.
- Lawns: Topdress with a thin layer and let microorganisms incorporate it naturally.
- Potted plants: Use 10–30% compost in potting mixes to avoid nutrient overload.
Composting at home can reduce household waste by up to 30 percent. A typical family of four can divert hundreds of pounds of organic waste from landfills each year.
Real-World Example: A Family Compost Case Study
Sarah and Marcos started a backyard bin in a small suburban lot. They used a 1:2 green-to-brown ratio, turned the pile weekly, and kept a kitchen caddy for scraps. After six months they produced about 80 liters of compost.
They used the compost in three raised beds and saw improved soil moisture and healthier tomato plants the following season. Their curbside trash volume dropped by one bag every week.
Quick Start Checklist for Home Composting
- Pick a bin location in shade with good drainage.
- Collect greens and browns separately before adding to the bin.
- Aim for 1 part green to 2 parts brown by volume.
- Turn the pile and monitor moisture weekly.
- Use finished compost in garden beds after 3–12 months.
Conclusion: Small Steps, Big Impact
Home composting is practical and accessible. With basic tools and consistent care you can convert food scraps into valuable compost. Start small and scale up as you gain confidence.