
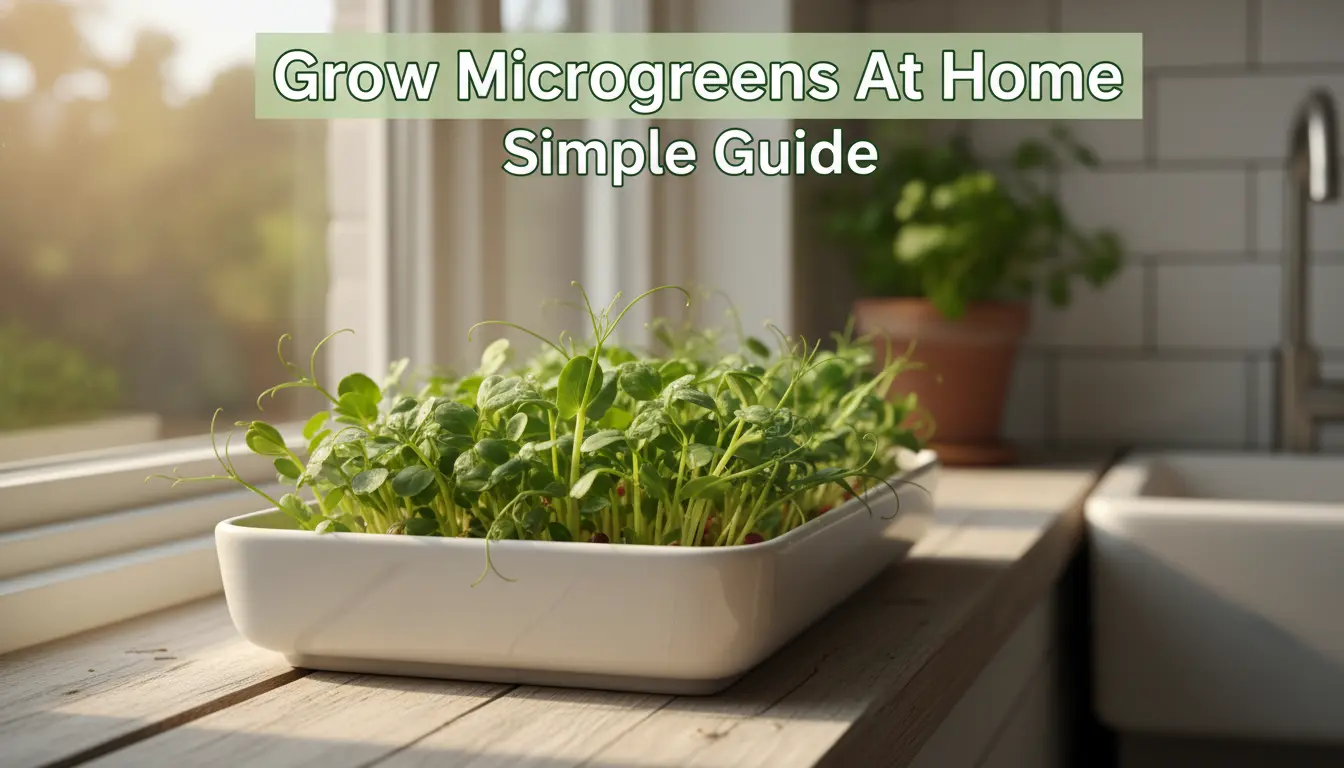
Microgreens are young vegetable greens harvested at the seedling stage. They need little space and give fast, nutritious harvests that work well for home cooks and small growers.
Why grow microgreens at home
Growing microgreens at home is low cost and fast. Most varieties are ready to harvest in 7 to 21 days, so you see results quickly.
Microgreens are nutrient-dense and add flavor and color to meals. They also reduce food waste because you grow only what you need.
Supplies for growing microgreens at home
Start with a few basic items and add more as you gain experience. Keep things simple to avoid early mistakes.
- Shallow trays or reused food containers with drainage holes
- Seed-starting or potting mix (fine texture) or hydro pads
- High-quality seeds labeled for microgreens
- A spray bottle for gentle watering
- Light source: sunny windowsill or grow light
- Labels and a small pair of scissors for harvesting
How to grow microgreens at home step by step
This step-by-step method works for most leafy varieties like radish, arugula, mustard, beet, and basil.
1. Choose seeds and prepare trays
Use fresh seeds intended for microgreens or untreated salad seeds. Fill trays with 1 to 1.5 inches of damp potting mix and level the surface.
2. Sow seeds evenly
Sprinkle seeds densely but avoid thick clumps. Aim for even coverage so stems have room and light reaches them.
Lightly press seeds into the mix to ensure good contact. Do not bury seeds deeply; many microgreens are surface-sown.
3. Cover and dark period
Cover the tray with another tray or a lid to hold humidity. Keep trays in a dark, warm place for 2 to 4 days for many varieties.
This mimics soil cover and helps the seeds germinate quickly and uniformly.
4. Provide light and water carefully
After the initial dark period, move trays to bright indirect light or under a grow light. Aim for 12 to 16 hours of light per day.
Water from the sides or use a spray bottle to keep the soil moist but not waterlogged. Overwatering causes mold and damping off.
5. Harvest microgreens at the right time
Most microgreens are ready when they show first true leaves, usually 7 to 21 days after sowing. Use scissors to cut stems just above soil level.
Harvest early in the day for best flavor and storage life. Store harvested microgreens in a breathable container in the fridge.
Common problems and solutions when you grow microgreens at home
Knowing common issues helps you troubleshoot quickly and keep harvests consistent.
- Mold: Improve air circulation, reduce humidity, and avoid overpacking seeds.
- Stretching (leggy stems): Increase light intensity or lower light source closer to trays.
- Slow germination: Check seed freshness and maintain steady warmth (65–75°F or 18–24°C).
- Bitter taste: Some varieties are naturally peppery; harvest earlier to reduce bitterness.
Small real world example
Case study: Sara, an apartment cook, started with two 10×20 trays on a windowsill. She grew radish and basil microgreens.
With weekly sowing schedule, Sara harvested every 10 days. Her initial seed cost was $8 per tray and yielded about 30–40 servings over two months. She used the greens fresh on salads and sandwiches, cutting grocery spend on fresh herbs by about 50%.
Microgreens can contain up to 40 times more nutrients per gram than mature leaves for certain vitamins and antioxidants, depending on the variety.
Tips to scale and vary your microgreens at home
Once you master one tray, try these variations to expand your skills and flavor options.
- Mix seed varieties for color and taste contrasts (e.g., radish with sunflower).
- Use LED grow lights on a timer to maintain consistent results year-round.
- Try soilless pads or coir for cleaner harvests and faster cleanup.
Final practical checklist
Keep this short checklist handy when you grow microgreens at home:
- Check light and temperature daily
- Keep soil evenly moist, not wet
- Sow small batches weekly for continuous harvest
- Label trays with seed type and sow date
Growing microgreens at home is a simple way to add fresh, nutrient-rich greens to your diet. With basic supplies and a small time investment, anyone can produce tasty greens year-round.