
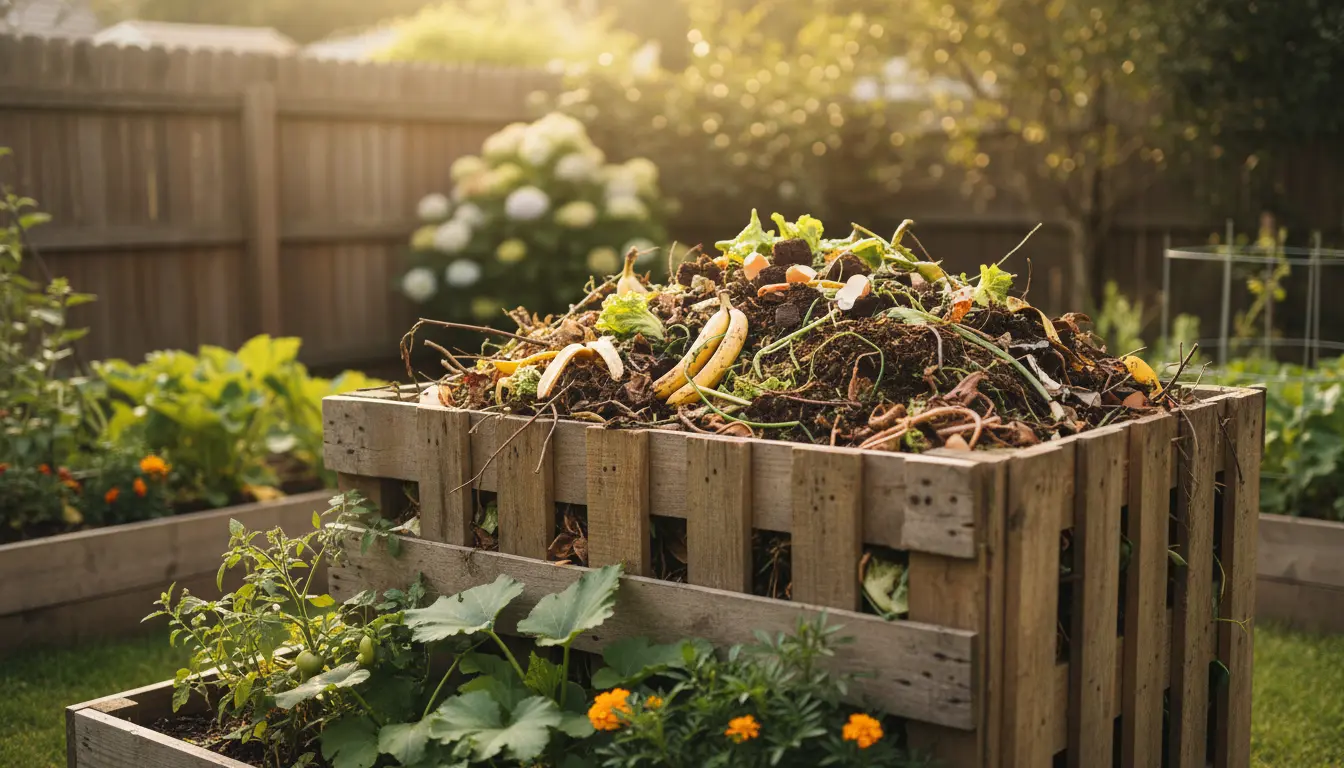
Composting at home transforms kitchen and yard waste into a valuable soil amendment. This guide shows practical steps, simple techniques, and realistic tips to start composting today.
Why Composting at Home Matters
Home composting reduces landfill waste and returns nutrients to soil. It can improve garden health while cutting trash collection costs and methane emissions.
Benefits of Home Composting
Composting supports plant growth, retains moisture, and improves soil structure. It also closes the nutrient loop for households with gardens and potted plants.
How to Start Composting at Home
Choose a method that fits your space, time, and comfort level. Whether you have a backyard, balcony, or just a kitchen, there is an option for you.
Choose a Composting Method
- Traditional Pile or Bin – Best for yards; requires turning and space.
- Tumbler – Enclosed and easier to turn; good for faster results and fewer pests.
- Vermicomposting – Uses worms; ideal for apartments and indoor kitchens.
- Bokashi – Fermentation method for all food waste including meat; needs a second-stage burial or composting for final breakdown.
What to Compost and What to Avoid
Balance “greens” (nitrogen) and “browns” (carbon) for efficient decomposition. A good rule is roughly 2 to 3 parts brown to 1 part green by volume.
- Greens: Vegetable scraps, fruit peels, coffee grounds, fresh grass clippings.
- Browns: Dry leaves, shredded paper, cardboard, straw, wood chips.
- Avoid: Meat, dairy, diseased plants, pet feces, oily foods (unless using bokashi).
Setting Up Your Compost Bin
Select a location that is convenient and has good drainage and airflow. If using a bin, ensure it has openings for air and a way to collect finished compost.
Step-by-Step Setup
- Place the bin on soil or a porous surface to allow organisms in and drainage.
- Start with a 3–4 inch layer of coarse brown material to help airflow.
- Add kitchen greens and cover with browns each time to control odor.
- Keep the pile moist like a wrung-out sponge and turn every 1–2 weeks for aerobic composting.
Managing Your Compost at Home
Monitoring moisture, temperature, and particle size will speed up decomposition. Simple tools like a pitchfork and a moisture meter help but are optional.
Key Maintenance Tips
- Turn the pile to add oxygen and mix materials.
- Maintain moisture—too dry slows microbes, too wet causes odors.
- Shred or chop large items to increase surface area for microbes.
- Use finished compost when it is dark, crumbly, and earthy-smelling.
Troubleshooting Common Problems
Bad smells usually mean lack of air or too many greens—add browns and turn. Slow breakdown often results from large pieces or low moisture—shred and water lightly.
Case Study: Apartment Composting Success
Maria lives in a third-floor apartment with a small balcony. She started a 20-liter worm bin and used a countertop collection container for kitchen scraps.
Within four months she was producing 10 liters of vermicompost every two months and reduced her trash by about 50 percent. She uses the compost for balcony herbs and shares leftovers with a neighbor’s garden.
Using Finished Compost
Apply finished compost as a top dressing, mix into potting soil, or make compost tea for nutrient-rich plant feed. Typical application rates: 1/2 to 1 inch on garden beds, or mix 1 part compost to 3 parts potting mix.
Quick Checklist to Start Home Composting
- Pick a method: bin, tumbler, worm bin, or bokashi.
- Gather basic tools: container, garden fork, and a small shredder or scissors.
- Collect materials and balance greens and browns.
- Monitor moisture and aerate regularly.
- Harvest compost when dark and crumbly.
Starting composting at home is scalable and flexible. Begin small, observe how the system responds, and adjust materials and turning frequency to match your goals and available space.