
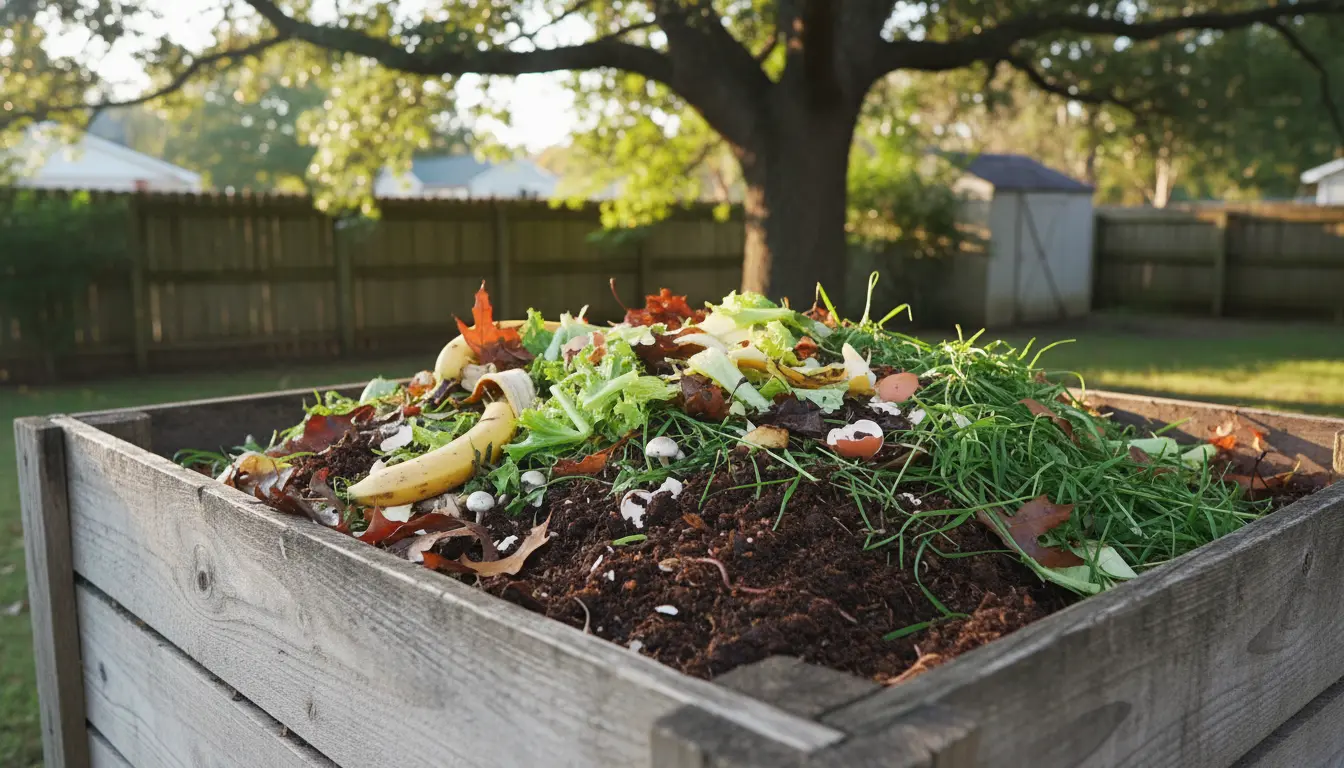
Why Home Composting Matters
Home composting reduces household waste and turns kitchen scraps into valuable soil amendment. It improves soil structure, increases nutrient retention, and lowers landfill methane emissions.
This guide gives step-by-step, practical instructions to start and maintain a successful compost bin at home.
Choosing a Compost Bin for Home Composting
Select a bin that matches your space, budget, and composting goals. Options include tumblers, stationary bins, and simple piles.
Tumblers speed up turning and are good for small yards. Stationary bins hold more material and are low-cost. Piles are flexible but require more attention.
Bin Placement and Size
Place the bin on bare soil or a well-draining surface to allow worms and microbes to enter. Choose a size that can store several weeks of kitchen waste—around 3x3x3 feet is a common starting point.
Materials: Browns, Greens, and What to Avoid
Successful home composting relies on a balance of carbon-rich “browns” and nitrogen-rich “greens.” Aim for a rough ratio of 3 parts browns to 1 part greens by volume.
- Greens: vegetable scraps, fruit peels, fresh grass clippings, coffee grounds
- Browns: dry leaves, shredded paper, straw, cardboard
- Avoid: meat, dairy, oily foods, diseased plants, pet waste
Examples of Material Mixes
Example 1: For every 1 bucket of kitchen scraps add 3 buckets of shredded leaves.
Example 2: Layer 1 inch of greens with 3 inches of shredded paper or straw to reduce odors and speed decomposition.
Starting the Compost Pile
Begin with a 4–6 inch layer of coarse browns like small branches to promote airflow. Add alternating layers of greens and browns, keeping materials moist but not soggy.
Chop larger items to increase surface area and speed decomposition. Aim for pile temperatures of 120–150°F (49–66°C) for hot composting, or maintain a steady, cooler pile for cold composting.
Maintaining Your Compost Bin
Routine care involves checking moisture, aeration, and material balance. A well-maintained pile breaks down faster and avoids pests and odors.
- Turn the pile every 1–2 weeks for hot composting.
- Keep moisture like a wrung-out sponge; add water or dry browns as needed.
- Adjust greens and browns if smell or pests appear.
Troubleshooting Common Problems
Bad odors: usually too wet or too many greens. Add browns and turn the pile to aerate.
Pests: avoid food scraps like meat and bury food under a thick brown layer. Use a secure bin for urban settings.
Slow decomposition: increase surface area by shredding materials, maintain moisture, and turn more often.
Turning a hot compost pile regularly can produce finished compost in as little as 8–12 weeks. Cold composting may take a year or longer.
Using Finished Compost
Finished compost is dark, crumbly, and smells earthy. Use it as a soil amendment, top dressing for lawns, or mix into potting soil.
Apply a 1–3 inch layer around garden beds or blend 10–20% compost into potting mixes for vegetables and flowers.
Small Real-World Example: Balcony Composting Case Study
Case study: A two-person apartment started a small tumbler on a balcony. They used kitchen scraps and shredded cardboard, turning the tumbler twice a week.
Within four months they produced several liters of compost. They diluted it to tea for houseplants and mixed the remainder into balcony vegetable pots to boost yields.
Tips for Success with Home Composting
- Keep a small countertop container with a lid for daily scraps to reduce trips outside.
- Shred yard waste and paper to speed breakdown and avoid large clumps.
- Record what you add to the bin for the first few months to learn what balance works for your setup.
- Consider a compost thermometer if you want to manage hot composting precisely.
When to Seek Alternatives
If space or local rules prevent backyard composting, look for community compost programs or municipal food scrap collection. Vermicomposting with worms is another small-space solution.
Final Checklist for Starting Home Composting
- Choose a bin type and location with good drainage.
- Collect a balance of browns and greens before starting.
- Chop or shred larger materials to speed results.
- Monitor moisture and turn regularly for faster decomposition.
- Use finished compost to enrich garden soil and potted plants.
Home composting is a straightforward way to reduce waste and build healthier soil. Start small, observe how your pile behaves, and adjust materials and turning frequency to suit your climate and lifestyle.