
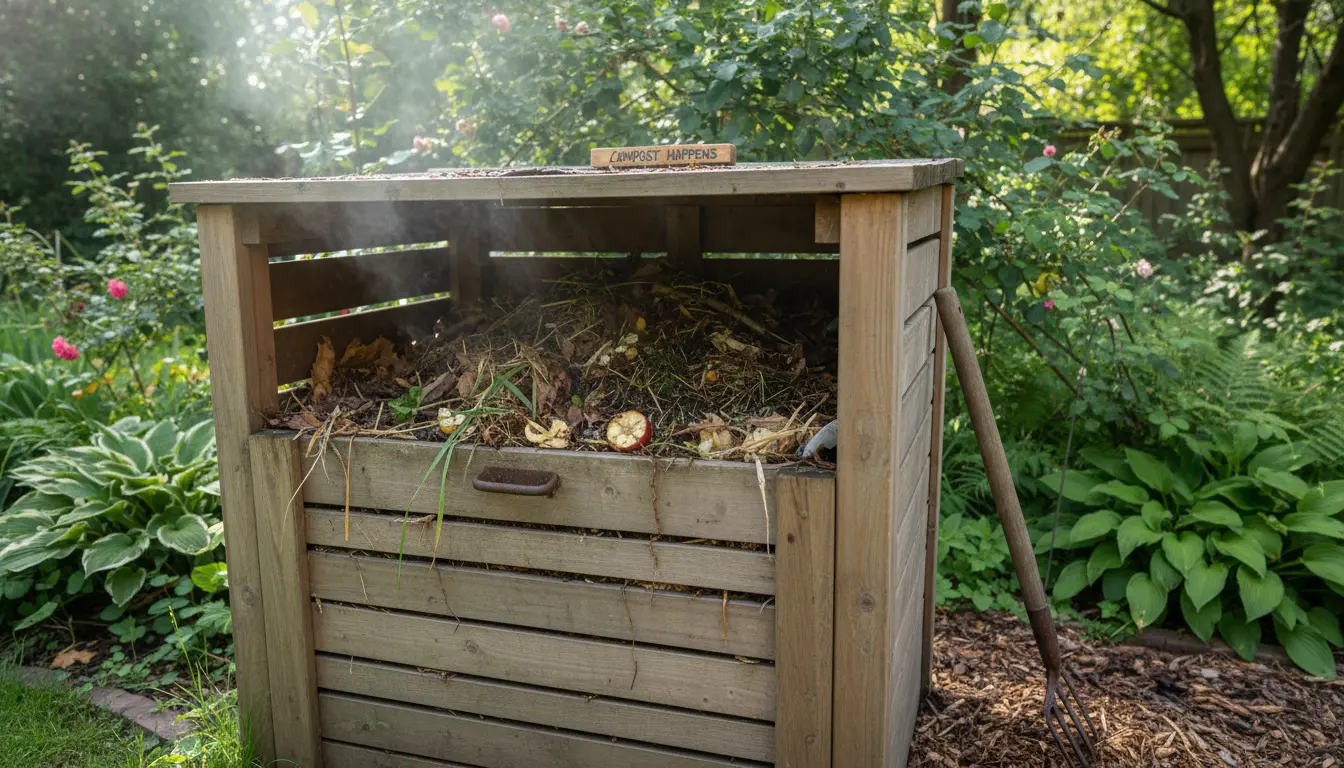
Why home composting matters
Home composting reduces kitchen and yard waste while producing nutrient-rich soil amendment. It is a low-cost way to close the loop on organic waste for homes, apartments, and community gardens.
Composting also lowers methane emissions from landfills and saves money on fertilizer and soil. For beginners, a simple system and basic rules are enough to get started.
Benefits of home composting
Home composting benefits include reduced waste, improved soil health, and lower garden costs. It supports plant growth, retains moisture in soil, and reduces the need for synthetic fertilizers.
Many municipalities offer food-scrap bans or incentives, so composting at home can align with local waste policies.
Getting started with home composting
Choose a method that fits your space and daily routine before you collect scraps. A reliable plan helps you maintain balance and avoid pests or odors.
Start small and scale up after you learn the basics.
Choosing a compost system for home composting
Match the system to your lifestyle. Options include a simple bin, tumbler, worm bin, or insulated pile.
- Open pile: Good for large yards and high volume, but slower and visible.
- Stationary bin: Simple, keeps material contained and can be built from pallets.
- Tumbler: Faster mixing, contained and clean, suitable for small yards.
- Vermicompost (worm bin): Ideal for apartments, handles kitchen scraps quickly with minimal odor.
Materials to include and avoid in home composting
Balance ‘greens’ (nitrogen) with ‘browns’ (carbon). Aim for roughly a 2:1 or 3:1 ratio by volume of browns to greens, depending on activity.
- Greens: fruit and vegetable scraps, coffee grounds, fresh grass clippings.
- Browns: dry leaves, shredded newspaper, cardboard, straw.
- Avoid: meat, dairy, oils, diseased plants, and pet waste to prevent pests and pathogens.
Step-by-step home composting process
Follow a simple routine: collect, layer, manage, and harvest. Each step takes little time once established.
1. Set up and collect
Place your bin in a part-shade location with good drainage. Keep a small countertop caddy for daily scraps to make collection convenient.
Empty the caddy into the main bin often to avoid fruit flies and odors.
2. Layer and maintain
Start with a layer of coarse browns for airflow. Alternate green and brown layers, keeping materials chopped or shredded when possible.
Maintain moisture like a wrung-out sponge. If it’s too dry, add water and greens; if too wet, add more browns and turn the pile.
3. Turn and monitor
Turn the pile every 1–2 weeks to introduce air and speed decomposition. Tumblers make this step easier if you prefer less physical work.
Temperature spikes to 120–160°F (49–71°C) in active piles indicate good microbial activity; household piles often stay cooler but still work.
4. Harvest finished compost
Compost is ready when it is dark, crumbly, and earthy-smelling. Sift or screen if you want fine texture for potting mixes.
Use finished compost as a top dressing, soil amendment, or in seed starting mixes.
Home composting can divert up to 30% of household waste from the trash stream. A typical family of four can produce more than 200 kg of organic waste annually.
Practical tips for successful home composting
Small habits keep your compost healthy and productive. Here are proven tips that reduce problems and speed results.
- Chop or shred scraps to reduce decomposition time.
- Keep a balance of browns and greens to prevent odors.
- Use a kitchen caddy with a lid and empty daily.
- Cover fresh greens with browns to deter flies.
Common problems and quick fixes for home composting
Smells: Add more browns and turn the pile. Pests: Avoid meat and pet waste, and keep the bin sealed. Slow breakdown: Chop materials smaller and ensure moisture.
Mold is normal in wet piles; it breaks down as decomposition continues. If mold is excessive, turn the pile and add browns.
Case study: Small apartment compost success
Maria lives in a two-bedroom apartment and started vermicomposting in a 20-liter bin on her balcony. She used red wiggler worms and added kitchen scraps daily.
Within three months she reduced her food waste to the trash by about 60% and produced roughly 10 liters of usable castings for her balcony tomatoes. Simple maintenance took 10–15 minutes per week.
This shows that even limited space can yield measurable waste reduction and better plant performance.
Final checklist for home composting
- Choose a system that fits your space and routine.
- Collect scraps daily and keep a balance of greens and browns.
- Monitor moisture and turn the pile regularly.
- Harvest finished compost for soil health and plant nutrition.
Home composting is practical and adaptable. Start simply, learn your system’s needs, and refine techniques as you go. Over time, you’ll reduce waste and produce valuable compost for healthier plants.