
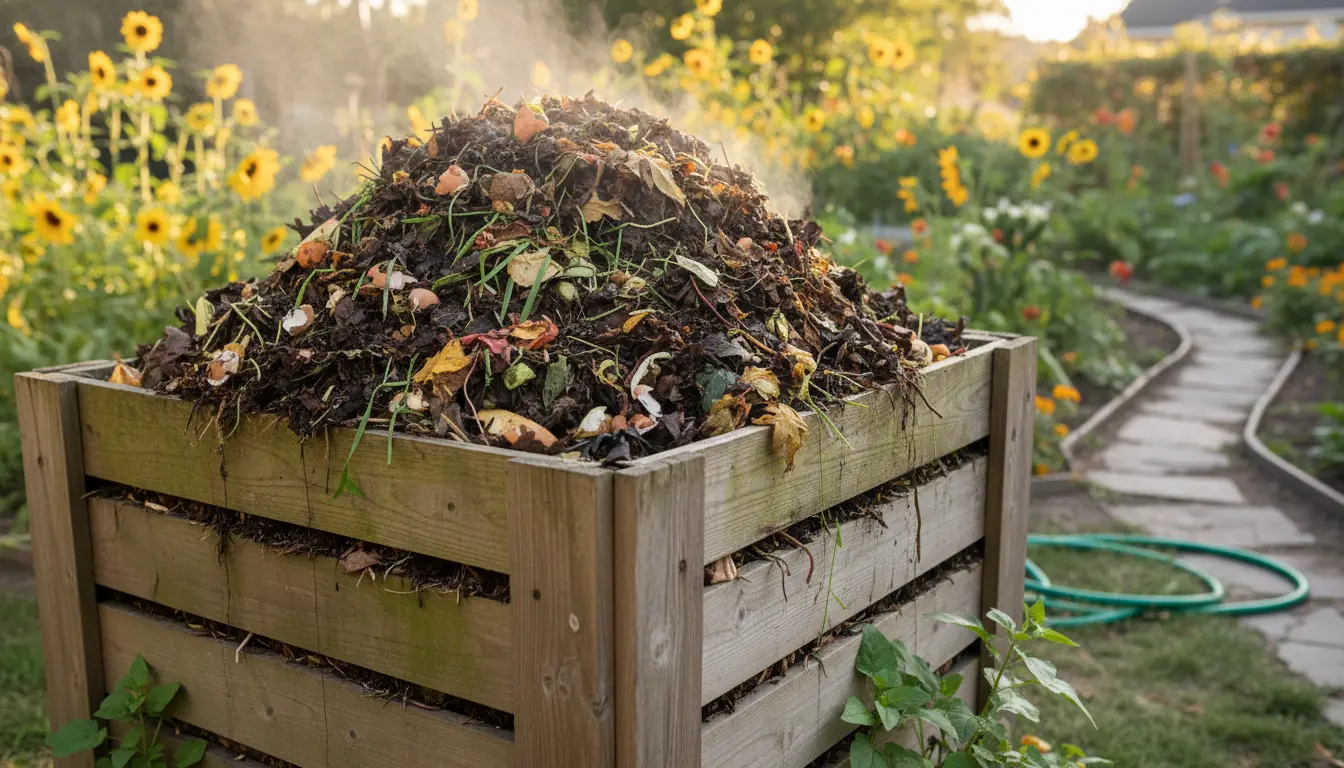
Why choose a home compost bin
Composting turns kitchen and yard waste into a useful soil amendment. A home compost bin reduces landfill trash and feeds your garden with nutrient-rich humus.
It is affordable and fits small spaces, from yards to balconies with a suitable container. With basic steps you can build a reliable system that requires little time each week.
How to set up your home compost bin
Choose a container that fits your space and volume of waste. Options include tumblers, wire bins, plastic bins, or DIY wooden crates.
Location matters: place the bin on soil or a well-drained area with partial sun. This encourages microbes and helps drainage.
Materials and tools for a home compost bin
- Bin: tumbler, lidded plastic bin, or wire mesh container
- Carbon sources (browns): dry leaves, shredded paper, cardboard
- Nitrogen sources (greens): vegetable scraps, coffee grounds, fresh grass clippings
- Basic tools: garden fork or aerator, water source, kitchen scrap container
Step-by-step process for starting your home compost bin
Follow a layered approach to speed decomposition. Aim for a balance of brown and green materials.
- Start with a 3–4 inch layer of coarse browns like twigs or straw for airflow.
- Add a layer of greens (kitchen scraps, fresh clippings) about 1–2 inches thick.
- Sprinkle a thin layer of soil or finished compost to introduce microbes.
- Alternate layers of browns and greens until the bin is 2/3 full.
- Keep the pile moist like a wrung-out sponge and turn it every 1–2 weeks.
Balancing greens and browns
Use roughly 2–3 parts browns to 1 part greens by volume. Too many greens cause odor; too many browns slow decomposition.
If your pile is smelly, add dry browns and turn more often. If it is dry and slow, add water and greens.
Maintaining your home compost bin
Maintenance is simple: monitor moisture, turn the pile, and add materials in small amounts. Regular attention prevents problems.
Check temperature optionally. A warm core (104–140°F / 40–60°C) indicates active composting, but cold composting also works slowly without heat.
Weekly checklist
- Empty kitchen caddy into the bin
- Mix or turn the contents to add air
- Adjust moisture: add water or dry browns
- Cover fresh food scraps with browns to deter pests
Troubleshooting common issues with a home compost bin
Poor odor, pests, or slow breakdown are common but fixable problems. Diagnose the issue and adjust the balance or management accordingly.
Smelly compost
Cause: too many wet greens and insufficient air. Fix: add dry browns, turn the pile, and increase ventilation.
Pests and flies
Cause: exposed food scraps or meat/dairy inside. Fix: avoid meat and dairy, bury fresh scraps, and use a closed bin or layer with browns.
Slow decomposition
Cause: pile too dry, too much brown material, or not enough surface area. Fix: chop materials smaller, add greens and water, and turn to increase microbial activity.
A properly balanced compost pile can reduce household waste by up to 30 percent and cut methane emissions from landfills.
Uses for finished compost from your home compost bin
Finished compost is dark, crumbly, and earthy-smelling. Use it to boost soil health and retain moisture in garden beds.
- Mix into garden beds at planting time
- Top-dress lawns or container plants
- Create potting mixes with one part compost to two parts soil
Small case study: Urban balcony composting
María, a city apartment resident, started a 40-liter tumbler to reduce kitchen waste. She collected scraps in a countertop caddy and emptied them twice weekly.
By maintaining a 2:1 ratio of browns to greens and turning the tumbler weekly, she produced usable compost in about six months. Her herb pots needed less fertilizer and held water better after topping with compost.
Practical tips to succeed with a home compost bin
- Chop scraps into small pieces to speed decomposition.
- Keep a supply of dry browns near your bin for quick layering.
- Avoid meat, bones, dairy, and oily foods to prevent pests.
- Use a bin with good airflow or add holes if DIY.
- Label and date batches if you start multiple bins to track readiness.
Final checklist before you start your home compost bin
- Choose an appropriate bin and location
- Gather browns and greens and basic tools
- Follow a layered startup and maintain moisture
- Turn regularly and troubleshoot common problems
Starting a home compost bin is a low-cost, high-impact habit. With simple materials and weekly care, you can cut household waste and create healthy compost for plants.