
Composting at home turns kitchen scraps and yard waste into nutrient-rich soil. This guide walks you through simple steps to start and maintain a compost bin, even if you have limited space.
Home Composting for Beginners: Quick Overview
Composting is the controlled decomposition of organic material. By balancing carbon-rich and nitrogen-rich items and keeping the pile moist and aerated, you create compost suitable for gardens and potted plants.
Why start home composting
Composting reduces household waste, lowers methane from landfills, and improves soil health. It is a low-cost way to recycle nutrients and support plants at home.
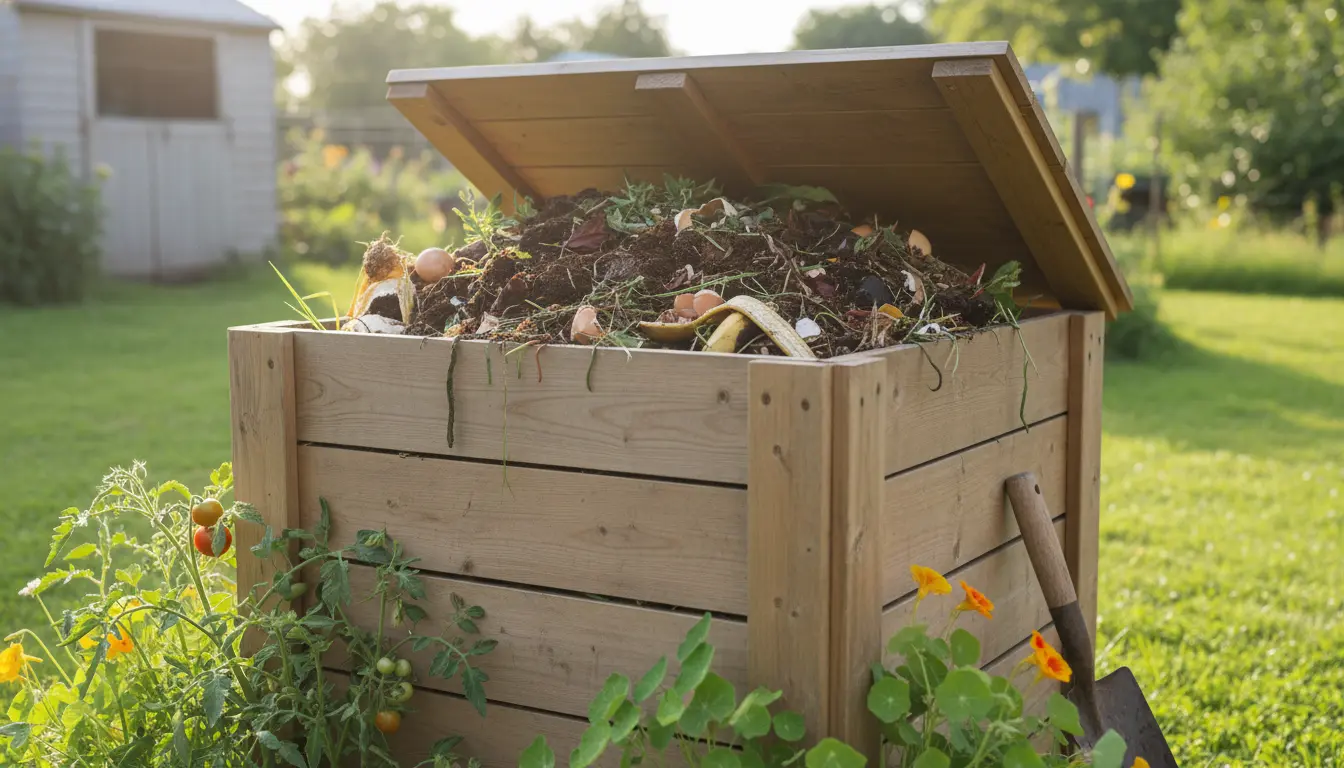
Choosing a Compost Bin for Home Composting for Beginners
Select a bin based on space, odor control, and ease of turning. Common options include open piles, tumblers, and stationary bins.
- Backyard pile: Low cost, requires space and turning with a pitchfork.
- Tumbler: Easier to turn and faster results, good for small yards.
- Plastic or wooden bin: Simple, discreet, and fits garden corners.
- Indoor bokashi or worm bin: Best for apartments or cold climates.
Choosing location and size
Place the bin on soil or a well-drained surface. Pick a spot with partial shade to keep moisture stable. Size the bin to match your household waste — a 3x3x3 foot pile works well for most families.
What to Compost: Home Composting for Beginners Essentials
Items fall into two categories: greens (nitrogen) and browns (carbon). A balanced mix ensures efficient decomposition.
Examples of greens and browns
- Greens: fruit and vegetable scraps, coffee grounds, fresh grass clippings, tea bags.
- Browns: dry leaves, shredded paper, cardboard, straw, wood chips.
Aim for roughly 2 to 3 parts browns to 1 part greens by volume. Too many greens can smell; too many browns slow decomposition.
Step-by-Step: How to Start a Compost Bin
Follow these steps to create a healthy compost pile that breaks down steadily.
- Prepare the base: Lay coarse material like straw or small branches to help drainage.
- Add layers: Alternate browns and greens in layers about 2–3 inches thick.
- Moisten: Keep the pile damp like a wrung-out sponge; add water during dry spells.
- Turn regularly: Every 1–2 weeks for hot composting, or every few weeks for slower decomposition.
- Wait and cure: Finished compost is dark, crumbly, and smells earthy. Let it cure for a few weeks before use.
Simple maintenance tips
- Monitor moisture: Add water if very dry and dry browns if soggy.
- Control odors: Add more browns and turn the pile to aerate.
- Avoid pests: Bury food scraps in the center and avoid fatty or meat-based scraps.
Troubleshooting Common Problems in Home Composting for Beginners
New composters often face a few repeatable problems. Small adjustments solve most issues quickly.
Smelly compost
Causes: Too wet or too many greens. Fix: Add dry browns like shredded paper and stir to add oxygen.
Pile not heating or slow breakdown
Causes: Too much brown material, lack of moisture, or pile is too small. Fix: Add fresh greens, water, and increase pile volume.
Pests and fruit flies
Causes: Exposed food scraps or meat. Fix: Bury food waste, use a closed bin, or try a worm bin indoors for kitchen scraps.
Using Finished Compost
Finished compost is a soil conditioner, not a fertilizer replacement. Mix it into garden beds, topdress lawns, or use in potting mixes.
- Vegetable beds: Mix 1–2 inches into the topsoil before planting.
- Container plants: Blend 1 part compost with 3 parts potting soil.
- Lawn: Spread a thin layer (about 1/4 inch) to improve soil structure.
Case Study: Small Apartment Composting Success
Maria lives in a two-bedroom apartment and wanted to reduce waste. She started a small worm bin under her kitchen counter and collected vegetable scraps for composting.
Within three months, she harvested dark, crumbly compost used for her balcony herb pots. She reduced weekly trash by nearly 40% and now shares finished compost with a community garden.
Key takeaways from the case study
- Worm bins are practical for small spaces and cold climates.
- Consistency in adding scraps speeds up production.
- Finished compost can be used immediately for potted plants after simple curing.
Final Checklist for Home Composting for Beginners
- Pick a bin type that fits your space and routine.
- Keep a balance of greens and browns (2–3:1 browns to greens).
- Monitor moisture and oxygen; turn or aerate regularly.
- Avoid meat, dairy, and oily foods to limit pests and odors.
- Be patient — composting times vary with method and season.
With a simple bin, a balanced mix of materials, and regular attention, home composting is an accessible and rewarding practice. Start small, observe the process, and scale your system as you gain confidence.