
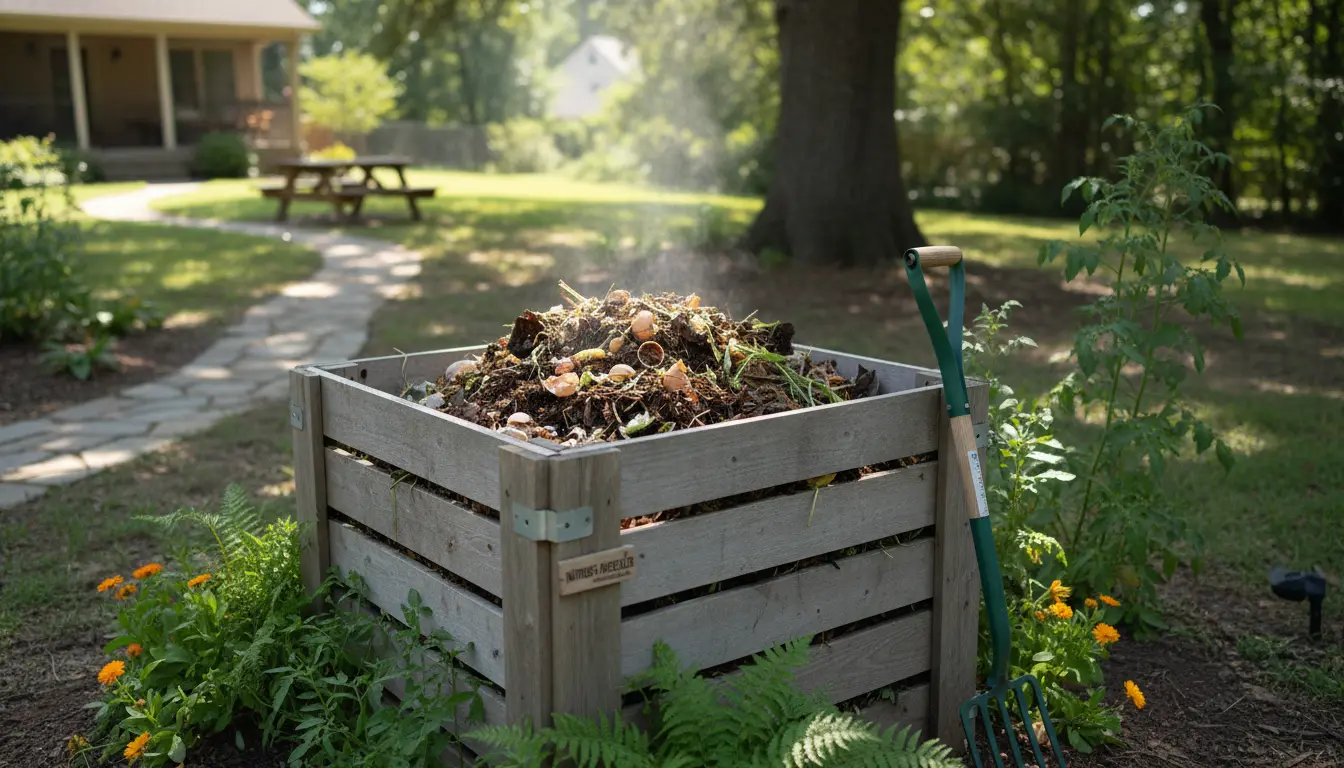
Why composting at home matters
Composting at home reduces kitchen waste, improves garden soil, and lowers your trash volume. It turns organic scraps into a useful product and supports sustainable living without complex equipment.
This guide gives clear steps, materials lists, and troubleshooting tips so you can start composting at home with confidence. The methods shown work for houses, apartments, and small urban gardens.
How to start composting at home
Choose a method that fits your space and schedule: a simple bin, tumbler, or worm composter. Each method has trade-offs in speed, odor control, and maintenance.
Follow these core steps to begin composting at home:
- Pick a container and location with good drainage and air access.
- Balance green (nitrogen) and brown (carbon) materials to keep decomposition active.
- Turn or mix the pile regularly to supply oxygen and avoid smells.
- Harvest finished compost when it looks dark and crumbly.
Choosing a bin for composting at home
Select a bin based on available space and how quickly you want compost. Options include open piles, plastic or wooden bins, tumblers, and worm bins.
- Open pile: Low cost, needs more space and turning.
- Plastic or wooden bin: Neat and pest-resistant if sealed properly.
- Tumbler: Easier turning, faster results in small yards.
- Worm bin (vermicompost): Ideal for apartments and produces rich castings.
Best location for composting at home
Place the bin in a partially shaded area to avoid drying out or overheating. Ensure access for adding materials and removing finished compost.
On a balcony or patio, use a sealed container or worm bin to reduce odors and pests. Protect wooden bins from constant wetness to extend their life.
Materials to add to composting at home
Compost needs a balance of greens (moist, nitrogen-rich) and browns (dry, carbon-rich). Aim for roughly a 2:1 or 3:1 ratio of browns to greens by volume for steady decomposition.
- Greens: Fruit and vegetable scraps, coffee grounds, fresh grass clippings.
- Browns: Dry leaves, straw, shredded paper, cardboard, wood chips.
- Water: Keep the pile as moist as a wrung-out sponge.
Avoid adding meat, dairy, oily foods, diseased plants, and pet waste to typical backyard compost to prevent odors and pests.
Layering and turning for success
Start with a coarse brown base for airflow, then alternate layers of greens and browns. Cover fresh greens with browns to minimize flies and smells.
Turn the pile every 1–2 weeks in hot composting systems to keep oxygen flowing. In slower systems or worm bins, stirring less frequently is acceptable.
Troubleshooting common problems in composting at home
Compost can fail to heat, smell, or attract pests. These problems are usually easy to fix with small adjustments.
- Smelly pile: Add more browns and increase turning to introduce oxygen.
- Too dry: Add water gradually and mix in greens to rehydrate the pile.
- Not heating: Add more greens or smaller particle materials to speed decomposition.
- Pests: Avoid meat/dairy and use a closed bin or a wire mesh barrier.
How to know when compost is ready
Finished compost is dark brown, crumbly, and earthy smelling. Most systems take 2–12 months depending on method, materials, and how often you turn the pile.
Use finished compost as a top dressing, soil amendment, or potting mix ingredient. It improves water retention, adds nutrients, and supports beneficial microbes.
Composting at home can divert up to 30% of household waste from the trash. Broken down organic matter also reduces methane emissions from landfills.
Small case study: Composting at home in a small apartment
Case: Sarah lives in a two-bedroom apartment and wanted to reduce food waste. She bought a 10-gallon worm bin and started collecting vegetable scraps in a covered counter bucket.
Within three months she had rich worm castings for her balcony plants. Her trash volume dropped noticeably, and she reported no odor problems after balancing bedding and food scraps.
Key lessons: Choose a method that fits your space, keep bedding dry but moist, and add scraps in small amounts to avoid overloading the worms.
Practical checklist to start composting at home
- Decide on a method: bin, tumbler, pile, or worm bin.
- Gather basic supplies: bin, garden fork, browns (leaves), and a small counter bucket.
- Begin layering: brown base, alternate greens and browns, moisten each layer.
- Maintain: turn or stir weekly if possible, monitor moisture and smell.
- Harvest: screen or sift finished compost and add to plants or soil.
Composting at home is an achievable habit with tangible benefits. Start small, track results, and adapt the system to your lifestyle. You’ll reduce waste, improve soil, and feel rewarded by turning scraps into something valuable.