
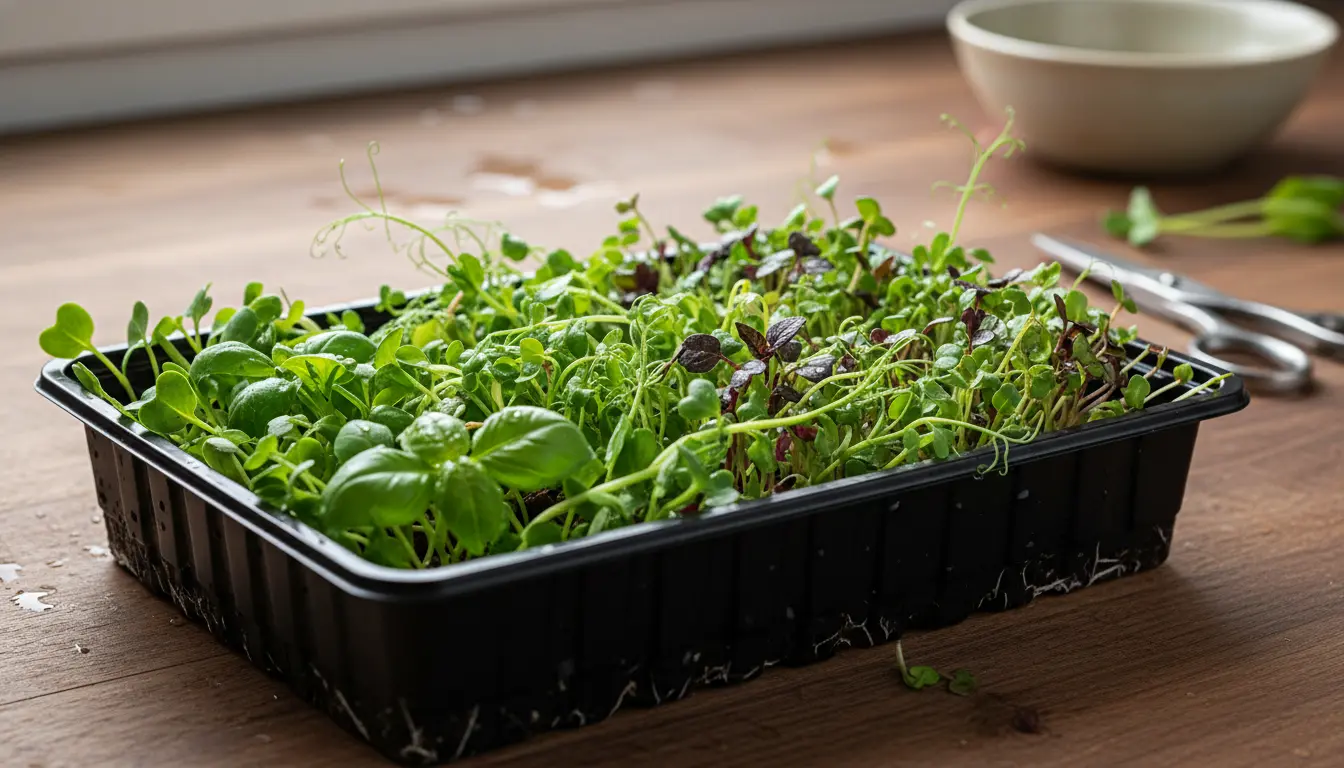
Why Grow Microgreens at Home
Microgreens are young vegetable greens harvested just after the cotyledon leaves have developed. They pack concentrated flavor and nutrients in a small, fast-growing crop you can harvest in 1–3 weeks.
Growing microgreens at home is space-efficient and low-cost. They are ideal for apartments, kitchen counters, and small balconies.
What You Need to Grow Microgreens at Home
Setting up to grow microgreens requires a few basic supplies. Most of these are inexpensive and reusable for multiple harvests.
- Shallow trays or seed flats with drainage holes
- Potting mix, seed-starting mix, or coconut coir
- Microgreen or salad seeds (not treated)
- Spray bottle for watering
- Light source: sunny window or LED grow light
- Scissors for harvesting
Choosing Seeds for Microgreens at Home
Choose seeds labeled for microgreens or untreated salad seeds. Popular choices include radish, sunflower, pea, arugula, basil, and beet.
Start with one or two varieties to learn how they behave. Fast growers like radish and arugula are forgiving for beginners.
Step-by-Step: How to Grow Microgreens at Home
This practical step-by-step will help you start your first tray. Follow timing and moisture tips for reliable results.
Step 1: Prepare the Tray and Medium
Fill a shallow tray with 1–1.5 inches of potting mix or coconut coir. Level the surface and firm gently so seeds make good contact.
If your tray has holes, set it on a shallow catch tray to hold water without drowning roots.
Step 2: Sow Seeds
Broadcast seeds evenly across the surface for even growth. For larger seeds like sunflower or pea, space them to avoid overcrowding.
Press seeds lightly into the medium and mist with water until the surface is moist but not soggy.
Step 3: Cover and Germinate
Cover the tray with another tray or a humidity dome to keep darkness and moisture for the first few days. Most seeds germinate faster in dark, humid conditions.
Check daily and mist as needed. Once most seeds show green tips, remove the cover to introduce light.
Step 4: Light and Watering
Place trays in bright, indirect light or under an LED grow light on a 12–16 hour schedule. Direct hot sun can scorch tender leaves.
Water from the top with a fine spray or bottom-water by adding water to the catch tray. Keep medium moist but not waterlogged.
Step 5: Harvest Microgreens at Home
Harvest when true leaves appear or when the microgreens reach 1–3 inches tall, depending on the variety. Use sharp scissors to cut above the soil line.
Rinse gently and dry with paper towels for storage or immediate use. Most microgreens last 5–7 days refrigerated.
Light, Temperature, and Timing for Microgreens
Microgreens favor moderate indoor temperatures of 65–75°F (18–24°C). Cooler temps slow growth; warmer temps speed it but can stress plants.
If natural light is limited, use a 20–40W LED grow light placed 6–12 inches above the tray. Adjust duration to maintain steady growth without stretching.
Common Problems and Solutions When You Grow Microgreens at Home
Mold and damping-off are common if trays are too wet or crowded. Improve air circulation and reduce humidity if mold appears.
- Problem: Mold on surface — Solution: Allow brief drying, remove affected areas, reduce cover time
- Problem: Leggy growth — Solution: Increase light intensity and lower light height
- Problem: Slow germination — Solution: Check seed freshness and pre-soak large seeds for 4–8 hours
Harvest, Storage, and Use
Harvest in the morning for peak freshness. Cut with sharp scissors and avoid cutting into the soil to reduce contamination risk.
Store unwashed microgreens loosely wrapped in a breathable container in the fridge. Use within a week for best flavor and nutrition.
Microgreens can contain up to 40 times more nutrients per unit weight than mature leaves, depending on the variety. They are a dense source of vitamins and antioxidants.
Small Real-World Example: Cafe Shelf Success
A small café in Portland added microgreens grown on-site to salads and sandwiches. They started with one tray of sunflower and one of arugula, rotating harvests every week.
The café reduced produce costs and highlighted the fresh, local factor on their menu. Customers noted improved flavor and the café reported a small revenue boost from premium menu items using microgreens.
Quick Tips to Grow Microgreens at Home
- Start with fast, forgiving seeds like radish or arugula.
- Maintain consistent moisture but avoid waterlogging.
- Use adequate light to prevent stretching and weak stems.
- Sanitize trays between crops to prevent disease carryover.
- Keep a harvest schedule to maintain continuous supply.
Final Thoughts on Growing Microgreens at Home
Growing microgreens at home is an easy, rewarding way to add fresh greens and nutrients to your diet. The setup cost is low and the learning curve is short.
With basic care—proper seeds, light, and moisture—you can harvest multiple crops per month. Start small, track what works, and scale up when you have a reliable routine.