
Home composting turns kitchen scraps and yard waste into nutrient-rich soil. This guide explains simple, practical steps you can use at home to reduce waste and support healthy plants.
Why Start Home Composting?
Composting reduces the amount of organic waste sent to landfills and lowers greenhouse gas emissions. It also produces compost that improves soil structure and plant health.
Many households can divert 30–50% of their trash to compost, depending on diet and yard size. Composting fits small balconies, backyards, and community gardens alike.
Key Benefits of Home Composting
- Less household waste and lower trash bills
- Free soil amendment for lawns and gardens
- Improved water retention and reduced need for fertilizers
- Educational and cost-effective environmental practice
How Home Composting Works
Composting is the controlled decomposition of organic material by microbes. The main factors you manage are carbon, nitrogen, moisture, and aeration.
Balance these factors and microbes will break down materials into stable humus over weeks to months.
Carbon and Nitrogen: The Basics
Materials rich in carbon are called “browns” and materials rich in nitrogen are called “greens.” Maintain roughly a 25–30:1 carbon-to-nitrogen ratio by volume for efficient composting.
- Greens: vegetable scraps, coffee grounds, grass clippings
- Browns: dried leaves, straw, shredded cardboard, paper
Step-by-Step Home Composting Method
Follow these steps to set up a simple bin or pile at home. The approach works for most temperate climates and small urban plots.
- Choose a container: Use a compost bin, tumbler, or a simple pile. For balconies, use a sealed bokashi bucket or worm bin.
- Location: Place the bin on bare soil where possible to allow drainage and access for worms. Partial shade helps maintain moisture.
- Layer materials: Start with coarse browns for drainage, then add alternate layers of greens and browns about 2–4 inches thick.
- Moisture: Keep the pile damp like a wrung-out sponge. Add water during dry spells and cover to prevent heavy rain saturation.
- Aerate: Turn the pile every 1–2 weeks with a pitchfork or use a tumbler to introduce oxygen and speed decomposition.
- Monitor: A working pile should feel warm inside. If it smells bad, add more browns and turn to introduce air.
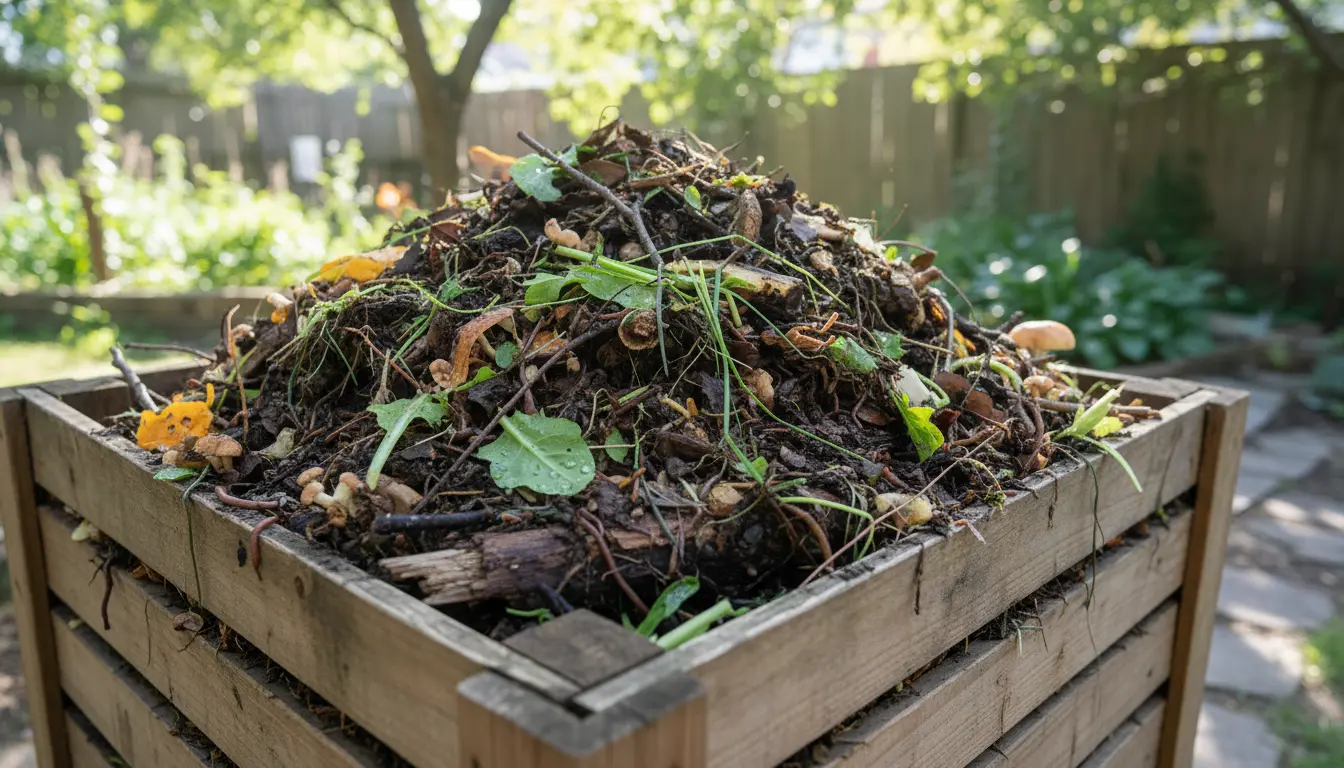
- Harvest: Finished compost is dark, crumbly, and earthy-smelling. Sift and use it in pots, beds, or as a top dressing.
Materials to Avoid in Home Composting
- Meat, dairy, and oily foods (attract pests)
- Diseased plants or invasive weeds with seeds
- Coal ash, synthetic chemicals, and treated wood
Composting a ton of food waste can save roughly 1,000 kg of CO2 equivalent compared with sending it to landfill. Even a small home compost bin can cut household waste significantly over a year.
Troubleshooting Home Composting Problems
Common issues are usually easy to fix once you identify the cause. Smells, slow decomposition, and pests are the top concerns for beginners.
Smelly Compost
A sour or rotten smell indicates too much moisture or insufficient oxygen. Turn the pile and add dry browns like shredded paper or leaves.
Slow or Cold Pile
If decomposition is slow, add more greens for nitrogen and increase the pile size or insulate to retain heat. Turning can also help reactivate microbial activity.
Pests
To deter rodents and flies, avoid adding meat and dairy. Use a closed bin or mesh-covered tumbler. Bury food scraps under browns to reduce attraction.
Real-World Example: Small Urban Household Case Study
Case: A two-person apartment household in a city used a 20-liter bokashi bucket and a 200-liter community garden bin for finished compost.
Action: Over 12 months they diverted food scraps and coffee grounds to the bokashi bucket and layered the fermented matter into the community bin with yard waste.
Results: They reduced their weekly trash volume by about 40% and produced enough compost to feed three raised beds in the community garden. The system required about 15 minutes per week of maintenance.
Practical Tips to Get Started
- Start small with a dedicated kitchen bucket and a backyard bin.
- Chop larger scraps to speed decomposition.
- Keep a balance of browns and greens; when in doubt, add more browns.
- Join local composting groups or workshops for hands-on learning and community support.
Home composting is a low-cost, high-impact habit. With basic steps and a little routine maintenance, you can cut household waste and create valuable soil for plants. Try a simple system for three months and adjust as you learn what works best for your space and schedule.