
Home composting converts kitchen scraps and yard waste into a valuable soil amendment. This guide gives clear, practical steps for beginners to start composting, avoid common mistakes, and use finished compost effectively.
Why Home Composting Matters
Composting reduces household waste and returns nutrients to the soil. It improves soil structure, water retention, and plant health without synthetic fertilizers.
Starting composting at home lowers landfill waste and greenhouse gas emissions from organic material. It also saves money and supports a healthier garden.
Getting Started with Home Composting
Choose a method that fits your space and needs. Small balconies, suburban yards, and rural properties all have workable options.
Choosing a Compost System
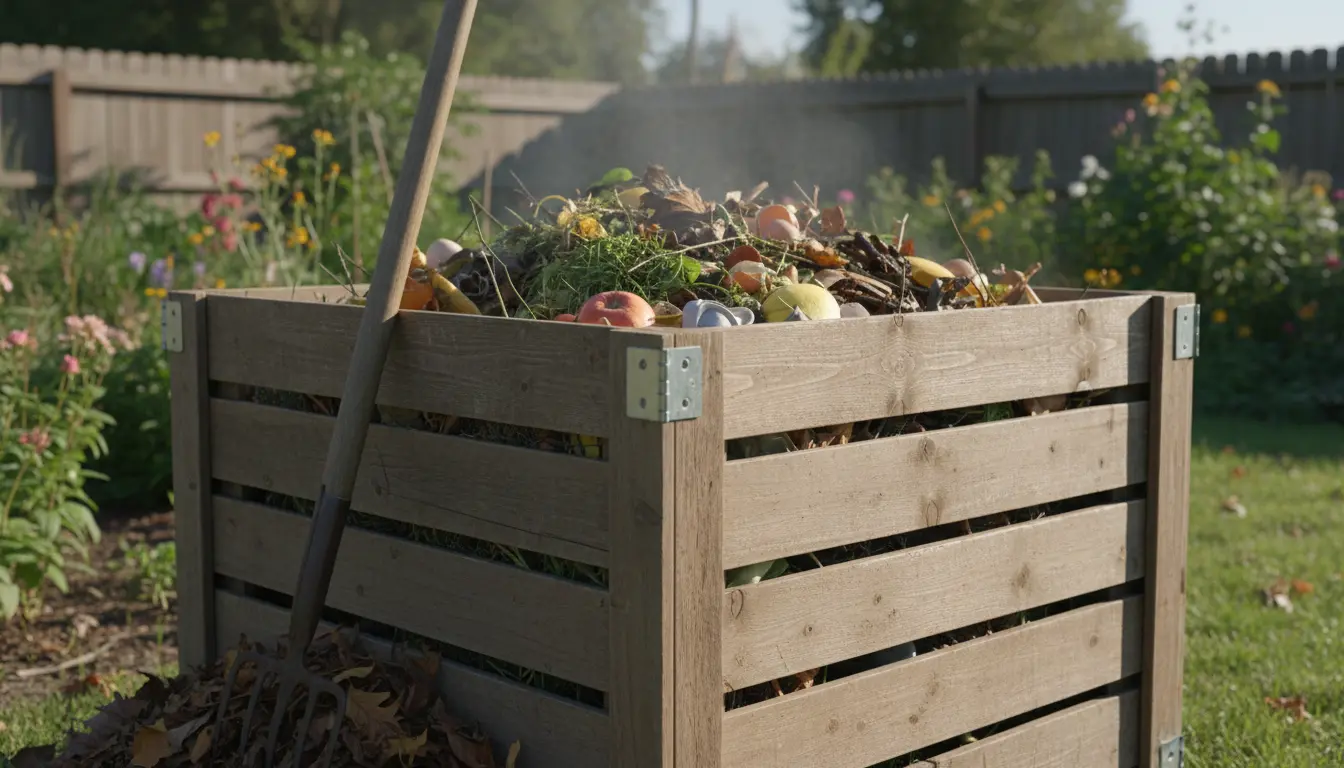
- Open pile: Simple and cheap for larger yards; needs more space and turning.
- Bin or tumbler: Neat and faster; good for suburban gardens and pest control.
- Vermicomposting (worms): Ideal for indoor or small-space composting of kitchen scraps.
Consider access, aesthetics, and how much material you’ll produce when selecting a system.
What to Compost and What to Avoid
Balance carbon-rich (brown) and nitrogen-rich (green) materials. Aim for roughly 3 parts brown to 1 part green by volume.
- Greens (nitrogen): Vegetable scraps, fruit peels, coffee grounds, fresh grass clippings.
- Browns (carbon): Dry leaves, shredded paper, cardboard, straw, wood chips.
- Avoid: Meat, dairy, oily foods, diseased plants, pet waste, and large woody branches.
Layering, Moisture, and Turning
Start with a layer of coarse browns for airflow. Alternate greens and browns in 2–4 inch layers. Keep the pile as moist as a wrung-out sponge.
Turn the pile every 1–3 weeks to aerate and speed decomposition. Tumblers make turning easier, while open piles benefit from a pitchfork or compost aerator.
Common Problems and Solutions in Home Composting
New composters often face odor, pests, or slow decomposition. Each issue has straightforward fixes.
- Bad smell: Add more browns, increase turning, and ensure proper moisture.
- Pests: Bury food scraps under browns, use enclosed bins or tumblers, avoid meat and dairy.
- Slow breakdown: Chop materials smaller, increase nitrogen (greens), and turn more frequently.
- Too dry or too wet: Add water or dry browns accordingly; cover pile in heavy rain.
Properly managed compost can reach temperatures of 130 to 160°F (54 to 71°C), which helps kill weed seeds and pathogens. Hot composting speeds decomposition and sanitizes the pile.
Small Real-World Case Study
Case: A two-person household in a small suburb started a 60-gallon tumbler. They added kitchen scraps and shredded newspaper, maintaining a 3:1 brown to green ratio.
Result: With weekly turning and consistent moisture, usable compost was ready in four months. The household reduced weekly trash by nearly 50% and used the compost to top-dress potted herbs and vegetables.
How to Tell When Compost Is Ready
Finished compost is dark, crumbly, and has an earthy smell. Most large pieces are unrecognizable, and the temperature returns to ambient.
Screen compost through a mesh to remove persistent large bits. Return any oversized material to the active pile to finish decomposing.
Using Finished Compost in Your Garden
Incorporate compost into planting holes, mix it into potting soil, or use as a top dressing. Apply 1–3 inches of compost around shrubs and vegetables.
- Seed starting: Mix finished compost at 10–20% with sterile seed mix.
- Sidedressing: Use compost mid-season to supply slow-release nutrients.
- Lawn care: Top-dress the lawn with a thin layer to improve soil biology.
Quick Start Checklist for Home Composting
- Pick a system: bin, tumbler, pile, or worm bin.
- Collect greens and browns; keep a 3:1 ratio as a starting point.
- Chop or shred larger items for faster breakdown.
- Maintain moisture like a wrung-out sponge and turn regularly.
- Troubleshoot odors, pests, and slow decomposition quickly.
Home composting is low-cost and scalable. Start small, observe your pile, and adjust materials and management to fit your local climate and available space.
If you want, try a 30-day challenge: collect scraps in a bin, add browns each week, and monitor temperature and moisture. Within a few months you’ll have rich compost to improve your soil and plants.