
Kitchen composting turns food scraps into useful material for gardens and reduces household waste. This guide explains simple methods, what to compost, maintenance, and common problems so beginners can start with confidence.
What Is Kitchen Composting
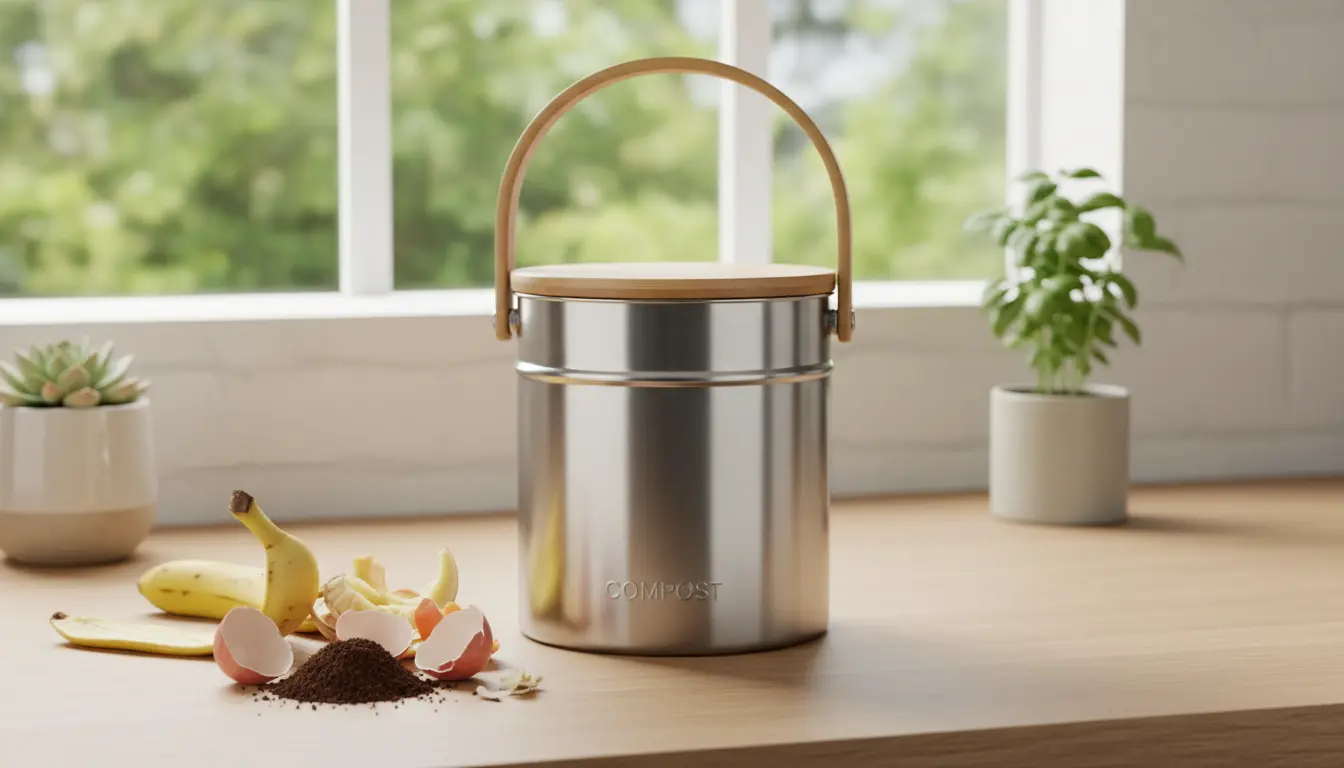
Kitchen composting is the process of collecting organic food scraps and transforming them into compost through decomposition. It can be as simple as a countertop bin or a small indoor worm system.
Compost improves soil structure, retains moisture, and returns nutrients to plants. Even small kitchens can contribute to healthier soil and lower trash output.
Why Start Kitchen Composting
Starting kitchen composting reduces landfill waste and can lower your household garbage volume. It also supports sustainable gardening by producing free, nutrient-rich soil amendment.
Beyond environmental benefits, composting can save money on fertilizer and landscaping materials. Many communities offer incentives or free composting workshops to support beginners.
How to Start Kitchen Composting for Beginners
Begin with a simple plan: choose a container, decide on a composting method, and learn what to feed the system. Small, repeatable steps make it easy to maintain the habit.
Choose a Compost Method
- Countertop bin: A sealed container for collecting scraps. Empty it into outdoor compost or municipal collection.
- Indoor compost pail with odor control: Charcoal filters or a tight lid reduce smells for short-term storage.
- Bokashi: Fermentation in a sealed bucket using bran inoculated with beneficial microbes. Works well for apartment dwellers.
- Vermicomposting: Worm bins convert scraps into castings quickly and work well inside with proper care.
Choose the method that matches your living situation, smell tolerance, and time available for maintenance.
What to Put in Your Kitchen Compost
Balance is key. Aim to combine nitrogen-rich “greens” with carbon-rich “browns” for effective decomposition.
- Greens: fruit and vegetable peels, coffee grounds, tea bags (without synthetic materials).
- Browns: shredded paper, dry leaves, cardboard pieces, and small amounts of sawdust.
- Avoid: meat, dairy, oily foods, and pet waste in most household systems unless using bokashi or a heated composting solution.
Chop larger scraps to speed breakdown and reduce odors.
Step-by-Step Setup
- Pick a small bin for the countertop and a larger container for collection or processing.
- Line the bin bottom with a layer of browns to absorb moisture and control odors.
- Add scraps daily and cover with a thin layer of browns when possible.
- Transfer to outdoor pile, municipal compost, bokashi bucket, or vermicompost bin according to your chosen method.
How to Maintain Kitchen Composting
Routine checks prevent common issues. Maintain moisture, aeration, and the right mix of greens and browns.
Turn or mix compost periodically if using a pile or bin that allows aeration. For vermicompost, feed small amounts and keep the bedding moist but not soggy.
Common Problems and Solutions with Kitchen Composting
Beginners often face odors, pests, or slow decomposition. Each issue usually has a straightforward fix.
- Bad smells: Add more browns, mix the pile, and avoid meat or oily foods. Ensure proper ventilation.
- Pests: Use sealed containers, bury scraps in outdoor piles, or choose bokashi or worm bins for indoor composting.
- Slow breakdown: Chop scraps smaller, maintain moisture, and mix greens and browns evenly.
Small Case Study Apartment Kitchen Composting
Maria, a city renter, wanted to compost but had no outdoor space. She started with a 1.5-gallon countertop pail and a small bokashi bucket. She collected vegetable scraps in the countertop pail and emptied it into the bokashi bucket every two days.
After two months of fermentation, she buried the bokashi output in a community garden trench. Her household trash decreased by 30 percent, and the community garden reported improved soil structure after adding the bokashi-treated material.
Practical Tips for Ongoing Success
Consistency and small habits matter. Keep the setup easy to use and incorporate composting into your meal prep routine.
- Keep a dedicated spoon or scraper to collect scraps quickly while cooking.
- Store a small bag or container of shredded paper nearby for quick browns.
- Label bins and keep an instruction note so all household members contribute correctly.
Final Steps to Start Today
Choose your container, decide on a method, and commit to a 4-week trial. Track changes in trash volume and note any odor or pest issues to adjust your routine.
Start small and scale up. With simple maintenance and balanced inputs, kitchen composting becomes an easy part of daily life and a meaningful contribution to sustainability.
Example action list to begin:
- Buy a countertop bin with a tight lid.
- Collect scraps for one week and transfer them to your chosen system.
- Monitor moisture and add browns as needed.
With these steps, kitchen composting for beginners becomes a manageable and rewarding habit. Start today and build a routine that fits your home.