
Why a Home Compost Bin Matters
Composting at home reduces food waste, improves soil health, and lowers your household’s carbon footprint. A properly managed home compost bin turns kitchen scraps and yard waste into nutrient-rich compost you can use in pots, vegetable beds, or lawn patches.
This guide walks you through selecting, building, and maintaining a home compost bin so you get steady, usable compost within months.
Choose the Right Home Compost Bin
Select a bin that fits your space, budget, and output needs. Options include tumblers, stationary bins, and simple open piles.
- Compost Tumblers: Good for small yards and faster turning. Easier to aerate but can be costly.
- Stationary Bins: Affordable and simple. Best if you have a little more space and time for manual turning.
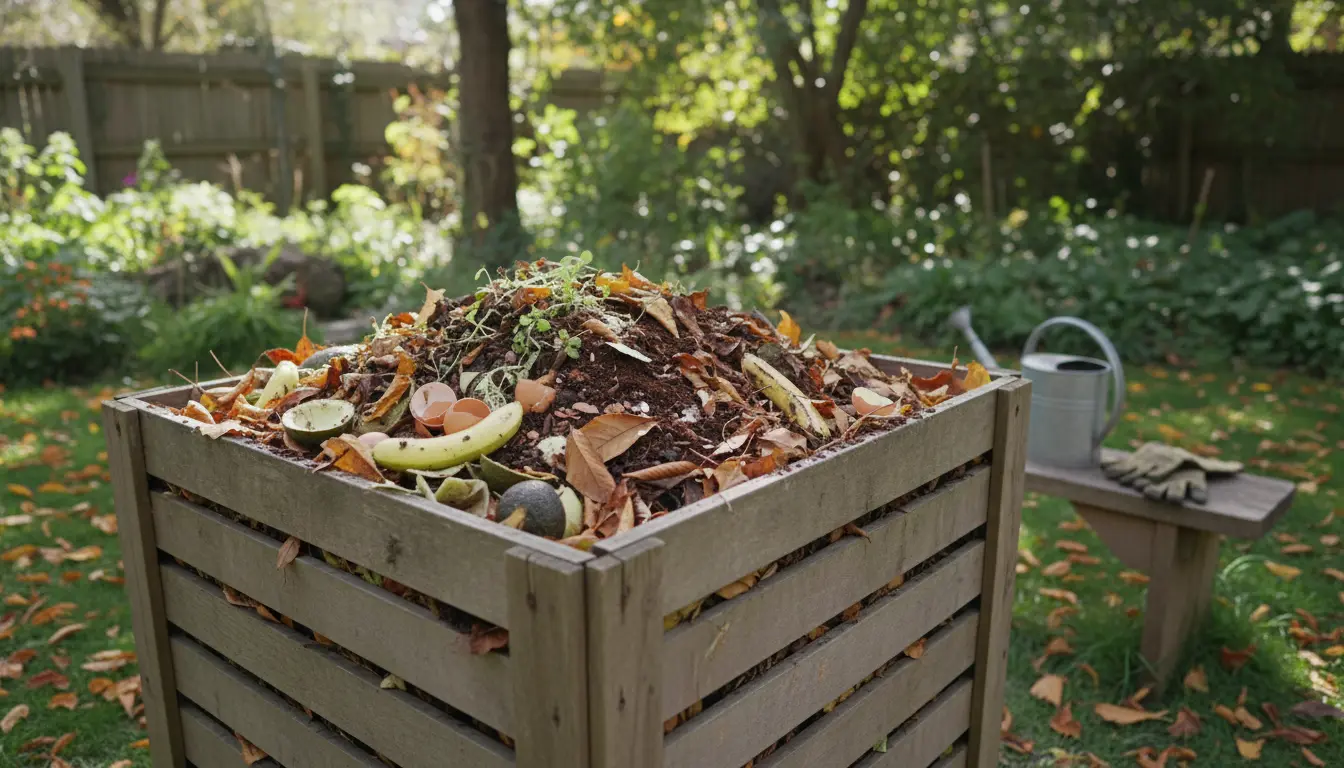
- Open Pile: Cheapest option and easy to start, but may attract pests without proper layering.
Bin Placement and Setup
Place the bin on soil to allow organisms and moisture exchange. Avoid direct sun in very hot climates and heavy shade in cool, wet areas.
Ensure good drainage and enough room to access the bin for turning and removing finished compost.
Materials: Greens, Browns, and What to Avoid
Effective composting relies on a balance between nitrogen-rich “greens” and carbon-rich “browns.” Aim for roughly a 3:1 or 4:1 ratio of browns to greens by volume.
- Greens (nitrogen): Kitchen vegetable scraps, coffee grounds, fresh grass clippings, green garden trimmings.
- Browns (carbon): Dry leaves, shredded paper, straw, cardboard, wood chips.
- Avoid: Meat, dairy, oils, diseased plants, and pet waste to prevent odors and pests.
Easy Layering Method
Start with a layer of coarse browns to improve airflow. Add a layer of greens, then cover with browns. Repeat until the bin is full. Keep each layer a few inches thick for best results.
Moisture and Aeration: Key Home Compost Bin Care
Compost should feel like a wrung-out sponge—moist but not sopping. Too dry and microbes slow down; too wet and the pile becomes anaerobic and smelly.
Turn the pile regularly to introduce oxygen and speed decomposition. If you have a tumbler, rotate it a few times per week; for stationary bins, use a pitchfork to mix every 1–2 weeks.
Troubleshooting Common Problems
- Smelly compost: Add more browns and turn more often to introduce oxygen.
- Slow breakdown: Chop materials into smaller pieces, increase moisture slightly, and ensure a balanced green-to-brown ratio.
- Pests: Bury food scraps under a browns layer and avoid meat/dairy. Use a closed bin or wire mesh if rodents are a problem.
Speeding Up Compost in a Home Compost Bin
You can accelerate composting with a few practical steps that don’t require special equipment.
- Shred or chop materials before adding them to the bin.
- Maintain consistent temperature by insulating the bin in cold weather or keeping it shaded in extreme heat.
- Add a handful of mature compost or garden soil to introduce beneficial microbes.
- Use a compost activator such as fresh grass clippings or coffee grounds sparingly to boost nitrogen.
Harvesting and Using Finished Compost
Compost is ready when it is dark, crumbly, and earthy-smelling. This usually takes 2–6 months depending on materials and management.
Sift or screen the compost to remove larger pieces, then use it as a soil amendment, potting mix additive, or mulch top layer. Typical application rates: mix 1–2 inches into garden beds or top-dress potted plants.
Adding small amounts of crushed eggshells to your home compost bin improves calcium content in the finished compost and helps reduce the chance of blossom end rot in tomatoes.
Small Real-World Example: Suburban Family Composting
Case study: A family of four in a suburban area started a 50-gallon stationary home compost bin. They used a 3:1 mix of dry leaves to kitchen scraps, turned the pile every 10 days, and kept it moist with periodic watering.
In six months they produced enough compost to amend two raised beds and reduce their weekly trash by one bag. The family reported healthier vegetable yields and less spending on store-bought soil amendments.
Maintenance Checklist for Your Home Compost Bin
- Weekly: Check moisture and turn or rotate the pile.
- Monthly: Add a mix of browns and greens to maintain balance.
- Seasonally: Insulate or shade the bin based on climate extremes.
- As needed: Troubleshoot odors, pests, or slow breakdown with the tips above.
Final Tips for Successful Home Composting
Start small and refine your process as you learn what your bin needs. Keep a small kitchen container for scraps and empty it into the bin daily to prevent odors inside the house.
Be patient: composting is a biological process. With consistent layering, moisture control, and aeration, your home compost bin will reward you with rich, useful compost.