
Why Home Composting Matters
Home composting turns kitchen and yard waste into valuable soil material. It reduces landfill waste and improves garden health without expensive inputs.
This guide gives clear, practical steps to start home composting and keep it working well in small spaces.
What Is Home Composting
Home composting is the controlled decomposition of organic material like vegetable peels, leaves, and coffee grounds. Microbes break down these materials to create nutrient-rich compost.
There are several methods, including bin composting, tumblers, and vermicomposting (using worms). Choose one that fits your space and time.
What You Need for Home Composting
Start with simple tools and basic materials. You don’t need a large yard or special equipment.
- Container: compost bin, tumbler, or a closed container for vermicomposting.
- Materials: a balance of browns (dry leaves, shredded paper) and greens (food scraps, grass clippings).
- Basic tools: garden fork or a small shovel to turn the pile and a thermometer (optional).
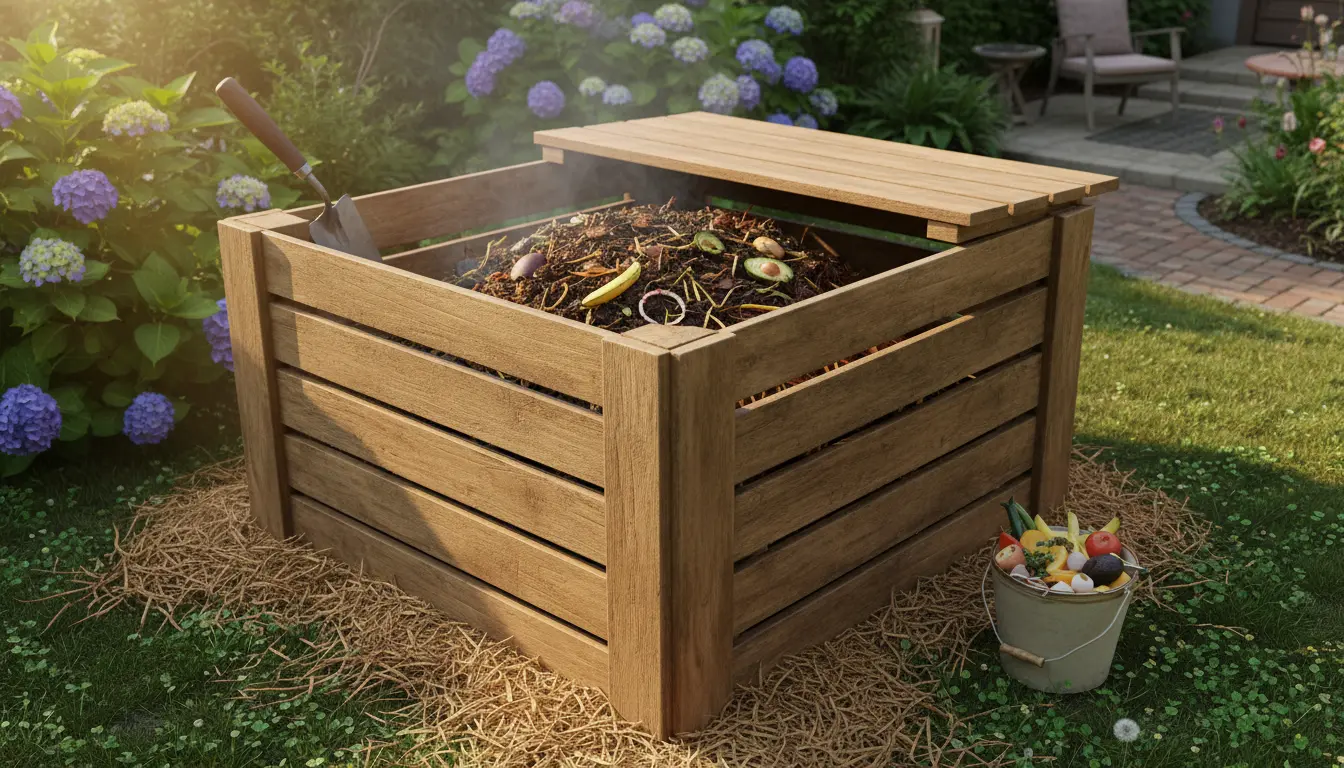
Choosing a Compost Bin
Select a bin that fits your space. For patios and balconies, choose a compact tumbler or a worm bin.
For backyards, an open wooden bin or a plastic compost container works well and is low cost.
How to Start Home Composting
Follow these steps to set up and maintain your home composting system. Keep each step simple and consistent.
Step 1: Pick a Spot and Set Up
Place your bin on bare soil if possible. This allows beneficial organisms to move between soil and compost.
Ensure the spot has partial shade to keep moisture levels stable and avoid drying out in hot sun.
Step 2: Add the Right Materials
Use a ratio of roughly 3 parts browns to 1 part greens by volume. Browns provide carbon; greens supply nitrogen.
- Browns: dried leaves, straw, shredded paper, cardboard
- Greens: fruit and vegetable scraps, fresh grass clippings, coffee grounds
Avoid meat, dairy, oily foods, and pet feces in standard bins. These attract pests and slow the process.
Step 3: Maintain Moisture and Air
Compost should feel like a wrung-out sponge—moist but not soggy. Add water during dry spells and mix in browns if it’s too wet.
Turn or aerate the pile every 1–2 weeks for faster decomposition. Tumblers make turning easier in small systems.
Troubleshooting Home Composting
Problems are usually simple to fix once you know what to look for. Use this quick checklist for common issues.
- Bad smell: add more browns and turn the pile to introduce air.
- Too dry: add water and fresh greens to boost moisture.
- Slow decomposition: chop materials into smaller pieces and check the green-to-brown ratio.
- Pests: avoid meat and dairy; use a closed bin or add a layer of browns on top.
How Long Does Home Composting Take?
Times vary by method and conditions. Hot composting can produce usable compost in 2–3 months. Cold composting may take 6–12 months.
Turning, maintaining moisture, and correct material balance speed up the process.
Adding coffee grounds can improve compost nitrogen levels and attract earthworms, which help aerate and mix the pile.
Real-World Example: Urban Apartment Composting Case Study
Emma lives in a city apartment with a small balcony. She started a worm bin for food scraps and used a countertop caddy for daily collection.
Within four months, Emma produced enough compost to top-dress three potted herbs and noticed improved growth and soil water retention.
- System: small worm bin with kitchen caddy
- Input: vegetable peels, coffee grounds, shredded paper
- Outcome: consistent compost in 4 months, no odor, minimal space use
This example shows home composting is possible in tight spaces with simple planning and regular feeding.
Using Your Finished Compost
Finished compost looks dark, crumbly, and earthy-smelling. Use it to enrich garden beds, potting mixes, or as a top dressing for lawns.
Mix compost into soil at a 10–25% ratio for planting; use a thin layer around established plants to improve nutrients and moisture.
Quick Checklist to Start Home Composting
- Choose a bin suitable for your space (tumbler, worm bin, or open bin).
- Collect browns and greens and aim for a 3:1 browns-to-greens ratio.
- Keep compost moist and aerated; turn regularly.
- Monitor for odors or pests and adjust materials as needed.
- Harvest finished compost when it is dark and crumbly.
Final Tips for Successful Home Composting
Start small and learn by doing. Keep a simple log or checklist to track additions and turning schedule.
Be patient—composting transforms waste into a valuable resource and rewards consistent care.