
Why choose home composting?
Home composting turns kitchen and yard waste into nutrient-rich soil. It reduces landfill waste and lowers household trash volume.
For gardeners and apartment dwellers, home composting is a practical way to reuse organic material and improve soil health.
Benefits of home composting
Composting has environmental and practical benefits that are easy to see.
- Reduces food waste and methane from landfills.
- Produces free, natural fertilizer for plants.
- Improves soil structure, water retention, and plant health.
- Saves money on commercial soil amendments.
How to start home composting: a step-by-step guide
Starting home composting is straightforward when you follow a few basic steps. You can use a bin, a tumbler, or a simple pile depending on space and needs.
1. Choose the right compost system
Select a system that fits your space and workload. Options range from small countertop bokashi buckets to backyard compost bins.
- Indoor: Bokashi or worm bins for kitchens and small apartments.
- Outdoor: Stationary bins or tumblers for yards.
- Open pile: Works for larger gardens where fencing is possible.
2. Pick a suitable location
Place an outdoor bin on soil or grass to allow worms and microbes to help break down materials. A partly shaded area reduces drying and overheating.
For indoor systems, pick a ventilated spot away from direct heat and strong odors.
3. Balance greens and browns
Healthy home composting needs a balance of nitrogen-rich ‘greens’ and carbon-rich ‘browns’.
- Greens: fruit peels, vegetable scraps, coffee grounds, fresh grass clippings.
- Browns: dry leaves, shredded paper, cardboard, straw, sawdust.
A good rule is roughly 2 to 3 parts browns to 1 part greens by volume.
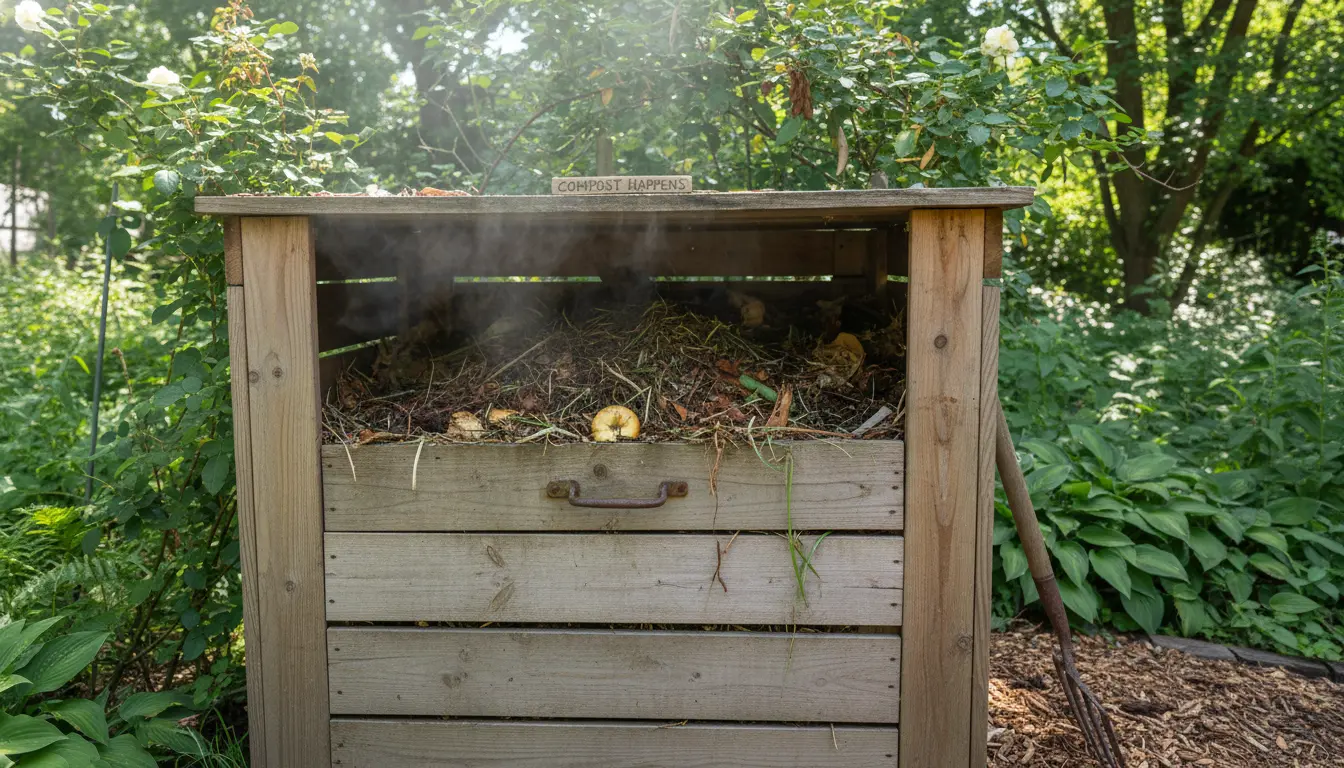
4. Build and maintain the pile
Start with a layer of coarse browns to aid airflow. Alternate layers of greens and browns and keep the pile moist like a wrung-out sponge.
Turn the pile every 1–2 weeks to add oxygen and speed decomposition. Tumblers make turning easier for small batches.
Composting tools and supplies
You do not need expensive tools to begin home composting. A few items make the process cleaner and faster.
- Compost bin or tumbler
- Pitchfork or turning tool
- Thermometer (optional) to check internal temperature
- Kitchen caddy or bucket for collecting scraps
- Garden gloves and a tarp for large piles
Troubleshooting common home composting problems
Some issues are normal and easy to fix with small adjustments.
Odor or anaerobic smell
Bad smells usually mean the pile is too wet or lacks oxygen. Add dry browns and turn the pile to reintroduce air.
Pests or fruit flies
Avoid adding meat, dairy, or oily foods. Bury food scraps under browns or use a sealed indoor system like bokashi to reduce pests.
Slow decomposition
Check moisture, particle size, and mix balance. Chop larger items and increase turning frequency to speed up breakdown.
Small case study: A family backyard bin
A small family of four in Portland started home composting with a 3-bin stationary system. They used kitchen scraps and yard trimmings and layered leaves for browns.
After three months of regular turning and a 2:1 brown to green ratio, they produced crumbly, dark compost. They used it to top-dress vegetable beds and reported healthier tomato plants the next season.
Safety and local rules
Check local regulations for outdoor composting, especially in urban areas. Some neighborhoods restrict open piles or require covered bins.
Compost at safe temperatures (131–160°F or 55–70°C for hot composting) when possible to kill pathogens, especially if you add pet waste or diseased plant material.
Quick tips and a home composting checklist
- Start with a balanced mix: 2–3 parts browns to 1 part greens.
- Keep moisture at about the level of a wrung-out sponge.
- Turn the pile every 1–2 weeks for aerobic composting.
- Shred or chop large pieces to accelerate decay.
- Use finished compost to improve garden soil and potting mixes.
Home composting is a low-cost, environmentally friendly habit that becomes easier with practice. Begin with small steps, adjust as you learn, and use your finished compost to support healthier plants and reduce waste.