
Why Home Composting Matters
Home composting turns food scraps and yard waste into nutrient-rich material you can use in your garden. It reduces household waste and cuts methane emissions from landfills.
Composting saves money on store-bought soil conditioners and improves soil structure, water retention, and plant health. You do not need a large yard to compost successfully.
How to Start Home Composting
Starting is easier than many people expect. Follow a few simple steps to set up and maintain a working compost system at home.
1. Choose a Composting Method
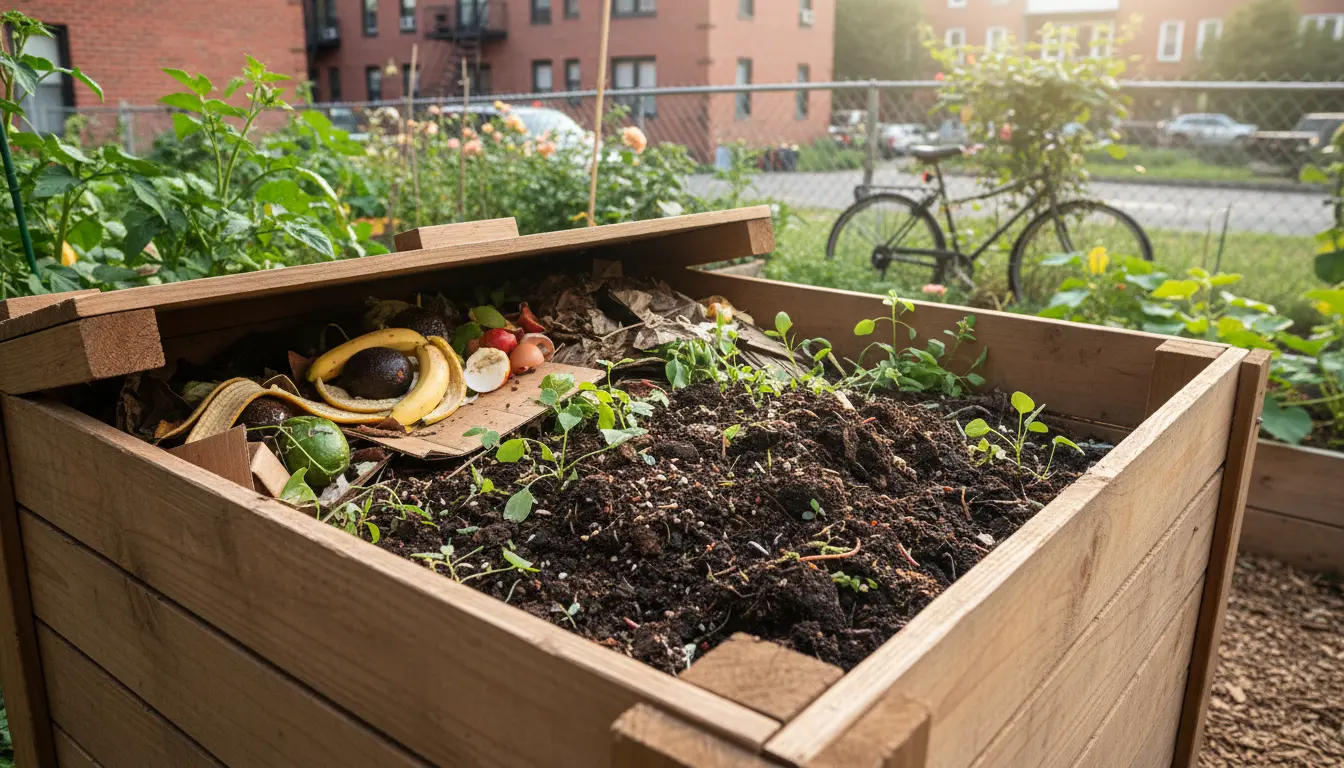
- Backyard bin: Ideal for houses with a yard. Use a plastic, wooden, or metal bin with ventilation.
- Compost tumbler: A rotating barrel that speeds up mixing and aeration, good for small yards.
- Vermicomposting: Use worms in a bin for indoor apartment composting of kitchen scraps.
- Trench composting: Bury scraps directly in garden beds for a no-bin option.
2. Pick the Right Spot
Place your compost bin on soil or a well-draining surface. A shaded or semi-shaded spot prevents extreme drying or overheating. Accessibility matters: put it near the kitchen or a backdoor to make habit easy.
3. Balance Greens and Browns
Compost works best when you mix nitrogen-rich “greens” with carbon-rich “browns.” Aim for a rough 1:3 ratio by volume (greens to browns) to keep decomposition active without odors.
- Greens: fruit and vegetable scraps, coffee grounds, fresh grass clippings.
- Browns: dry leaves, shredded paper, cardboard, small wood chips.
4. Add, Turn, and Monitor
Add layers of greens and browns, keep the pile moist like a wrung-out sponge, and turn the pile every 1–2 weeks if possible. Turning adds oxygen and speeds decomposition.
Compost temperature and smell are good indicators: a warm, earthy smell means active decomposition. A strong rotten smell suggests too much moisture or too many greens.
Microorganisms and insects do most of the work in a compost pile. A healthy compost can reach internal temperatures of 120–160°F (49–71°C) in active phases, killing many weed seeds and pathogens.
What to Compost and What to Avoid
Knowing what to add and what to keep out will prevent common problems and produce better compost.
Safe to Compost
- Fruit and vegetable scraps, tea bags, coffee grounds.
- Eggshells (crushed), nut shells, and small amounts of paper or cardboard.
- Yard waste like leaves, grass clippings, and small pruned branches.
Avoid Composting
- Meat, fish, bones, and dairy products — these attract pests and cause odors.
- Diseased plants and invasive weeds with persistent seeds or roots.
- Oily foods, pet waste, and treated wood scraps.
Troubleshooting Home Composting Problems
Common issues are easy to diagnose and fix once you know the signals.
Bad Smell
Cause: Too wet or too many greens. Fix: Add dry browns, turn the pile, and improve drainage.
Pile Too Dry
Cause: Not enough moisture. Fix: Add water while turning or add more greens and cover the pile to retain moisture.
No Decomposition
Cause: Pile too small, too cold, or lacking nitrogen. Fix: Increase size, add greens, insulate with a cover, or move to a warmer spot.
How to Know When Compost Is Ready
Finished compost is dark, crumbly, and smells like fresh earth. Particle size is small and original materials are no longer recognizable.
Typical timelines: active hot composting can finish in 2–3 months; slower cold composting may take 6–12 months.
Using Finished Compost
Use finished compost as a soil amendment, mulch, or potting mix ingredient. Apply a 1–3 inch layer to garden beds or mix 10–30% compost into potting soil for containers.
Simple Maintenance Checklist
- Layer greens and browns as you add material.
- Keep the pile moist but not soggy.
- Turn the pile every 1–2 weeks for faster results.
- Monitor for pests, odors, and moisture issues.
Case Study: Small Apartment Composting
Maria lives in a two-bedroom apartment and wanted to reduce waste. She started a small vermicompost bin under her sink using red wiggler worms and shredded paper bedding.
Over six months she added kitchen scraps, turned the bedding occasionally, and harvested a few liters of worm castings. Her contributions reduced household trash by roughly 30% and she used the castings to fertilize balcony tomatoes.
Lessons from Maria: even small systems produce useful compost if you follow basic care and keep a regular routine.
Final Tips for Successful Home Composting
- Start small and scale up when comfortable.
- Keep a sealed kitchen container for scraps to avoid flies and odors before taking them to the bin.
- Use a thermometer if you want to monitor hot composting stages.
- Join local composting groups to share materials and tips.
Home composting is a practical way to reduce waste, improve soil, and grow healthier plants. With the right method and simple upkeep, anyone can make compost at home.