
Composting at home turns kitchen scraps and yard waste into nutrient-rich soil. A home composting bin reduces landfill waste and improves garden health with minimal effort.
Getting started with a home composting bin
Choose the right bin based on space, volume, and effort. Options range from simple DIY piles to closed tumblers.
Choosing the right home composting bin
Common bin types include tumblers, stationary plastic bins, wooden bins, and worm (vermicompost) bins. Tumblers speed up mixing and keep pests out. Worm bins work well indoors or for apartment dwellers.
- Tumbler: Good for faster aeration and low maintenance.
- Plastic bin: Affordable and durable for backyard use.
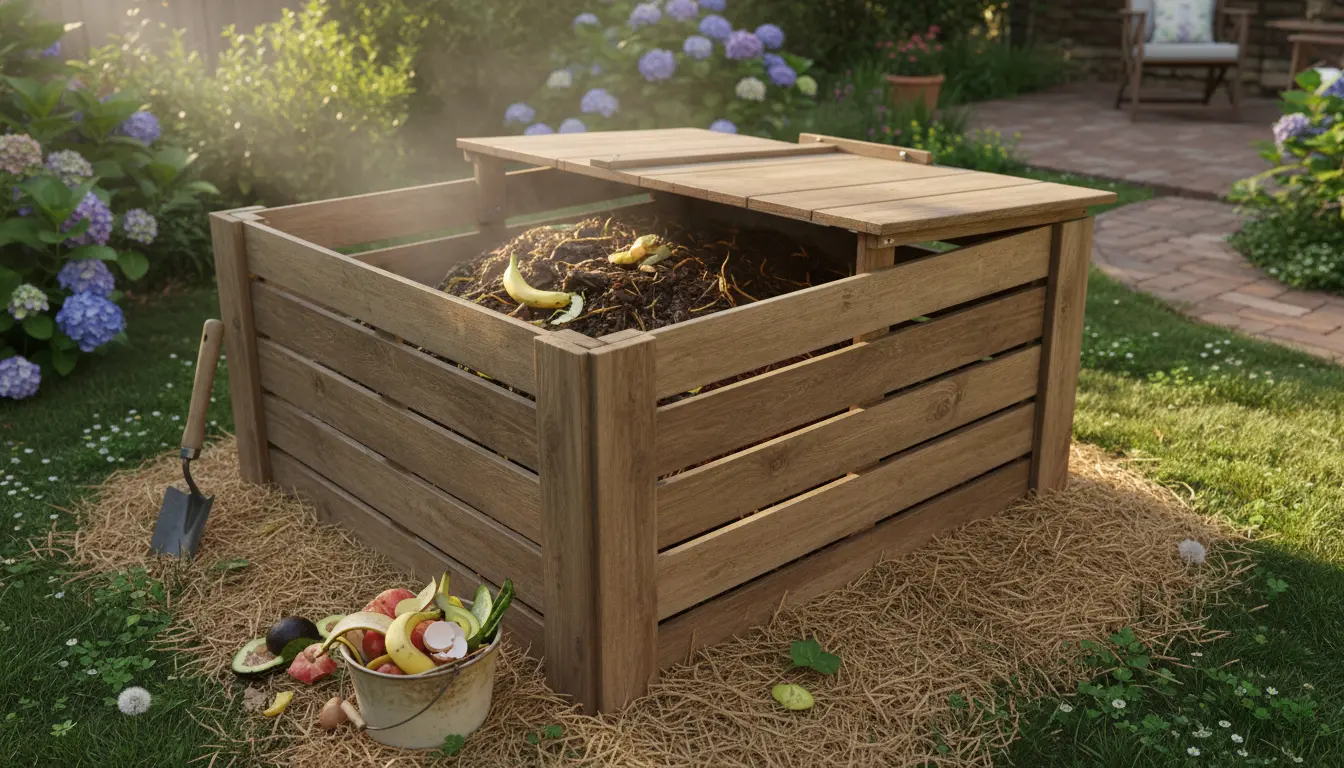
- Wooden bin: Attractive and breathable, but needs assembly.
- Worm bin: Best for small-scale indoor composting of kitchen waste.
Where to place your home composting bin
Pick a spot with partial shade and good drainage. Place the bin on soil if possible so organisms can move in and leachate can drain naturally.
Avoid placing the bin right next to your house or on a slope that collects runoff. Ensure easy access for adding material and removing finished compost.
What to put in a home composting bin
Compost works best with a balance of nitrogen-rich “greens” and carbon-rich “browns.”
Greens and browns explained
Greens are high in nitrogen and include kitchen scraps and fresh grass clippings. Browns are high in carbon and include dry leaves, shredded paper, and straw.
- Greens: fruit and vegetable scraps, coffee grounds, tea bags, fresh lawn clippings.
- Browns: dried leaves, cardboard (shredded), paper towels, straw, sawdust (untreated).
Items to avoid in a home composting bin
Do not add meat, dairy, oily foods, diseased plants, or pet waste from carnivores. These items attract pests or slow decomposition.
Also avoid large woody branches unless chipped; they take too long to break down without special equipment.
How to maintain a home composting bin
Maintenance is simple: balance materials, manage moisture, and provide oxygen. Small actions speed decomposition and reduce problems.
Turning and aeration
Turn the pile every 1–2 weeks for faster composting. Tumblers make turning easy; stationary bins benefit from a pitchfork or compost aerator.
Aeration prevents bad odors and supports aerobic microbes that break down organic matter efficiently.
Moisture and temperature
Keep the compost moist like a wrung-out sponge. Add water in dry weather and cover or add more browns if it becomes too wet.
Active piles heat between 120–160°F (50–70°C). Lower temperatures are fine but slow the process; turning and mixing can restore activity.
Troubleshooting your home composting bin
Common issues are bad smells, slow decomposition, and pests. Each has a straightforward fix.
- Bad smell: Add more browns and turn the pile to introduce oxygen.
- Slow breakdown: Chop materials smaller and balance greens with browns.
- Pests: Use a closed bin or add a wire mesh base; avoid meat and dairy.
Quick maintenance checklist
- Add mixed greens and browns in layers.
- Turn every 1–2 weeks for aerobic composting.
- Monitor moisture and temperature periodically.
- Harvest finished compost and use it in beds, pots, and lawn topdressing.
A properly balanced home composting bin can reduce household organic waste by up to 30 percent and produce valuable compost in as little as two months under active management.
Real-world example: Small yard, big results
Maria, a suburban homeowner, switched to a 60-liter tumbler after struggling with a slow outdoor pile. She layered kitchen scraps with shredded cardboard and turned the tumbler twice weekly.
Within three months she had dark, crumbly compost. She mixed it into vegetable beds and reported healthier tomato plants and reduced need for store-bought fertilizer.
Finishing and using compost from your home composting bin
Finished compost is dark, crumbly, and smells earthy. Sift or break up large pieces before use. Store finished compost in a covered container to keep it ready for planting season.
- Use as a soil amendment: mix 10–25% compost into garden beds.
- Topdress lawns with a thin layer to improve soil structure.
- Mix with potting soil to boost nutrient content for containers.
Final tips for successful home composting bin use
Start small and learn by doing. Keep a simple log of inputs and turning schedule to refine your routine.
Local extension services or community gardening groups often offer composting workshops if you want hands-on guidance.
With the right bin, a focus on balance, and light maintenance, a home composting bin becomes a reliable source of free, organic material for healthier soil and plants.