
Start Here: Why home composting matters
Home composting turns kitchen scraps and yard waste into nutrient-rich soil. It reduces trash, lowers methane from landfills, and improves garden health.
This guide gives practical steps you can follow today, whether you have a backyard or a small balcony.
What is home composting?
Home composting is the controlled breakdown of organic matter by microbes and insects. The result is compost, a dark crumbly material that holds moisture and nutrients.
Common types are backyard piles, compost bins, and worm composting (vermicompost).
How to start home composting
Starting a compost pile is simple. You need the right mix of materials, basic maintenance, and patience.
Choose a compost method for your space
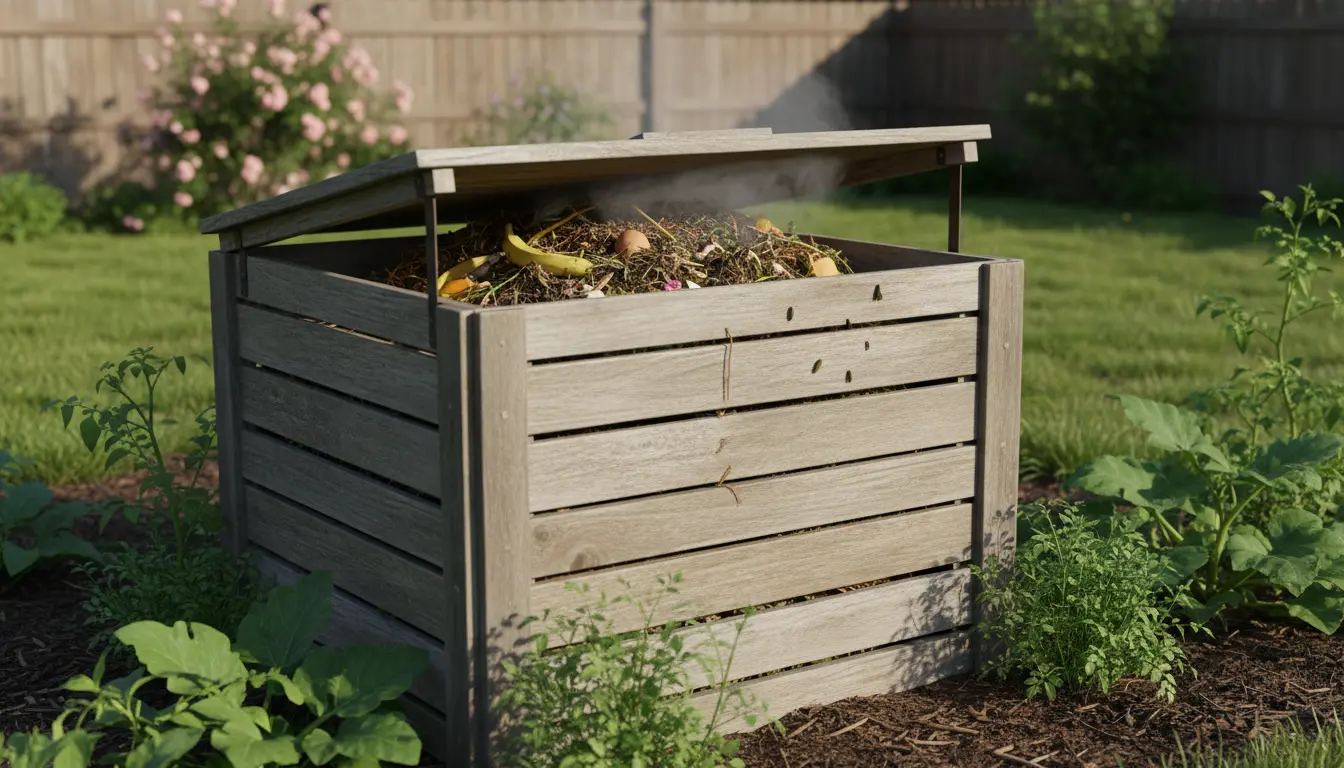
- Backyard bin: A good choice for yards and larger volumes.
- Compost pile: Low cost, needs more space and turning.
- Vermicompost (worms): Ideal for apartments or small amounts of kitchen waste.
- Tumbler: Easier turning, faster composting, slightly higher cost.
Set up the right materials for home composting
Balance green and brown materials. Greens provide nitrogen; browns provide carbon.
- Greens: fruit and vegetable scraps, coffee grounds, fresh grass clippings.
- Browns: dry leaves, shredded paper, straw, cardboard.
- Aim for roughly a 2:1 or 3:1 brown to green ratio by volume.
Step-by-step setup
- Pick a shaded, level spot for the bin or pile.
- Start with a 4–6 inch layer of coarse brown material for drainage.
- Add alternating layers of greens and browns, moist but not soggy.
- Turn or mix the pile every 1–2 weeks to add oxygen.
- Wait 2–6 months depending on size, temperature, and turning frequency.
Home composting troubleshooting and care
Common issues are odor, pests, and slow decomposition. Most problems are simple to fix with adjustments.
Home composting troubleshooting tips
- Smells like ammonia: add more brown material and turn the pile.
- Attracts flies or rodents: bury food scraps under browns or use a closed bin.
- Pile is too dry: add water and more greens.
- Pile is too wet and slimy: add dry browns and increase turning.
- Slow breakdown: chop materials smaller and keep the pile warm by insulating or enlarging it.
Compost can retain water and reduce your garden watering needs by up to 50 percent when mixed into soil. Adding just one inch of compost each year improves soil structure and plant resilience.
Small case study: Apartment worm composting
Jessica lives in a two-bedroom apartment and started vermicomposting in a plastic bin. She collected kitchen scraps in a countertop pail and added them to the worm bin twice a week.
Within three months she harvested dark worm castings and reduced her trash by about 30 percent. She used the castings to fertilize potted herbs and saw quicker growth and better leaf color.
Practical tips for successful home composting
- Chop or shred larger items to speed decomposition.
- Keep a small pail with a tight lid on the counter for easy collection.
- Use a thermometer if you want faster results; optimal compost temperature is 120–160°F (49–71°C) for hot composting.
- Keep the pile at least as big as a cubic yard for steady heat if using hot composting methods.
- Use finished compost as a top dressing, soil amendment, or potting mix ingredient.
Quick checklist before you begin home composting
- Choose a method that fits your living situation.
- Gather a mix of browns and greens.
- Set up a collection system for kitchen scraps.
- Decide how often you will turn or manage the pile.
- Plan where you will store or use finished compost.
Final steps and expectations
Home composting is low-cost and flexible. Expect gradual progress and adjust ratios as you learn what works for your climate and materials.
With some basic routine—adding scraps, keeping the mix right, and occasional turning—you can produce rich compost that benefits plants and reduces waste.