
Start Composting at Home with Simple Steps
Composting at home turns kitchen and yard waste into a useful soil amendment. It reduces landfill garbage and improves garden soil without complex equipment.
This guide walks through home composting for beginners with clear steps, common pitfalls, and a short case study you can apply right away.
Why Home Composting Matters
Compost recycles nutrients that plants need. It helps soil hold water and supports beneficial microbes that improve plant health.
For many households, composting cuts waste disposal costs and reduces methane emissions that occur when food scraps go to landfills.
How to Start Home Composting for Beginners
Begin with a plan: pick a spot, choose a container, and gather materials. You can start small and scale up as you learn.
Choose a Compost Bin
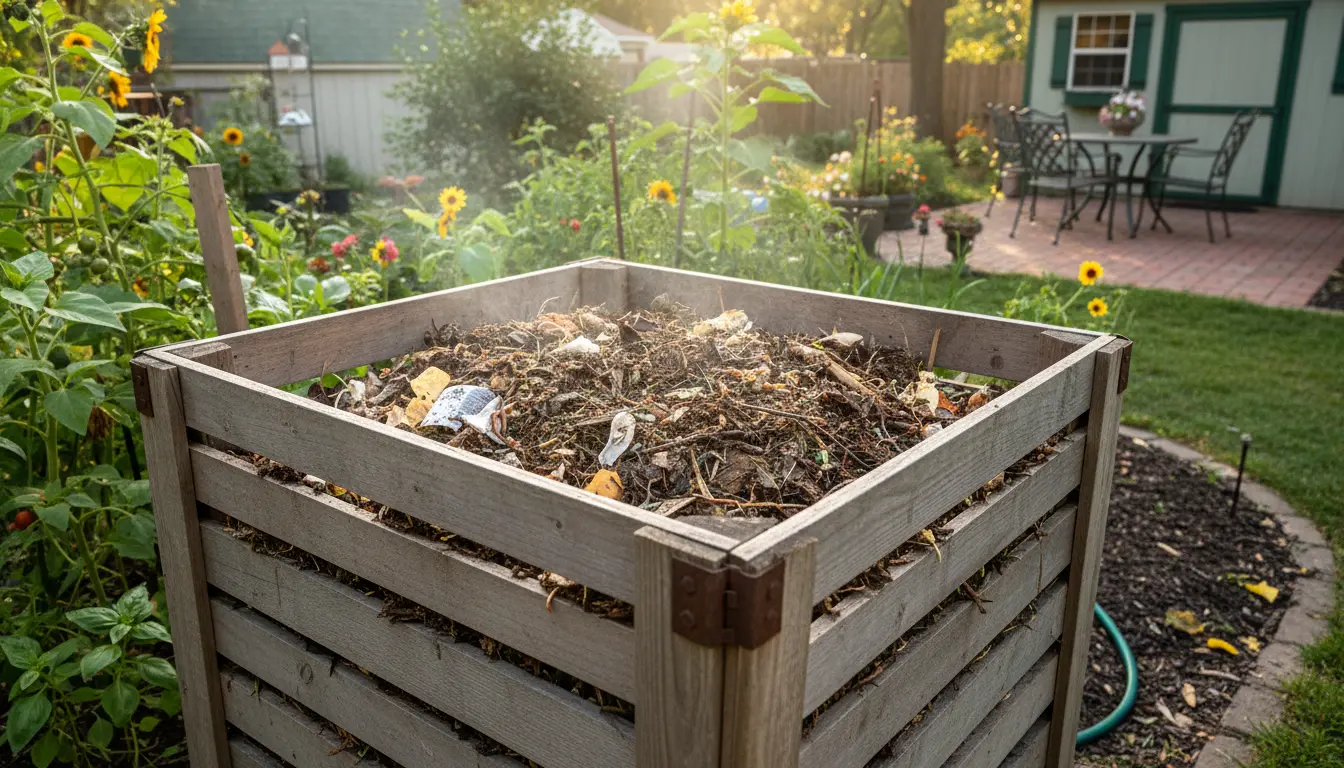
Select a bin that fits your space and budget. Options range from simple tumblers to stationary bins and open piles.
- Tumbler: Faster mixing, better for small yards, beginner-friendly.
- Stationary bin: Cheaper, easy to build or buy, needs manual turning.
- Open pile: Works for large gardens; needs space and pest management.
Pick the Right Spot
Locate the bin on level ground with some sun and shade. A partially shaded spot keeps the pile from drying out in hot weather.
Good drainage and easy access are important for adding materials and turning the pile.
Gather Materials: Browns and Greens
Compost needs a balance of carbon-rich “browns” and nitrogen-rich “greens.” Getting the mix right speeds decomposition and avoids odors.
- Greens (nitrogen): Fruit and vegetable scraps, fresh grass clippings, coffee grounds.
- Browns (carbon): Dry leaves, straw, shredded paper, cardboard.
As a rule of thumb, aim for roughly 3 parts browns to 1 part greens by volume. Adjust as you observe moisture and smell.
How to Maintain Your Compost
Maintenance focuses on moisture, aeration, and particle size. Proper care keeps the pile active and productive.
Turn the Pile
Turning adds oxygen and mixes materials for even breakdown. For a tumbler turn weekly. For a stationary bin, turn every 1–2 weeks.
Control Moisture
The pile should feel like a wrung-out sponge: damp but not soggy. Add water during dry spells and add more browns if it gets too wet.
Chop or Shred Materials
Smaller pieces break down faster. Chop tough stems and shred cardboard to speed processing and reduce turning frequency.
Troubleshooting and Tips
Common issues are easy to fix once you know the cause. Here are quick diagnostics and solutions.
- Bad smell: Too many greens or poor aeration. Solution: Add browns, turn the pile.
- Pile is dry and slow: Add water and more greens.
- Pests (rats, raccoons): Avoid meat, bones, and oily foods. Use a closed bin or secure lid.
- Slow decomposition: Increase surface area, add nitrogen, and maintain moisture.
What Not to Compost
Avoid meat, dairy, diseased plants, and pet waste. These items can attract pests or introduce pathogens.
Adding a handful of finished compost to a new pile introduces beneficial microbes and speeds up decomposition. Kitchen scraps alone can take much longer without these microbes.
How Long Does Home Composting Take?
Decomposition time depends on particle size, temperature, moisture, and turning frequency. With active management you can get usable compost in 2–4 months.
Less active methods, like a cold pile, can take 6–12 months but require minimal effort.
Using Finished Compost
Finished compost is dark, crumbly, and earthy-smelling. Use it as a top dressing, soil amendment, or in potting mixes to improve structure and fertility.
Apply a 1–3 inch layer to garden beds or mix into potting soil up to 20% by volume for seedlings and containers.
Real-World Example: City Backyard Composting
Maria, a renter in a small city backyard, started with a 50-gallon tumbler. She saved vegetable scraps in a countertop container and emptied it into the tumbler twice a week.
She layered dry leaves from a neighbor and shredded cardboard to keep the browns high. After three months of weekly turning and occasional watering, she harvested dark compost and used it to boost her container tomatoes’ growth.
Result: less trash, healthier plants, and no major pests thanks to sealed tumbler use.
Quick Checklist for Home Composting for Beginners
- Choose a bin that fits your space and budget.
- Balance browns and greens — aim for 3:1 by volume.
- Keep the pile moist like a wrung-out sponge.
- Turn regularly for faster composting and better aeration.
- Avoid meat, dairy, diseased plants, and pet waste.
- Use finished compost to improve soil and reduce fertilizer needs.
Next Steps
Start small and observe. Keep a compost log for a few months to note how often you turn, what materials you add, and how the pile responds.
With a little attention, home composting becomes a routine that improves your garden and shrinks your household waste stream.