
Home Composting Basics
Home composting is the controlled decomposition of organic waste into a soil-like material. It reduces garbage, returns nutrients to the garden, and costs little to start.
Why try home composting
Composting cuts landfill waste and improves soil structure and fertility. Even small efforts like a kitchen caddy and a backyard bin make a measurable difference.
How to Start Home Composting
Choose a method that fits your space and time. Options include a simple pile, a bin, a tumbler, or an indoor worm farm.
Locate the bin on well-drained soil in partial shade. That keeps the pile moist without overheating in direct sun.
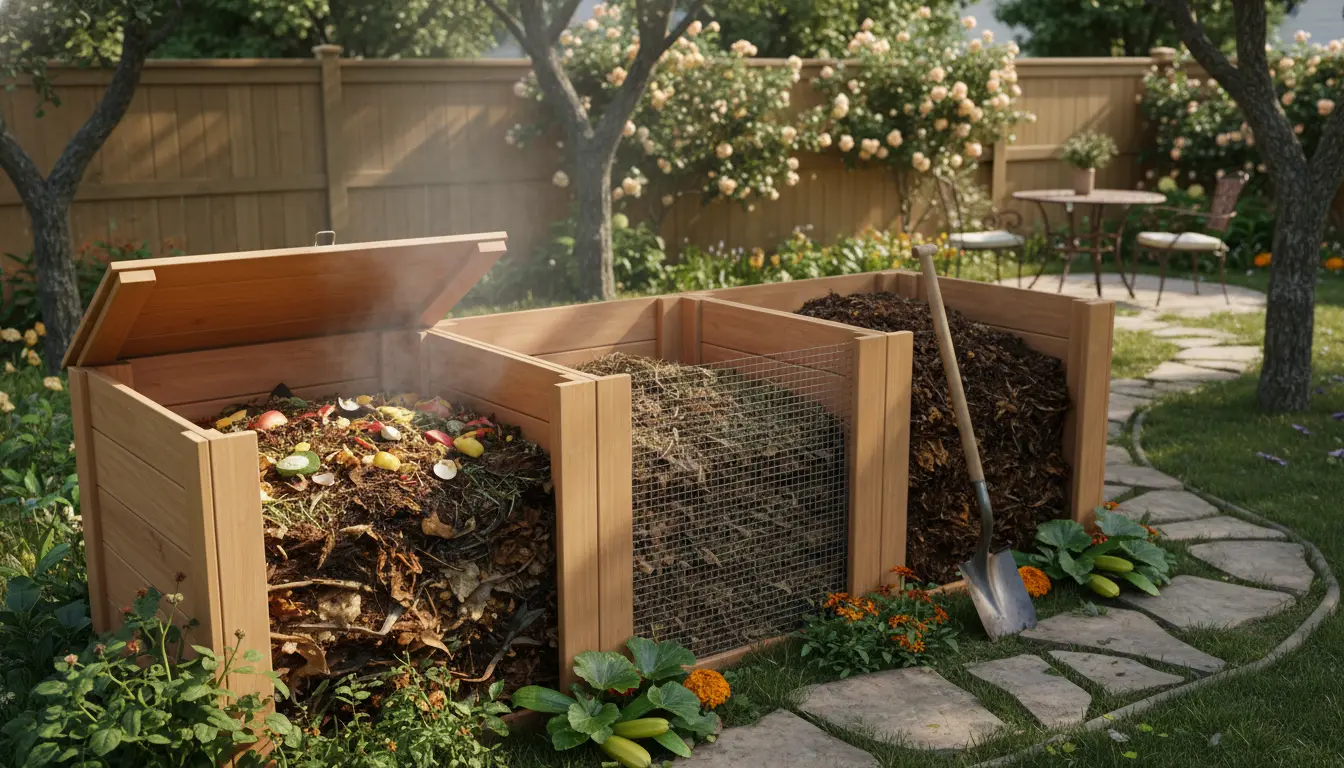
Essential supplies for home composting
- Bin or tumbler suitable for your yard size
- Kitchen caddy for collecting scraps
- Garden fork or aerator for turning
- Shredded paper or dry leaves as brown material
What to Compost: Greens and Browns
Successful home composting balances nitrogen-rich greens with carbon-rich browns. Aim for a rough ratio of 1 part greens to 3 parts browns by volume.
Examples of green materials
- Vegetable and fruit scraps
- Coffee grounds and tea leaves
- Fresh grass clippings
Examples of brown materials
- Dry leaves and straw
- Shredded paper and cardboard
- Wood chips in small amounts
Step-by-Step Composting Process
Start with a base layer of coarse brown material to help airflow. Add alternating layers of greens and browns, moistening dry layers as needed.
Turn the pile every 1 to 2 weeks to introduce air and speed decomposition. Use a pitchfork or a tumbler for easier mixing.
Moisture and temperature
The pile should feel like a wrung-out sponge. If it is dry, add water or more greens. If it smells sour, add more browns and increase turning.
Troubleshooting Common Problems in Home Composting
Bad smells usually mean too much green or poor aeration. Add brown material and turn the pile to fix odors.
Slow breakdown can be due to low moisture, large particle size, or low temperatures. Shred materials and keep the pile moist and aerated.
Pests and how to avoid them
To minimize pests, avoid putting meat, dairy, oily foods, and large amounts of cooked food into an open compost bin. Bury kitchen scraps under a layer of browns or use a sealed tumbler.
Compost can improve water retention in soil by up to 20 percent, reducing the need for frequent watering in gardens and lawns.
When Is Compost Ready?
Finished compost is dark, crumbly, and earthy-smelling. Depending on method and conditions, it can take from two months to a year.
Use finished compost as a mulch, soil amendment, or potting mix ingredient to improve plant health.
Simple Home Composting Schedule
- Daily: Add kitchen scraps to the caddy
- Weekly: Layer scraps into the bin and turn once
- Monthly: Monitor moisture and add browns as needed
- Every 2–3 months: Harvest finished compost from the bottom or sides
Small real-world example
A three-person household in Portland started a 200-liter tumbler. They filled it with a weekly mix of about 7 liters of kitchen scraps and 21 liters of shredded leaves. By turning weekly and keeping it moist, they produced 40 liters of usable compost in three months. That compost covered 6 square meters of raised beds at a 2 cm depth, improving soil structure and reducing watering by one day per week in summer.
Tips to Keep Home Composting Simple
- Collect scraps in a small, ventilated caddy to avoid odors.
- Chop or shred large items to speed breakdown.
- Keep a stock of dry browns on hand for quick layering.
- Use a tumbler if you prefer less manual turning.
Final Thoughts on Home Composting
Home composting is practical and scalable for any size of household. With a basic understanding of greens, browns, moisture, and aeration, anyone can turn organic waste into a valuable garden resource.
Start small, observe the pile, and adjust as you learn. Over time you will refine your routine and enjoy healthier soil and less waste.