
Composting turns kitchen scraps and yard waste into a useful soil amendment. For many people, starting a compost system at home reduces waste and improves garden health.
Home Composting for Beginners: Getting Started
Begin with a clear goal: reduce food waste, enrich soil, or both. Choose a method that fits your space and lifestyle — a bin, tumbler, or simple pile can all work.
Decide on the location first. Pick a spot with some shade, good drainage, and easy access for turning or adding material.
Essential Materials and Tools
- Compost container (bin, tumbler, or wire cage)
- Kitchen container for scraps (small lidded bucket)
- Garden fork or compost aerator for turning
- Optional: thermometer to track temperature
What to Compost: A Simple Guide
Home composting works best when you balance green (nitrogen-rich) and brown (carbon-rich) materials. Aim for a rough mix rather than precise ratios.
Green Materials
- Fruit and vegetable scraps
- Coffee grounds and used tea leaves
- Fresh grass clippings (small amounts)
- Plant trimmings
Brown Materials
- Dry leaves and straw
- Shredded paper and cardboard (non-glossy)
- Wood chips and sawdust (small amounts)
- Egg cartons and paper towels (unbleached)
Common Things to Avoid
Some items slow decomposition or attract pests. Avoid these to keep compost healthy and odor-free.
- Meat, fish, and dairy products
- Oils, greasy foods, and large bones
- Diseased plants or seeds you don’t want to spread
- Pet waste from carnivores (dog/cat feces)
How to Build and Maintain a Compost Pile
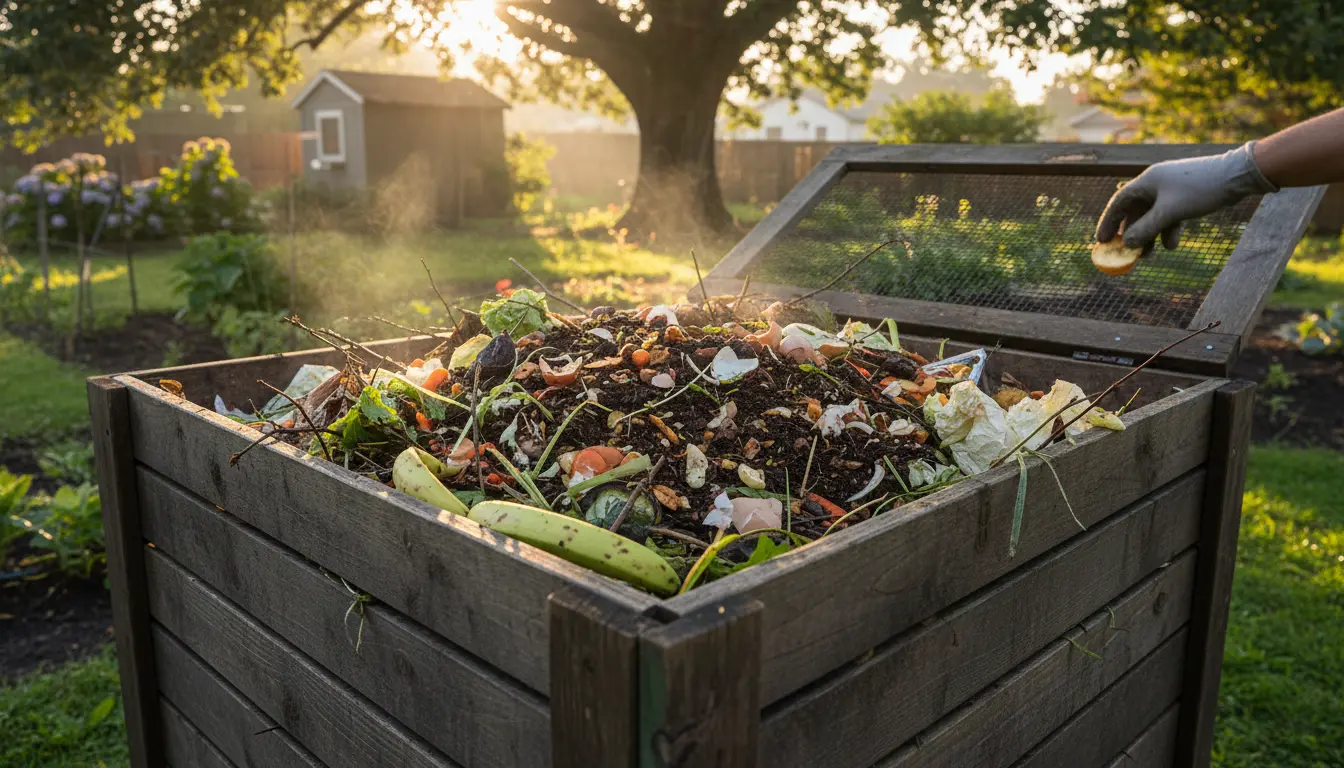
Start with a layer of coarse material for aeration. Then add alternating layers of green and brown materials.
Keep the pile moist like a wrung-out sponge. Turn the pile every 1–2 weeks to add oxygen and speed up decomposition.
Basic Step-by-Step Process
- Place bin on bare soil to allow worms and microbes to enter.
- Add a base layer of coarse browns (sticks, straw).
- Alternate greens and browns in thin layers.
- Keep moist and turn regularly.
- Harvest finished compost when it’s dark, crumbly, and odor-free.
Troubleshooting: Problems and Fixes
Compost problems are usually signs of imbalance. Use simple fixes to restore healthy decomposition.
- Bad smells: Add more brown material and turn the pile to add air.
- Pile too dry: Add water and more greens.
- Slow decomposition: Chop materials smaller and increase turning frequency.
- Pests: Bury food scraps in the center of the pile and use a lidded bin.
Composting can divert up to 30% of household waste from landfills and reduce methane emissions from organic material.
Small Real-World Example: A City Balcony Compost Case Study
Case study: Maria, a renter with a small balcony, wanted to cut food waste and improve potted plants. She chose a closed tumbler and a 2-liter counter bucket.
Maria collected fruit and vegetable scraps and added shredded paper and dry leaves. She turned the tumbler weekly and kept the mix moist.
After six months she had enough compost to refresh two large planters. Her plants showed stronger growth and she reduced trash pickup by about one bag per week.
Using Finished Compost
Finished compost is dark, crumbly, and smells earthy. Use it as a top dressing, mix it into potting soil, or blend it into garden beds.
Apply a thin layer around plants or work compost into the top few inches of soil. It improves structure, moisture retention, and nutrient content.
Tips for Long-Term Success
- Keep a small counter bucket with a lid to minimize trips to the bin.
- Shred or chop large items to speed breakdown.
- Record what you add and how often you turn the pile to learn what works.
- Be patient — composting is a process that improves with practice.
Home composting for beginners is practical and flexible. Start small, observe how your system behaves, and adjust. Over time you will produce rich compost and reduce household waste significantly.