
Why Start a Home Compost Bin
Composting turns kitchen scraps and yard waste into nutrient-rich soil. It reduces household trash and improves garden health without expensive inputs.
This guide explains practical steps to set up and maintain a home compost bin, aimed at beginners who want reliable results.
How to Set Up a Home Compost Bin
Starting a home compost bin requires only a few tools and a bit of planning. Follow these steps to create an effective system.
Choose a Location for Your Home Compost Bin
Pick a spot with partial sunlight and good drainage. Avoid areas that collect water or are far from the kitchen for convenience.
Common locations include a backyard corner, next to a shed, or a balcony with a compact bin for small spaces.
Select the Right Type of Bin
Options include stationary bins, tumblers, and worm (vermicompost) setups. Choose based on space, budget, and how fast you want compost.
- Stationary bin: low cost, good for large volumes.
- Tumbler: faster mixing, cleaner handling.
- Vermicompost: best for apartments and kitchen scraps, produces worm castings.
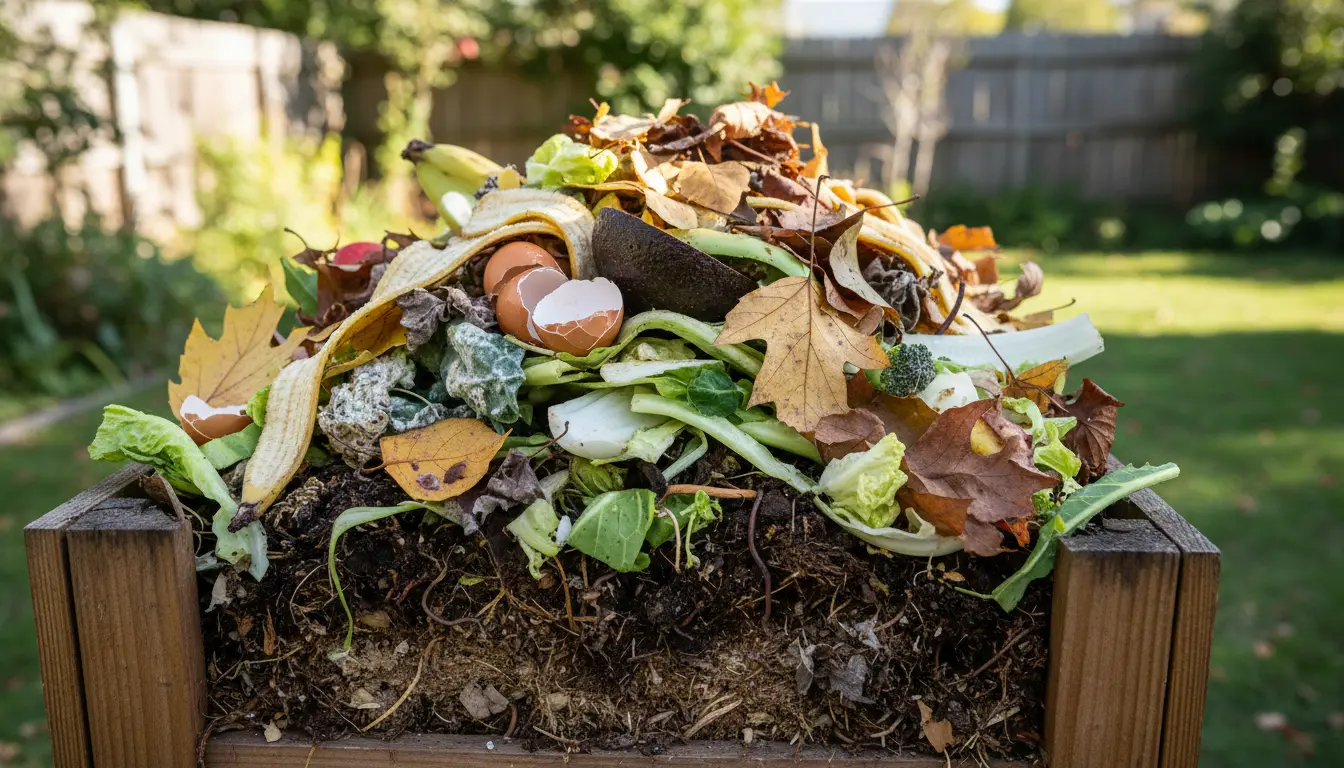
Collect Materials: Browns and Greens
Compost needs a balance of carbon-rich “browns” and nitrogen-rich “greens.” Aim for roughly 3 parts browns to 1 part greens by volume.
- Greens: vegetable scraps, coffee grounds, fresh grass clippings.
- Browns: dry leaves, shredded paper, straw, cardboard.
Avoid meat, dairy, diseased plants, and pet waste to prevent odors and pests.
Managing Your Home Compost Bin
Active management helps compost decompose faster and prevents issues. Focus on aeration, moisture, and particle size.
Aeration and Turning
Turn the pile every 1–2 weeks with a pitchfork or use a tumbler to mix contents. Aeration supplies oxygen to microbes that break down material.
Less frequent turning is fine for passive systems; it just takes longer to finish.
Moisture and Temperature
Compost should be moist like a wrung-out sponge. Add water during dry spells or more browns if it becomes soggy.
Hot compost piles reach 130–150°F (55–65°C) and break down quickly, while cooler piles decompose more slowly but still produce good compost.
Particle Size and Layering
Shred or chop larger items to increase surface area and speed decomposition. Alternate layers of greens and browns for airflow and balance.
Troubleshooting a Home Compost Bin
Common problems are usually simple to fix. Check these quick solutions before deciding to start over.
- Bad smells: Add more browns and turn the pile to add oxygen.
- Slow decomposition: Chop materials smaller, increase greens if the pile is too dry, or turn more often.
- Pests: Bury food scraps inside the pile and avoid meat/dairy. Use a closed bin or secure lid if animals are persistent.
Using Finished Compost
Finished compost is dark, crumbly, and smells earthy. It usually takes 3–12 months depending on method and maintenance.
Apply compost as a soil amendment, top-dressing for lawns, or mix into potting soil at up to 20% by volume for improved texture and nutrients.
Small Real-World Example
Case Study: A two-person household in a suburban yard started a 3-bin system. They used a stationary bin for active composting and a second for curing finished material.
After six months they reported the following outcomes:
- Reduced kitchen waste to landfill by about 40%.
- Produced enough compost to amend two raised garden beds (about 0.6 cubic yards).
- Minor rodent activity was prevented by burying food scraps and keeping a closed lid on the bins.
This simple setup required 15–30 minutes weekly for turning and monitoring and improved their garden yield the following season.
Tips for Success with a Home Compost Bin
- Keep a small counter pail with a tight lid for kitchen scraps for easy transfer to the bin.
- Layer materials rather than dumping large quantities of one type.
- Use shredded cardboard or leaves in winter to keep the pile active when greens are scarce.
- Consider a compost thermometer if you want to manage a hot pile precisely.
Summary: Start Simple and Improve
Begin with a basic bin and the brown/green balance. Learn by observing moisture, smell, and how quickly materials break down.
Adjust turning frequency, particle size, and the ratio of browns to greens based on your results. Over time you will refine a system that fits your space and lifestyle.