
Why choose home composting for beginners
Home composting turns kitchen and yard waste into a valuable soil amendment. It reduces trash, cuts methane from landfills, and improves garden soil structure.
This guide gives practical steps for home composting for beginners, with clear system choices and troubleshooting tips you can use right away.
Getting started with home composting for beginners
Before you begin, decide the scale and system that match your space and routine. Small apartments and large yards need different approaches.
Choose a compost system
Pick a system based on space, effort, and speed. Options include bins, tumblers, vermicomposters, and bokashi. Each has pros and cons.
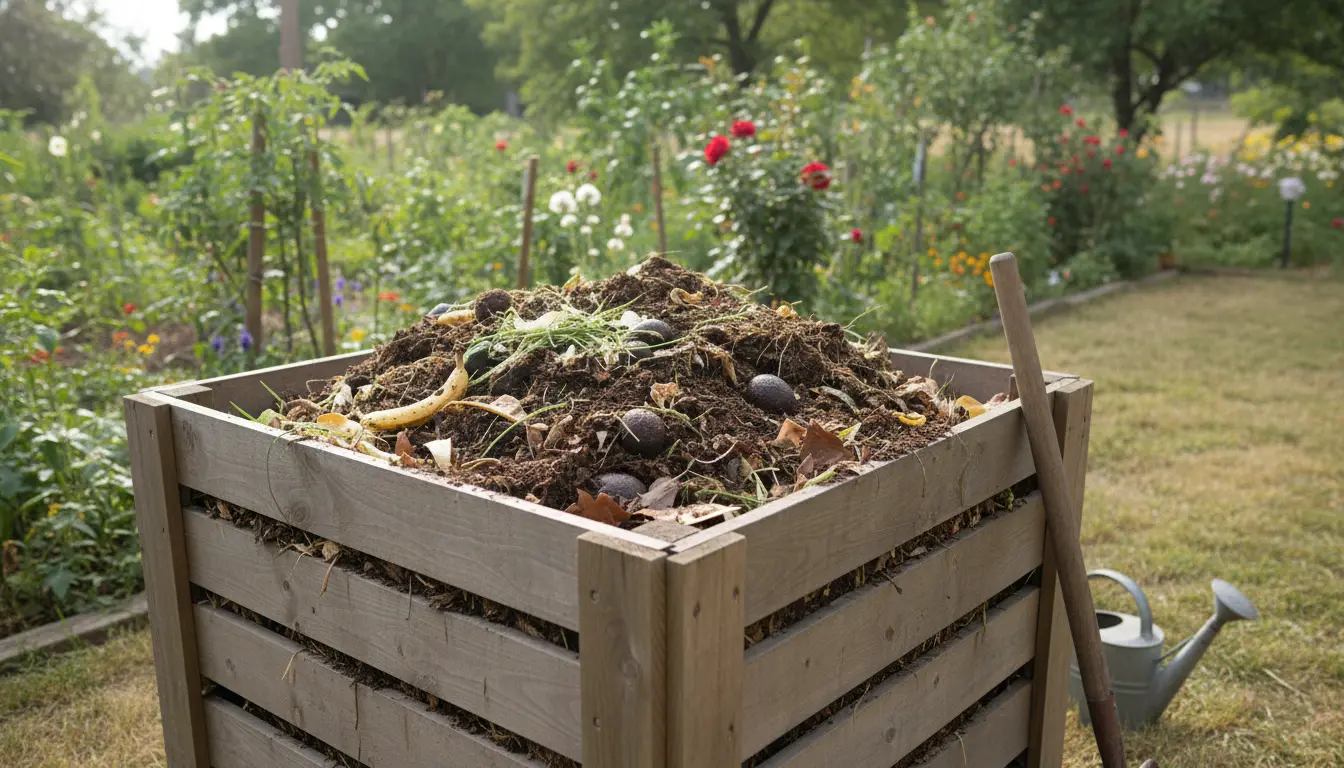
- Compost bin: Low cost, simple for yards.
- Compost tumbler: Faster mixing, cleaner, good for small yards.
- Vermicomposting: Uses worms, excellent for apartments and small kitchens.
- Bokashi: Ferments all food waste including meat and dairy, then buries or adds to compost.
Location and bin setup for home composting for beginners
Place the bin on bare soil when possible to allow worms and microbes to move in. Choose a shaded or partly shaded spot to maintain moisture and temperature.
Starter setup: a 3:1 ratio of brown to green materials, a small watering can, and a pitchfork or turning tool for bins.
What to compost and what to avoid
Knowing what to add helps avoid pests and odors. Follow simple rules to keep your pile healthy.
- Greens (nitrogen): vegetable scraps, coffee grounds, fresh grass clippings.
- Browns (carbon): dry leaves, shredded paper, straw, cardboard.
- Avoid: meat, dairy, oils, diseased plants, pet waste unless using bokashi or commercial systems.
Step-by-step process for home composting for beginners
These steps work for most backyard bins and tumblers. Vermicompost and bokashi add their own specifics.
- Layer materials: Start with coarse browns on the bottom, then alternate greens and browns.
- Maintain moisture: Aim for a damp sponge feel. Add water during dry spells or add dry browns if too wet.
- Turn the pile: Every 1–2 weeks for active systems. Turning adds oxygen and speeds decomposition.
- Monitor temperature: Hot compost reaches 130–160°F (55–70°C) in the center; this speeds breakdown and kills weed seeds.
- Cure and use: When material is dark, crumbly, and earthy-smelling, cure for a few weeks and then apply to soil or mix into potting mixes.
Adding shredded newspaper to your compost increases carbon and helps balance wet kitchen scraps. Use plain black ink newspaper in thin layers to avoid clumping.
Troubleshooting home composting for beginners
Common problems are simple to fix. Diagnose odors, pests, or slow breakdown by checking moisture, aeration, and material balance.
Odors and anaerobic piles
If the pile smells sour or rotten, it is too wet or lacks oxygen. Turn the pile and add dry browns like straw or shredded paper.
Pests and fruit flies
To reduce pests, bury fresh food scraps under a layer of browns when adding them. Use enclosed bins or tumblers for extra protection.
Slow decomposition
Slow breakdown usually means the pile is too dry, too cold, or lacks nitrogen. Add green materials, keep the pile moist, and increase turning.
Small real-world example: Balcony vermicompost case study
Maria, a city renter, started a worm bin on her small balcony. She used a plastic bin with ventilation and red wiggler worms. Her routine was simple: chop kitchen scraps, bury under bedding, and feed twice a week.
In three months she had rich worm castings for her potted herbs. She avoided odors by keeping the bin shaded and ensuring bedding stayed damp but not soggy.
Key takeaways: even with limited space, vermicomposting converts food waste to usable fertilizer quickly and cleanly.
Maintenance checklist for home composting for beginners
- Weekly: Add scraps and a layer of browns; check moisture and cover when needed.
- Every 1–2 weeks: Turn bin or rotate tumbler for oxygen flow.
- Monthly: Inspect for pests, remove large undecomposed items, and adjust carbon/nitrogen balance.
- When finished: Sift and cure compost for 2–4 weeks before use in gardens or pots.
Final tips for home composting for beginners
Start small and adjust as you learn. Track what you add and how the pile responds for a few weeks to find the best routine.
Use finished compost to top-dress lawn, boost vegetable beds, or mix into potting soil. Over time, you’ll reduce waste and improve plant health with minimal effort.