
Why Choose Home Composting
Home composting turns kitchen and garden waste into nutrient-rich soil. It reduces landfill waste and improves garden health without chemical fertilizers.
Composting at home is scalable: it works for apartments with vermicomposting and for yards with bins or piles. The steps below help you choose the best method and maintain a healthy compost system.
Benefits of Composting at Home
Composting reuses organic matter and closes the nutrient loop in your household. It also lowers trash volume and can save money on soil amendments.
- Reduces household waste sent to landfill
- Produces free soil conditioner and mulch
- Improves soil structure and plant health
- Helps retain moisture in garden soils
Getting Started with Composting at Home
Start by picking a composting method that fits your space, lifestyle, and the type of waste you generate. Each method has different setup and maintenance needs.
Choose a composting method
Common options include backyard bins, tumblers, vermicomposting, and bokashi systems. Choose one based on space and how quickly you want finished compost.
- Backyard bin or pile — Low cost, good for yards, slower but handles large volumes.
- Compost tumbler — Easier to aerate, faster decomposition, more controlled.
- Vermicomposting (worms) — Ideal for apartments or small spaces, excellent for kitchen scraps, produces worm castings.
- Bokashi — Fermentation method that handles meat and dairy; needs a second composting step for soil integration.
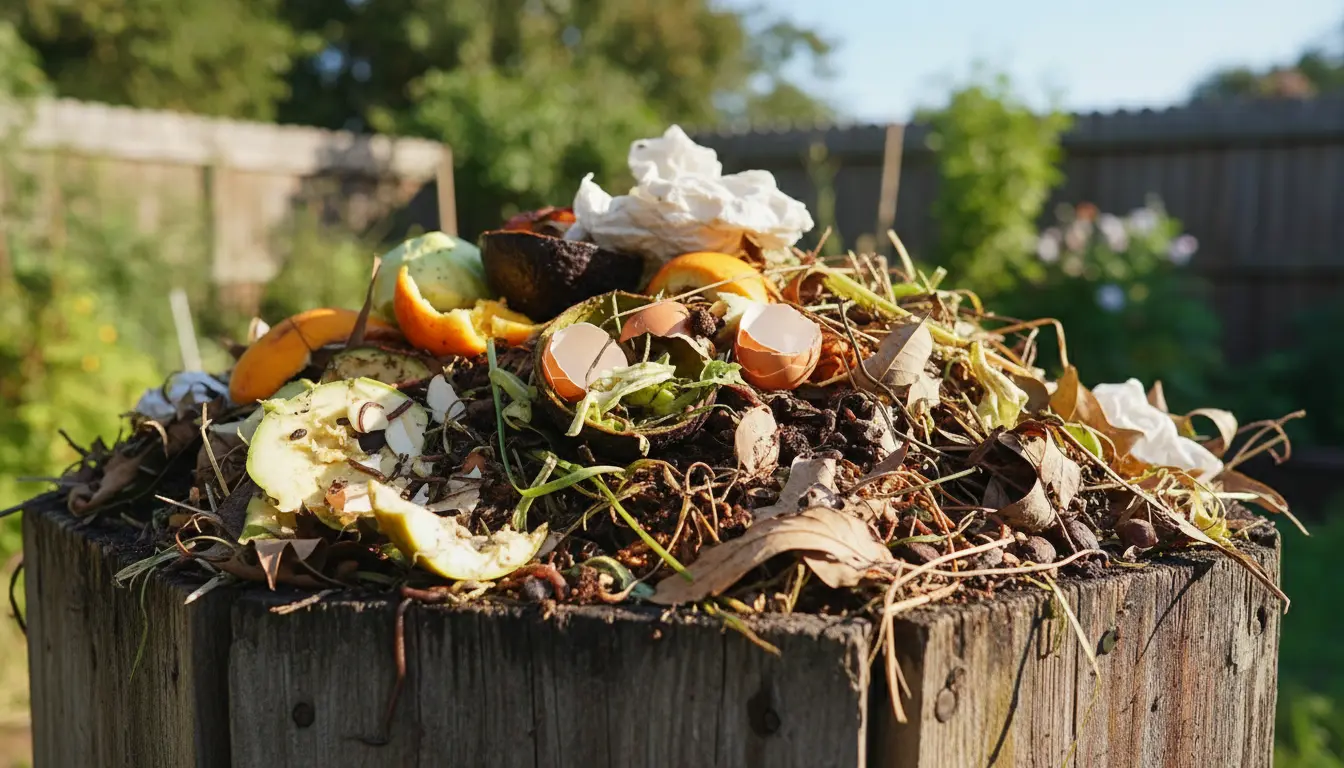
What to compost
Balance “greens” (nitrogen-rich) and “browns” (carbon-rich) to maintain activity in the pile. Aim for a rough 1:2 ratio of greens to browns by volume.
- Greens: vegetable scraps, coffee grounds, fresh grass clippings
- Browns: dry leaves, shredded paper, straw, cardboard
- Avoid: meat, dairy, oily foods, diseased plants, pet waste from carnivores
How to Maintain Your Home Compost
Routine checks make composting predictable and odor-free. Focus on aeration, moisture, and particle size to speed decomposition.
Aeration and turning
Turning the pile every 1–2 weeks incorporates oxygen and promotes heat. Tumblers make turning easy; for bins, use a garden fork to mix layers.
Moisture control
Compost should feel like a damp sponge — moist but not dripping. Add water during dry spells and add more browns if the pile becomes soggy.
Particle size and layering
Smaller pieces break down faster. Chop large items and alternate layers of greens and browns to keep airflow and moisture balanced.
Temperature monitoring
Active compost heats to 40–65°C (104–149°F) when microbial activity is high. Lower temperatures are fine for slower, passive composting.
Troubleshooting Common Issues in Home Composting
Small problems are usually fixable with simple adjustments. Use the following quick checks before changing systems.
- Bad odors — Add more browns and turn the pile to add oxygen.
- Pests — Bury food scraps deeper, use secure bins, or switch to bokashi/vermicompost inside.
- Slow decomposition — Chop materials smaller, increase moisture slightly, or add more greens to boost nitrogen.
- Too wet — Mix in dry browns and turn to aerate.
Composting diverts up to 30% of household waste from landfill and can cut your trash volume significantly within months of starting.
How to Use Finished Compost
Finished compost looks dark, crumbly, and earthy-smelling. Use it as a top dressing, mix into potting soil, or blend into garden beds to improve fertility.
- Vegetable beds: incorporate 2–4 inches into the topsoil before planting
- Containers: mix one part compost with two parts potting mix
- Lawn: spread a thin layer and lightly rake to add organic matter
Small Real-World Example: Apartment Vermicompost Case Study
Sam, a two-person household in a city apartment, started a vermicompost bin beneath the kitchen counter. They used a 20-liter bin with red wriggler worms and a small hand-crank shredder.
After six months, Sam diverted about 120 kg (264 lb) of food waste from the trash and produced four liters of worm castings. The castings were mixed into container plants, which showed improved growth and water retention.
This low-odor system required weekly feeding and occasional bedding replacement. The upfront cost was low and the payoff included reduced waste fees and healthier plants.
Simple Starter Checklist for Home Composting
- Choose a method (bin, tumbler, worms, bokashi)
- Gather browns and greens
- Maintain moisture and aeration
- Monitor and troubleshoot odors/pests
- Harvest finished compost and reuse it
Home composting is practical and flexible. Start small, learn by doing, and adjust your routine to match your household’s waste stream. Within a few months you will see less trash and richer soil for your plants.