
Home composting turns food scraps and yard waste into a valuable soil amendment. This guide explains simple steps to set up and maintain a compost system that fits apartments, small yards, or larger gardens.
What Is Home Composting and Why It Matters
Home composting is the controlled breakdown of organic materials by microorganisms. The result is compost — a nutrient-rich material that improves soil structure and plant health.
Composting reduces landfill waste, cuts methane emissions, and returns carbon and nutrients to the soil. Even small household systems make a measurable difference.
Choose the Right System for Your Space
Select a compost method that matches your living situation and goals. There are several practical options for home composting.
- Cold bin: Low maintenance, good for beginners and yard waste.
- Hot tumbler: Faster decomposition, needs regular turning and heat management.
- Bokashi: Fermentation method for small kitchens, accepts cooked food and dairy when processed further.
- Worm bin (vermicompost): Great for indoor composting of kitchen scraps; produces nutrient-rich worm castings.
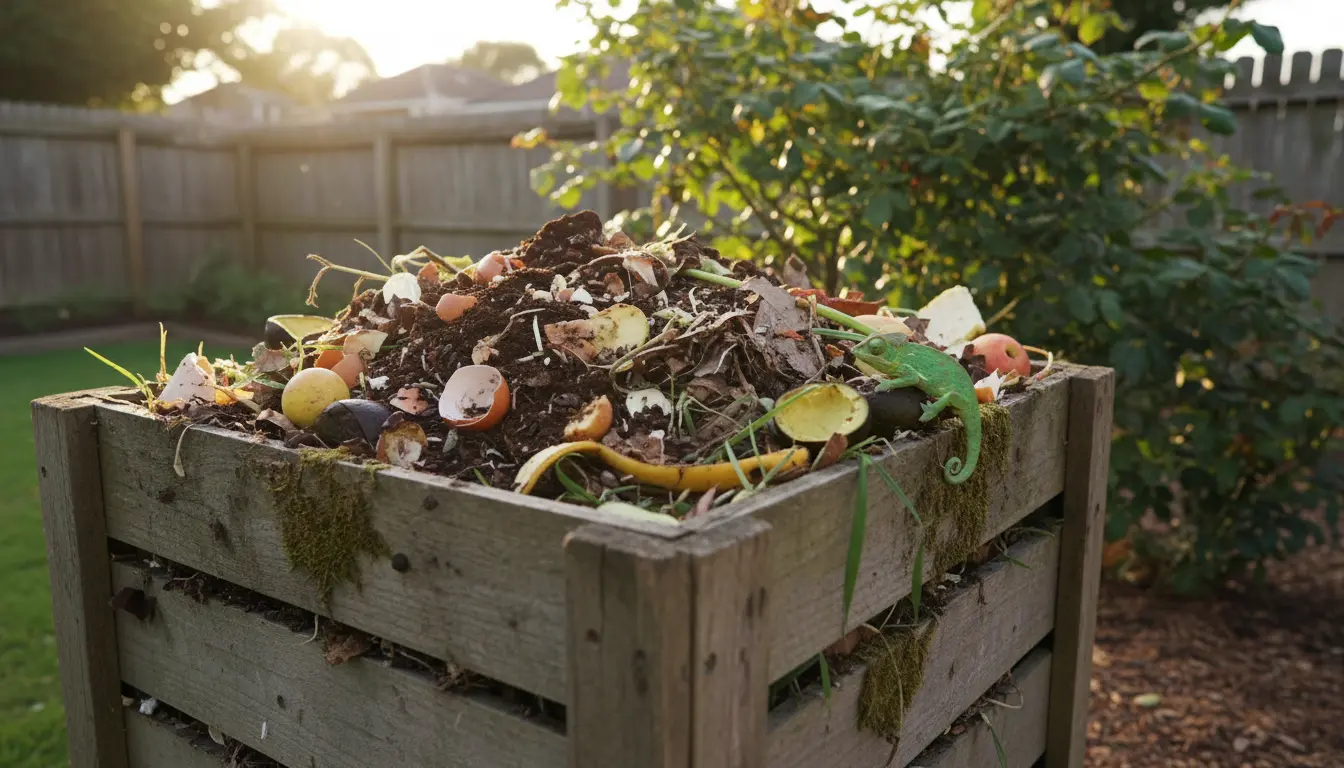
Choosing a Bin for Home Composting
Consider size, airflow, and placement. A 60–200 liter bin suits a family garden, while a 20–50 liter worm bin or bokashi bucket works well inside apartments.
Place outdoor bins on soil to allow beneficial organisms to move in. For indoor systems, keep them in a cool, ventilated spot and follow odor management tips.
Balance Greens and Browns
Successful home composting depends on the right balance of nitrogen-rich materials (greens) and carbon-rich materials (browns).
- Greens: fruit and vegetable scraps, coffee grounds, fresh grass clippings.
- Browns: dry leaves, shredded paper, cardboard, straw.
A common rule is roughly 1 part greens to 2–3 parts browns by volume. Adjust if your pile is too wet or too dry.
How to Layer Materials
Start with a 5–10 cm layer of coarse browns for airflow. Alternate thin layers of greens and browns, adding a handful of garden soil or finished compost every few layers to introduce microbes.
If smells develop, add more browns and turn the pile. If decomposition stalls, add water and more greens to raise moisture and nitrogen.
Maintain Moisture, Air, and Temperature
Moisture should feel like a wrung-out sponge. Too dry and microbes slow; too wet and anaerobic odors form. Water lightly during dry spells and cover piles during heavy rain.
Oxygen is essential. Turn bins weekly for faster hot composting or every few weeks for cold systems. Tumblers speed this process with less manual effort.
When to Expect Finished Compost
Hot tumblers can produce usable compost in 6–12 weeks under active management. Cold piles may take 6–12 months. Vermicompost can produce usable castings in a few months depending on feeding rate.
Finished compost smells earthy, is dark and crumbly, and contains no identifiable food scraps.
Common Problems and Practical Fixes
- Bad odors: Add dry browns and turn the pile to reintroduce oxygen.
- Fruit flies: Bury kitchen scraps under browns or use a closed bokashi or worm bin.
- Pests: Avoid adding meat, dairy, and oily foods to outdoor piles. Use secured bins or compostable caddies.
- Pile not heating: Increase greens, compact the pile less, and insulate if needed.
Using Finished Compost
Incorporate finished compost into garden beds at a rate of 2–5 cm over the soil surface or mix 10–20% compost into planting soil. Use as a top dressing for lawns or potting mixes as needed.
Compost improves water retention, feeds plants slowly, and encourages beneficial soil life.
Small Real-World Example: Apartment Vermicompost Case Study
Emma lives in a two-bedroom apartment with no yard. She started a 30-liter worm bin in her balcony cabinet and collected kitchen scraps in a sealed caddy. She fed the worms a mix of fruit and vegetable scraps, shredded cardboard, and coffee grounds.
After four months she produced about 12 liters of worm castings and reduced her weekly trash by 50%. Her potted herbs grew faster and required less watering.
Quick Tips to Start Today
- Pick a system: tumbler, bin, bokashi, or worm bin.
- Collect kitchen scraps in a covered container to reduce trips to the compost bin.
- Keep a simple mix of greens and browns on hand: coffee grounds, eggshells, shredded paper, and dry leaves.
- Monitor moisture and turn the pile for faster results.
Home composting is adaptable and scalable. Start small, observe how your system performs, and adjust the balance and management frequency. Over time you’ll divert waste, improve soil, and save money on fertilizers.