
Composting at home turns kitchen scraps and yard waste into nutrient-rich soil. This guide explains practical steps to start home composting for beginners and maintain a healthy pile or bin.
Home Composting Basics
Home composting relies on microorganisms that break down organic matter. The right balance of materials, moisture, and air produces finished compost in a few months.
Begin with a basic plan: choose a location, pick a system, and collect materials consistently. Small, steady efforts yield reliable results.
Why Home Composting Matters
Composting reduces landfill waste and returns nutrients to soil. For gardeners, it improves soil structure, moisture retention, and plant health.
Even in apartments, composting cuts household trash and supports urban gardening through composting methods that fit tight spaces.
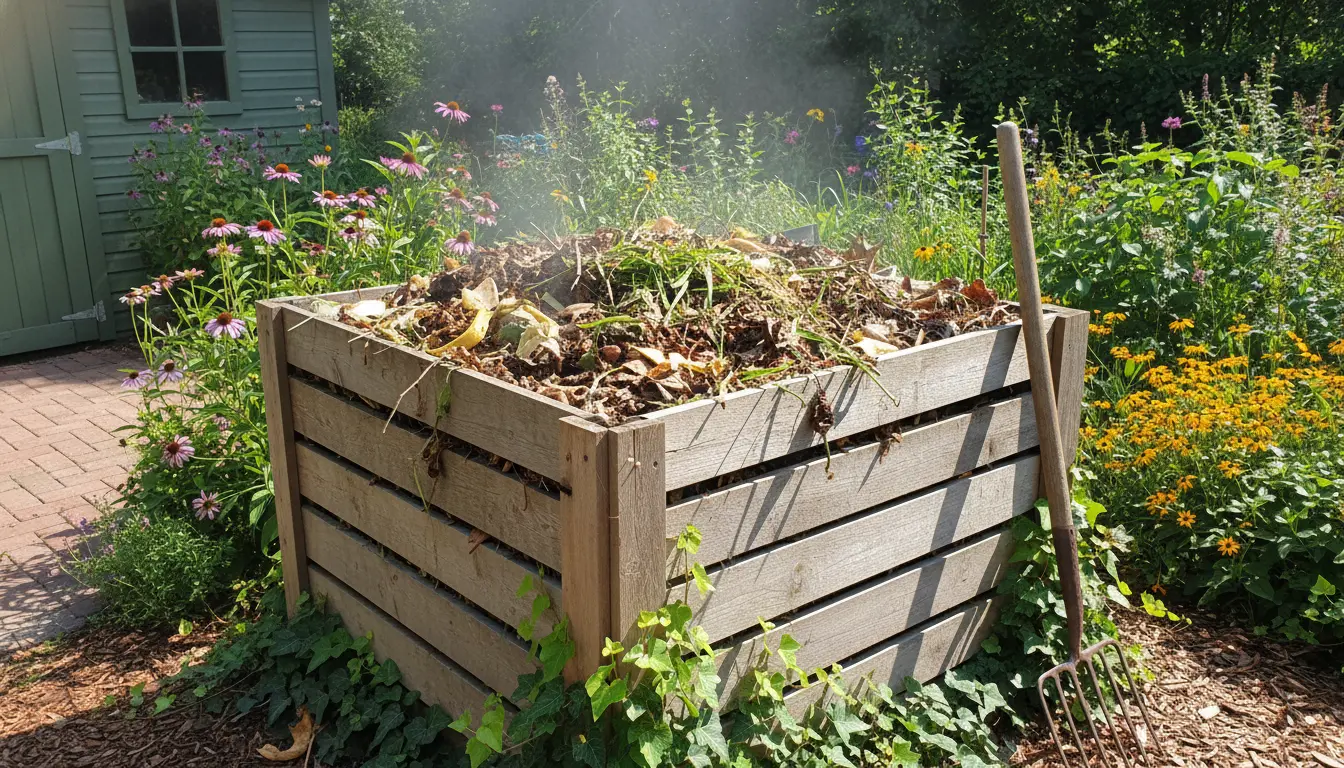
Materials to Compost
Home composting uses two main material types: greens and browns. Greens are nitrogen-rich while browns supply carbon.
- Greens: vegetable scraps, fruit peels, coffee grounds, fresh grass clippings
- Browns: dry leaves, cardboard pieces, straw, shredded paper
Aim for roughly a 2:1 or 3:1 ratio of browns to greens by volume to avoid odors and speed decomposition.
Choosing a Compost System
Pick a system that matches your space, time, and patience. Each option works for beginners if managed properly.
Popular Systems for Home Composting
- Static bin: Simple enclosed container, low maintenance, great for yards.
- Compost tumbler: Enclosed drum that you turn to aerate; faster and cleaner.
- Open pile: Works for large yards; needs turning and monitoring.
- Bokashi or worm bin (vermicompost): Ideal for apartments and indoor composting.
Choose one based on space: tumblers suit small yards, worm bins fit balconies and kitchens, and open piles suit large gardens.
How to Start and Maintain Your Compost
Start with a base layer of coarse brown material to help drainage. Then add alternating layers of greens and browns to build the pile.
Maintain these three conditions: air, moisture, and temperature. Turn the pile every 1–2 weeks for oxygen and even decomposition.
Simple Maintenance Steps
- Monitor moisture: compost should feel like a wrung-out sponge.
- Turn regularly: use a fork or tumbler to introduce air.
- Add more browns if it smells; add more greens if decomposition stalls.
Troubleshooting Common Problems
Beginners encounter a few common issues. Most have simple fixes that preserve progress and prevent frustration.
Bad Odor
Cause: Too many greens or lack of air. Fix: Add dry browns and turn the pile to aerate.
Compost Too Dry
Cause: Dry climate or excessive browns. Fix: Add water and more greens; mix thoroughly.
No Decomposition
Cause: Low temperature, lack of microbes, or extreme dryness. Fix: Add diverse greens, maintain moisture, and turn to increase temperature.
A properly managed compost pile can reach temperatures of 55–65°C (131–149°F), which helps kill weed seeds and plant pathogens. Hot composting speeds up decomposition and produces stable compost faster.
Simple Schedule for Busy Beginners
Consistency beats perfection. Set a small routine you can follow weekly to keep the process moving and avoid common mistakes.
- Daily: Collect kitchen scraps in a covered counter container.
- Weekly: Add collected scraps to the compost system and turn if needed.
- Monthly: Check moisture and add browns or water as required.
Case Study: A Small Backyard Success
Maria, a homeowner with a small yard, started a 200-liter compost bin. She balanced kitchen scraps with shredded leaves and turned the bin every 10 days.
After four months she had dark, crumbly compost. Her vegetable beds showed improved growth and the household cut weekly trash by nearly a third.
Compost Uses and When It’s Ready
Finished compost looks and smells like rich soil. It should be dark, crumbly, and free of recognizable food scraps.
Use finished compost as a soil amendment, top dressing for lawns, or mixed into potting mixes for container plants.
Quick Uses
- Mix 1 part compost with 3 parts garden soil for planting beds.
- Topdress around established plants with a thin layer of compost.
- Blend compost into potting mixes for seedlings and container plants.
Final Tips for Home Composting Beginners
Start small and learn as you go. Keep a simple log of what you add and how often you turn the pile to understand what works for your climate and materials.
Be patient: composting is a natural process. With basic care and common-sense troubleshooting, most beginners produce high-quality compost within months.
Ready to start? Choose a system that fits your space, gather a container for kitchen scraps, and begin layering browns and greens this week.