
Overview: how to start a vegetable garden
Starting a vegetable garden is a manageable project when you break it into clear steps. This guide gives practical instructions to help beginners plan, plant, and maintain a productive garden.
Step 1: Choose the right site for your vegetable garden
Select a site with at least six hours of direct sunlight each day for most vegetables. Morning sun is best because it dries dew and reduces disease risk.
Also consider proximity to a water source and easy access for weeding and harvesting. Avoid low spots that hold water or areas with heavy tree roots.
Step 2: Decide on garden type and layout
Pick one of the common formats: in-ground beds, raised beds, or containers. Each has pros and cons.
- In-ground beds: lower startup cost, good for deep-rooted crops.
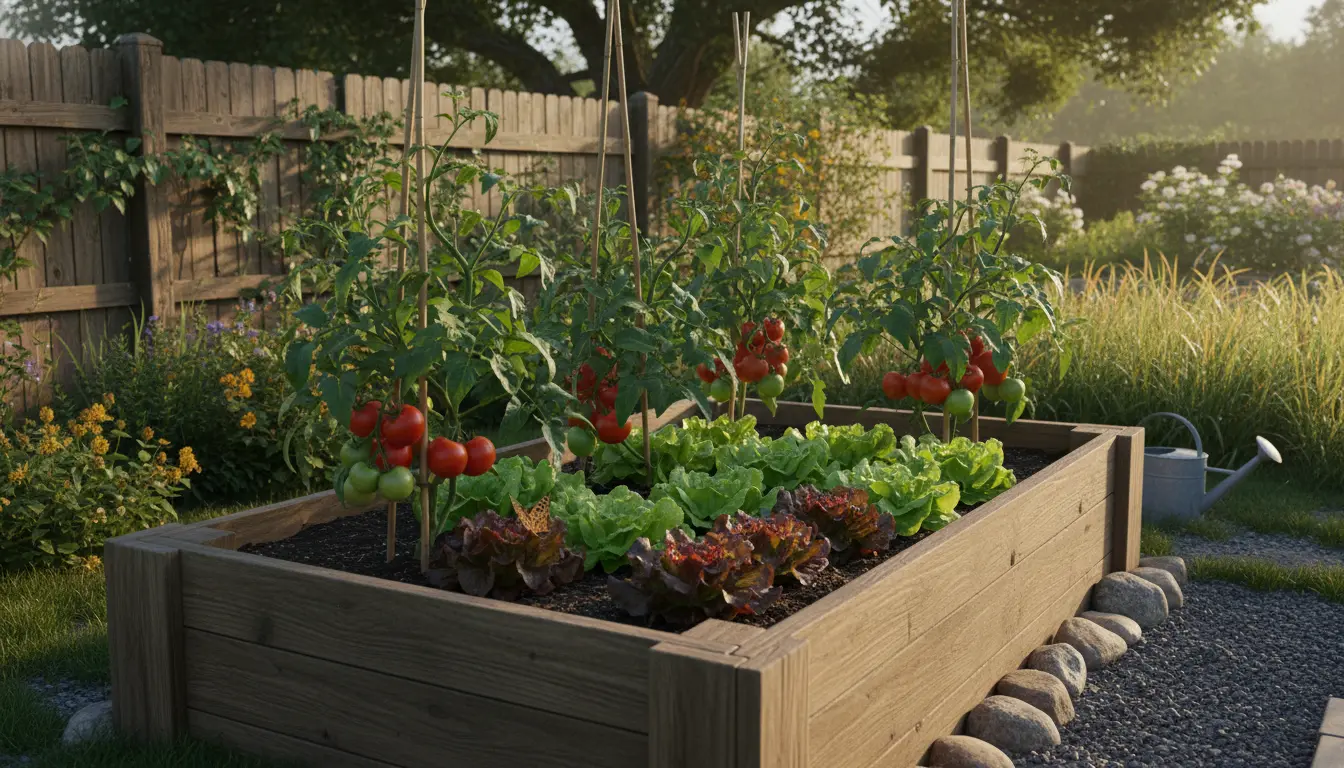
- Raised beds: better drainage, easier soil control, less bending.
- Containers: ideal for balconies or patios, portable, limited root space.
How to start a vegetable garden with limited space
Use containers or vertical supports for vining plants. Choose compact or bush varieties and stack plants by height to maximize light.
Step 3: Test and prepare your soil
Healthy soil is the foundation of a productive garden. Test pH and nutrient levels with a home kit or local extension service.
Amend soil based on results. Common corrections include adding compost for organic matter and lime to raise pH or sulfur to lower pH.
Step 4: Choose vegetables and plan planting times
Select vegetables suited to your climate and season. Start with easy crops like lettuce, radishes, tomatoes, peppers, and beans.
Create a simple planting calendar that lists sowing and harvest windows for each crop. Stagger plantings for continuous harvests.
- Cool-season crops: lettuce, spinach, peas — plant early spring or fall.
- Warm-season crops: tomatoes, peppers, cucumbers — plant after last frost.
Example planting schedule
- Week 1: Direct sow radishes and peas.
- Week 3: Plant tomato seedlings after frost risk passes.
- Every 2–3 weeks: Succession sow lettuce for steady harvest.
Step 5: Planting techniques and spacing
Follow seed packet or plant tag spacing recommendations to reduce competition and disease. Planting too close will reduce yield and airflow.
Mulch after planting to retain moisture and suppress weeds. Use 2–3 inches of organic mulch like straw or shredded leaves.
Step 6: Watering and feeding your garden
Consistent moisture is critical, especially during germination and fruit set. Water deeply and less often rather than shallow daily watering.
Use drip irrigation or soaker hoses to deliver water at the soil level. Fertilize based on soil test recommendations and crop needs.
Step 7: Manage pests and diseases
Monitor plants regularly for early signs of pests or disease. Remove affected leaves and use physical barriers for small critters.
- Companion planting can deter some pests.
- Introduce beneficial insects like ladybugs for aphid control.
- Use organic pesticides sparingly and as a last resort.
Step 8: Harvesting and ongoing care
Harvest vegetables at peak ripeness for best flavor and to encourage more production. Check plants every few days during peak season.
Rotate crops each year to reduce soil-borne disease and nutrient depletion. Clean and store tools after use to limit pest carryover.
Adding just 1 inch of compost to your garden soil can improve soil structure and water retention, helping plants make better use of rainfall and irrigation.
Small real-world example: a 4×8 raised bed case study
Maria, a beginner gardener, built a 4×8 raised bed in her backyard. She filled it with a 50/50 mix of compost and topsoil, and planted tomatoes, basil, lettuce, and bush beans.
After one growing season she harvested roughly 30 pounds of tomatoes, multiple basil bunches, and weekly salads from the lettuce. The raised bed reduced weeds and made watering easy with a timed drip line.
Common beginner mistakes and quick fixes
- Overwatering: Fix by checking soil moisture 2 inches down; water only when dry.
- Planting too close: Thin seedlings to recommended spacing.
- Poor soil: Amend with compost and retest next season.
Tools and supplies checklist
- Hand trowel and hoe
- Soil test kit or extension service contact
- Mulch, compost, and quality seeds or seedlings
- Garden gloves, stakes, and a watering system
Final tips for how to start a vegetable garden
Start small to gain confidence and expand the next season. Focus on a few reliable crops that fit your taste and climate.
Keep a simple garden journal with planting dates, varieties, and harvest notes. Small adjustments each season lead to steady improvement.