
Why composting at home matters
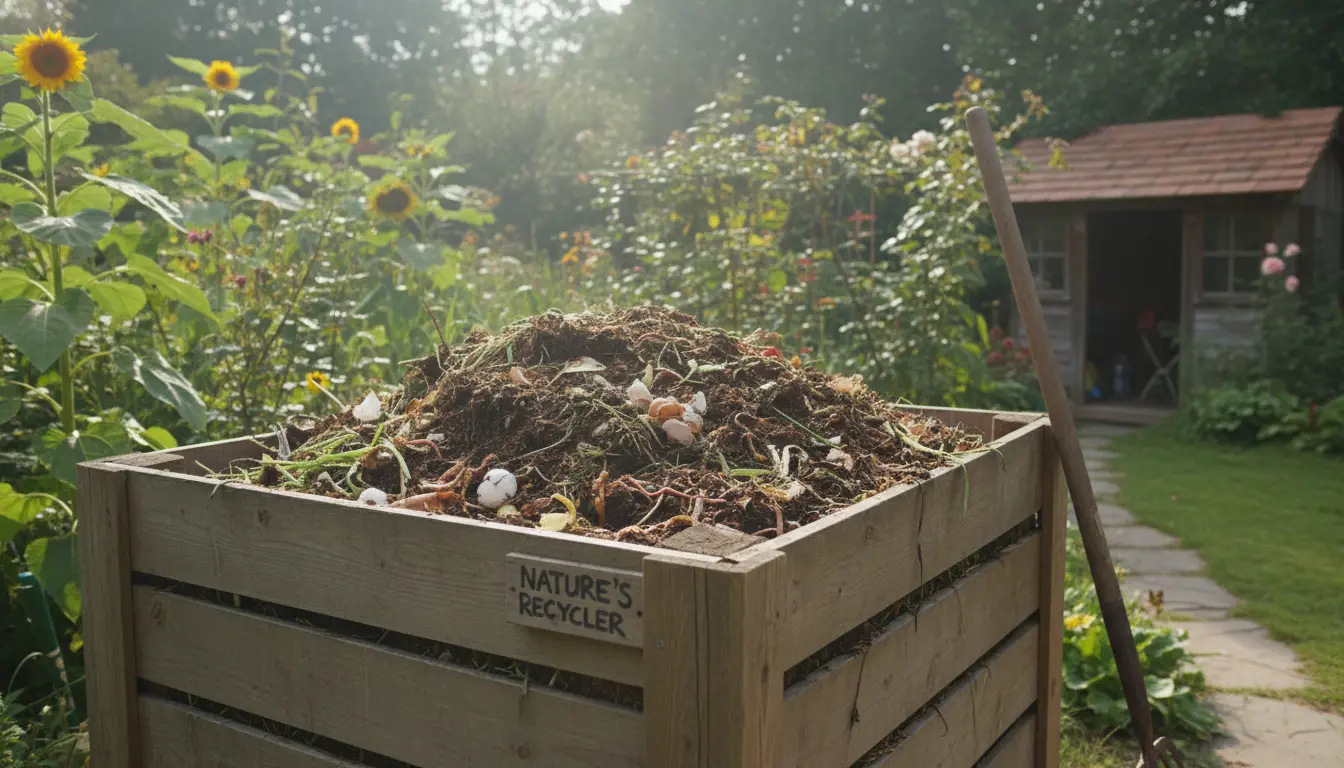
Composting at home turns kitchen and yard waste into a useful soil amendment. It reduces household trash, lowers methane from landfills, and improves garden health.
For many households, composting offers a low-cost way to manage organic waste while boosting soil structure and plant growth. The process is simple once you know the basics.
Benefits of composting at home
- Reduces waste and garbage collection costs.
- Produces nutrient-rich humus for lawns and gardens.
- Improves soil moisture retention and reduces the need for fertilizers.
- Encourages biodiversity and soil life like worms and beneficial microbes.
What you need to start composting at home
Starting composting at home requires minimal equipment and a little planning. Focus on choosing the right container and collecting the right materials.
Choosing a compost bin for home use
Select a bin that fits your space: a tumbling composter for faster breakdown, a closed bin to reduce pests, or an open pile for large yards. For balconies, consider a small worm bin or bokashi system.
Placement matters. Put the bin on bare soil if possible to allow beneficial organisms to move in, and place it where you can access it easily.
Materials to compost at home
Compost needs a mix of ‘greens’ (nitrogen-rich) and ‘browns’ (carbon-rich). Balancing these speeds decomposition and prevents odors.
- Greens: fruit and vegetable scraps, coffee grounds, fresh grass clippings.
- Browns: dry leaves, shredded paper, cardboard, straw.
- Avoid: meat, dairy, oily foods, diseased plants, and pet waste in typical backyard systems.
Step-by-step process for composting at home
This step-by-step method will get you producing quality compost within months rather than years. Keep the process active with simple attention.
- Collect materials: Keep two small containers in the kitchen — one for greens and one for dry scraps to mix.
- Layer your bin: Start with a layer of coarse browns like twigs for airflow, then alternate greens and browns in 2–4 inch layers.
- Maintain moisture: The pile should feel like a wrung-out sponge. Add water if dry, or add more browns if too wet.
- Turn the pile: Every 1–2 weeks, mix the pile to add oxygen and speed decomposition. Tumblers make this easier.
- Monitor temperature: A hot pile (120–150°F or 50–65°C) breaks down material faster. Small home piles may stay cooler but will still produce compost over time.
- Harvest finished compost: When material is dark, crumbly, and earthy-smelling, it is ready. Use it as a soil amendment, mulch, or potting mix component.
Tips for an efficient home compost system
- Chop or shred materials to increase surface area and speed up decomposition.
- Aim for a carbon to nitrogen ratio near 25–30:1 for balanced breakdown.
- Keep smaller bins shaded to prevent drying out in hot weather.
- Use a mesh screen to sift finished compost for fine texture.
Troubleshooting composting at home
Common issues are easy to fix with quick adjustments. Learn the signs so you can respond promptly.
Why the compost smells bad?
Bad odors usually mean too much moisture or not enough air. Add dry browns, mix the pile, and increase aeration to stop smells.
Why is the compost not heating up?
Small piles or an imbalance of materials can keep temperatures low. Add more greens, ensure moisture is adequate, and increase pile size to trap heat.
Problems with pests
To avoid rodents and flies, bury food scraps under browns, use a closed bin, or switch to bokashi or worm composting for indoor settings.
Short case study: A small backyard, big results
Mary, a homeowner with a 40-foot backyard, started a 3×3 foot compost bin using a simple plastic tumbler. She followed the layering method and turned the bin weekly.
Within six months, Mary produced about 150 liters of finished compost. She used it to top-dress her raised vegetable beds, which improved soil moisture and reduced her need for store-bought fertilizer by half that season.
Practical examples and uses of finished compost
- Mix 1 part compost with 3 parts soil for potting seedlings.
- Apply a 1-inch layer of compost as mulch around established plants to conserve moisture.
- Top-dress lawns in spring with a thin layer to improve soil structure over time.
Final steps to begin composting at home
Start small and be consistent. Choose a bin that suits your space, collect materials daily, and check the moisture and balance weekly.
Composting at home does not require perfect technique. With simple care, you can reduce waste, improve garden health, and learn a sustainable habit that benefits your home and neighborhood.