
Overview: Why Start a Small Vegetable Garden
Growing your own vegetables is practical and cost-effective. A small garden fits balconies, patios, and small backyards. It gives fresh produce, reduces grocery trips, and teaches seasonal care.
This guide shows clear steps to plan, plant, and maintain a productive small vegetable garden. Follow these instructions to get steady harvests with minimal fuss.
Step 1: Choose the Right Location
Pick a spot with at least 4–6 hours of direct sunlight daily. Most vegetables need full sun to thrive. If sunlight is limited, choose leafy greens and herbs that tolerate partial shade.
- Measure sunlight across the day before choosing a spot.
- Ensure easy access to water and good drainage.
- Consider wind protection and proximity to doors for convenience.
Location Tips to Start a Small Vegetable Garden
If you plan containers, use a sunny balcony or terrace. For ground beds, avoid low spots that collect water. Raised beds work well on compacted or poor soil.
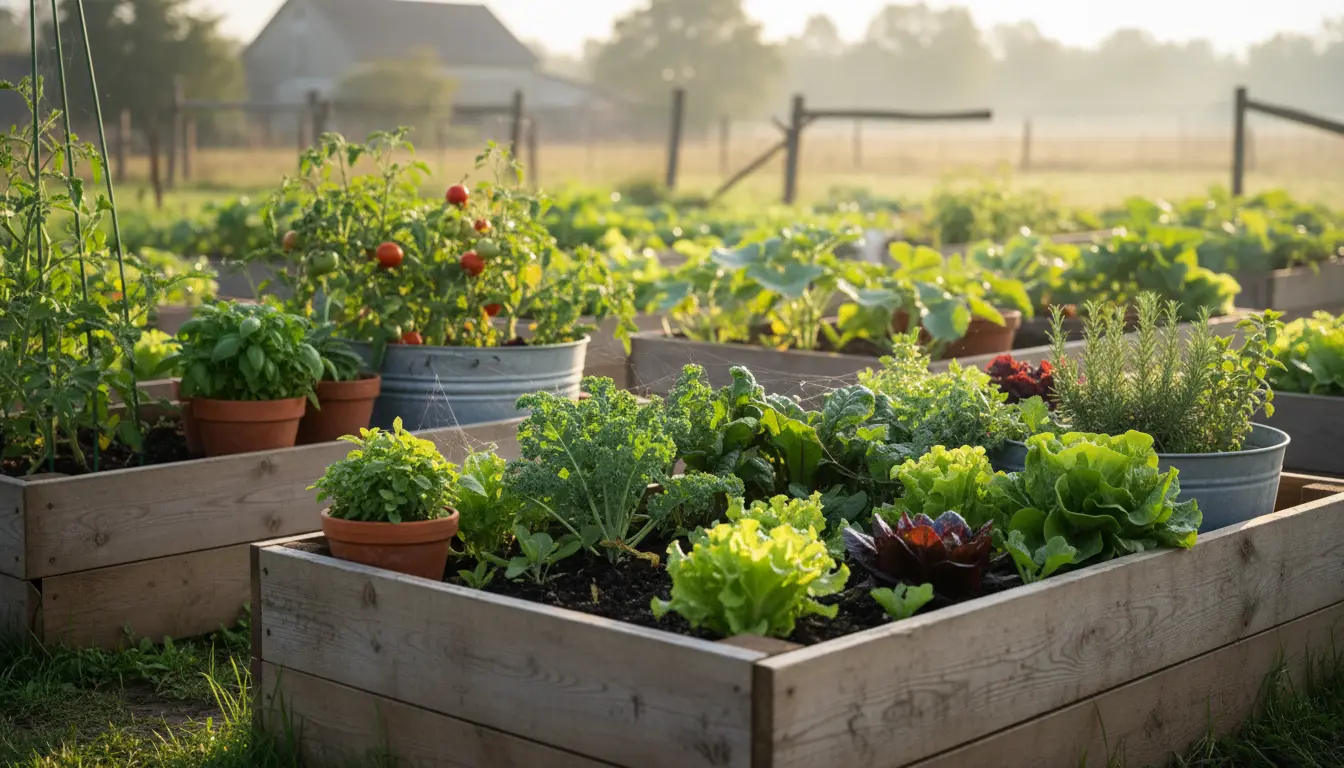
Step 2: Select Containers or Beds
Decide between in-ground beds, raised beds, or containers. Each option suits different spaces and budgets. Containers are flexible and excellent for beginners.
- Containers: Use pots at least 12 inches deep for most vegetables.
- Raised beds: Provide better soil control and warmer soil in spring.
- In-ground: Good if you have healthy existing soil and space.
Container Choices When You Start a Small Vegetable Garden
Choose wide, not just tall, containers for root vegetables. Ensure drainage holes and use saucers to protect surfaces. Food-safe containers are best for edibles.
Step 3: Prepare Soil and Soil Mix
Healthy soil is the foundation of a productive garden. For beds, loosen the soil and add organic matter. For containers, use a quality potting mix with compost.
- Mix in compost or well-rotted manure to improve fertility.
- For raised beds, use a blend of topsoil, compost, and a light amendment like perlite for drainage.
- Test soil pH if possible; most vegetables prefer pH 6.0–7.0.
Step 4: Choose Easy Vegetables for Beginners
Start with reliable, low-maintenance crops. These give quick wins and build confidence.
- Leafy greens: Lettuce, spinach, arugula.
- Fast-growing: Radishes, baby carrots.
- Container favorites: Cherry tomatoes, bush beans, herbs like basil and parsley.
- Long-season but simple: Zucchini and bush squash for high yields.
Crop Planning for Small Spaces
Use succession planting to keep harvests continuous. Sow small amounts every 2–3 weeks for salad greens and radishes. Mix tall and low plants to use vertical space efficiently.
Step 5: Planting and Spacing
Follow seed packet or transplant directions for depth and spacing. Overcrowding reduces airflow and increases disease risk. Thin seedlings to recommended spacing once they sprout.
- Plant seeds at the depth shown on the packet.
- Transplants need firm soil contact and gentle watering after planting.
- Mark rows or container labels to avoid confusion.
Step 6: Watering and Feeding
Water consistently, aiming for deep, infrequent watering rather than shallow daily sprays. Soil should be moist but not waterlogged. Mulch helps retain moisture and suppress weeds.
- Morning watering reduces disease risk and evaporation loss.
- Use a balanced organic fertilizer at planting and as a mid-season feed for heavy feeders.
- Monitor soil moisture by pressing a finger into the soil up to two inches.
Maintenance: Pest Control and Pruning
Inspect plants regularly for pests or nutrient issues. For small gardens, manual removal and simple barriers work well. Encourage beneficial insects like ladybugs and lacewings.
- Use row covers to protect young seedlings from insects.
- Remove diseased leaves and rotate crops each season to reduce pests.
- Stake or cage vining plants to save space and improve airflow.
Many common herbs like basil and cilantro repel pests while improving crop flavor. Interplanting herbs with vegetables can reduce pest pressure naturally.
Harvesting and Storing Produce
Harvest regularly to encourage continued production. Pick leafy greens from the outside first. For tomatoes, harvest when fully colored and slightly soft to the touch.
- Store most vegetables in the refrigerator for best freshness.
- Use quick-preserve methods like freezing or pickling for surplus harvests.
- Record harvest dates to plan next season and track productivity.
Simple Seasonal Plan to Start a Small Vegetable Garden
Spring: Prepare beds, sow cold-tolerant crops, transplant seedlings. Summer: Maintain watering and harvest regularly. Fall: Sow cover crops or fall greens, clean and store tools.
Real-World Example: A Small Balcony Success
Case study: Emma, a city renter, started a 6-plant balcony garden with two containers of cherry tomatoes, one of basil, and one mixed greens pot. She positioned the containers for morning sun and used a lightweight potting mix.
Within eight weeks she harvested 12 pints of cherry tomatoes and weekly salads from the greens. Minimal water and a single mid-season feeding kept plants productive. This small setup covered about 20% of her weekly salad needs during summer.
Final Checklist to Start a Small Vegetable Garden
- Choose a sunny location and decide on containers or beds.
- Prepare soil or potting mix with compost.
- Select easy vegetables and follow spacing instructions.
- Water deeply, mulch, and feed as needed.
- Inspect, harvest, and record results for next season.
Starting a small vegetable garden is straightforward with planning and consistent care. Use the steps above and adapt them to your space and climate. Small, steady efforts yield fresh food and gardening confidence.