
Composting at home turns kitchen scraps and yard waste into a useful soil amendment. This guide gives clear, practical steps you can follow whether you have a backyard or a small balcony.
Why Composting at Home Works
Composting reduces household waste while producing nutrient-rich material for plants. It closes the loop: organic waste becomes soil, improving water retention and plant health.
Home composting can save money on soil and reduce landfill methane emissions. The process is mainly about managing moisture, air, and the right mix of materials.
How to Start Composting at Home: Basic Overview
Get a container, gather materials, layer greens and browns, and turn the pile periodically. You don’t need special equipment—just the right balance and a little attention.
Follow the steps below to start a simple, low-maintenance system that fits your space and needs.
Choose the Right Composting Method for Your Home
Select a method based on space and effort. Common options include a backyard bin, tumbler, or worm composting (vermicompost) for small spaces.
- Backyard bin: Good for larger yards and mixed waste.
- Compost tumbler: Easier turning, faster results in small yards.
- Worm bin: Ideal for apartments or balconies and produces high-quality compost.
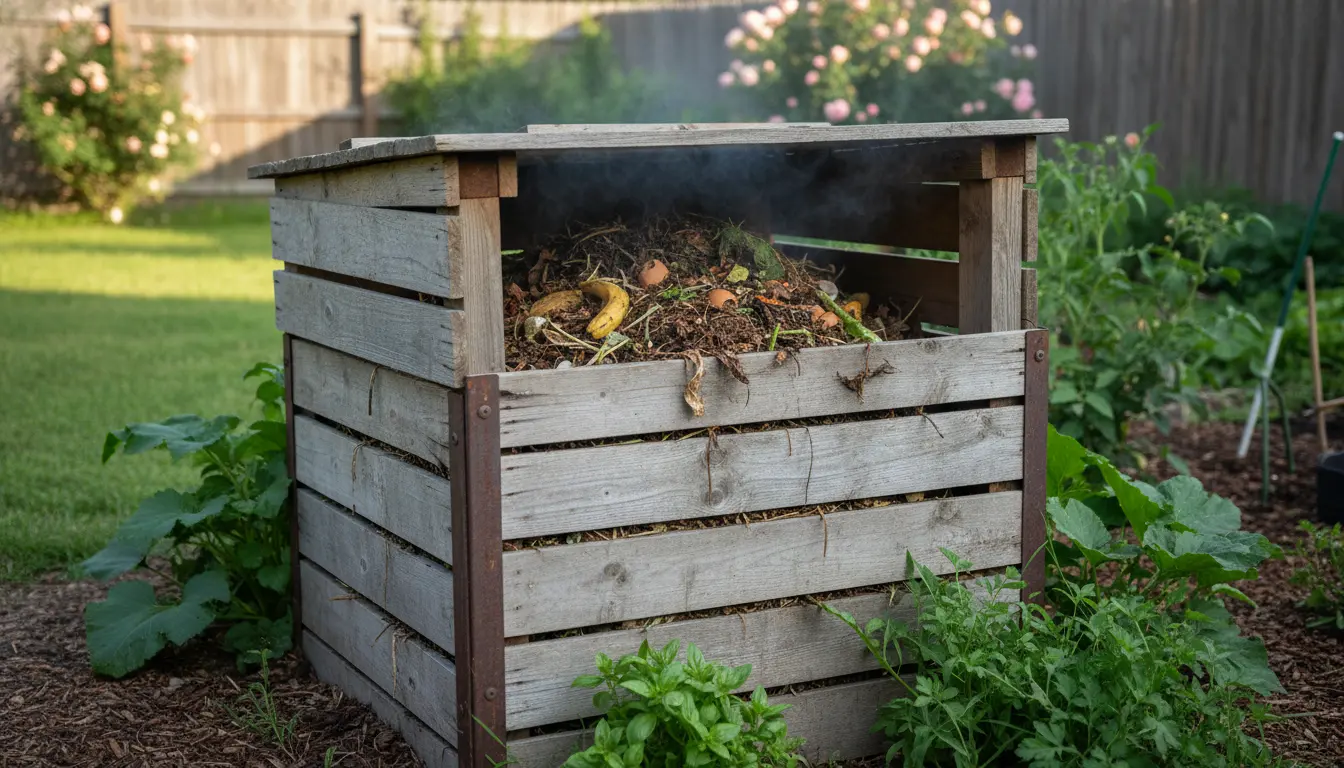
Pick a Location and Bin
Place your bin on soil or grass to allow beneficial organisms to access it. Choose a shaded, level spot with good drainage.
If using a container, ensure it has ventilation and drainage holes. For a tumbler, place it where you can turn it monthly.
Balance Greens and Browns
Compost needs a mix of nitrogen-rich “greens” and carbon-rich “browns.” A simple guideline is roughly 2–3 parts browns to 1 part greens by volume.
- Greens: fruit and vegetable scraps, coffee grounds, fresh grass clippings.
- Browns: dry leaves, shredded paper, straw, cardboard.
Layering and Moisture
Start with a layer of coarse browns to help airflow. Alternate layers of greens and browns, and aim for the pile to be as moist as a wrung-out sponge.
If it’s too wet, add more dry browns. If it’s too dry, sprinkle water lightly or add moist greens.
Turning and Time
Turning the pile introduces oxygen which speeds decomposition. Turn a backyard pile every 1–2 weeks; tumblers can be rotated weekly.
Vermicompost bins don’t need turning but may need occasional movement of bedding and food placement. Typical compost ready time ranges from 2 months (hot systems) to a year (cold systems).
Troubleshooting Common Problems
Problems are usually easy to fix once you identify the cause. Look for odor, pests, or slow breakdown.
- Foul smell: Usually too wet or too many greens. Add browns and turn the pile.
- Pests: Avoid adding meat, dairy, oily foods, and bury fresh food scraps in the middle of the pile.
- Slow decomposition: Add more greens and ensure the pile is warm and moist. Chop materials into smaller pieces.
Using Finished Compost
Finished compost is dark, crumbly, and earthy-smelling. Use it as a soil amendment, potting mix component, or top dressing for lawns and garden beds.
Apply a 1–2 inch layer to beds or mix compost into potting soil at 10–30% by volume for container plants.
Composting one pound of food waste prevents about 0.5 pounds of CO2-equivalent greenhouse gas emissions compared to landfilling. Small actions add up when many households compost.
Small Real-World Example: Balcony Worm Bin Case Study
Jill, a renter with a small balcony, started a 10-gallon worm bin. She added shredded cardboard, kitchen scraps, and a handful of garden soil to seed microbes.
Within three months she harvested about 4 liters of vermicompost and reduced her trash bag frequency from weekly to biweekly. Her potted herbs grew fuller, needing less store-bought fertilizer.
Practical Tips Before You Start
- Start small—scale up as you learn the process.
- Chop or shred larger materials to speed decomposition.
- Keep a small countertop container for scraps and empty into the bin every few days.
- Record simple notes: when you add materials, when you turn, and any issues you notice.
Final Checklist to Start Composting at Home
- Choose method: backyard bin, tumbler, or worm bin.
- Gather supplies: bin, browns (leaves, cardboard), basic garden tools.
- Set up location: level, shaded, and accessible.
- Maintain balance: 2–3 parts browns to 1 part greens, monitor moisture and turn regularly.
- Harvest and use compost when it looks dark and crumbly.
With a little attention and the right balance, composting at home becomes a low-effort routine that benefits your plants and the environment. Start with one simple bin and adjust as you learn what works for your space and lifestyle.